How to perform a Google reverse image search
This short guide is a reference tool to help refresh your knowledge or practise what you have learned in the How to perform a Google reverse image search online video course, including how to:
- upload an image using the Google Search bar
- identify places, objects or products from an image, or search for text within an image.
Step by step
A reverse image search uses a photo instead of words to find online information. It can be a helpful tool for learning more about unfamiliar images or finding products online.
Upload an image for search
To start a reverse image search, you need to first upload an image.
- Go to google.com and find the camera icon on the right side of the Search bar.
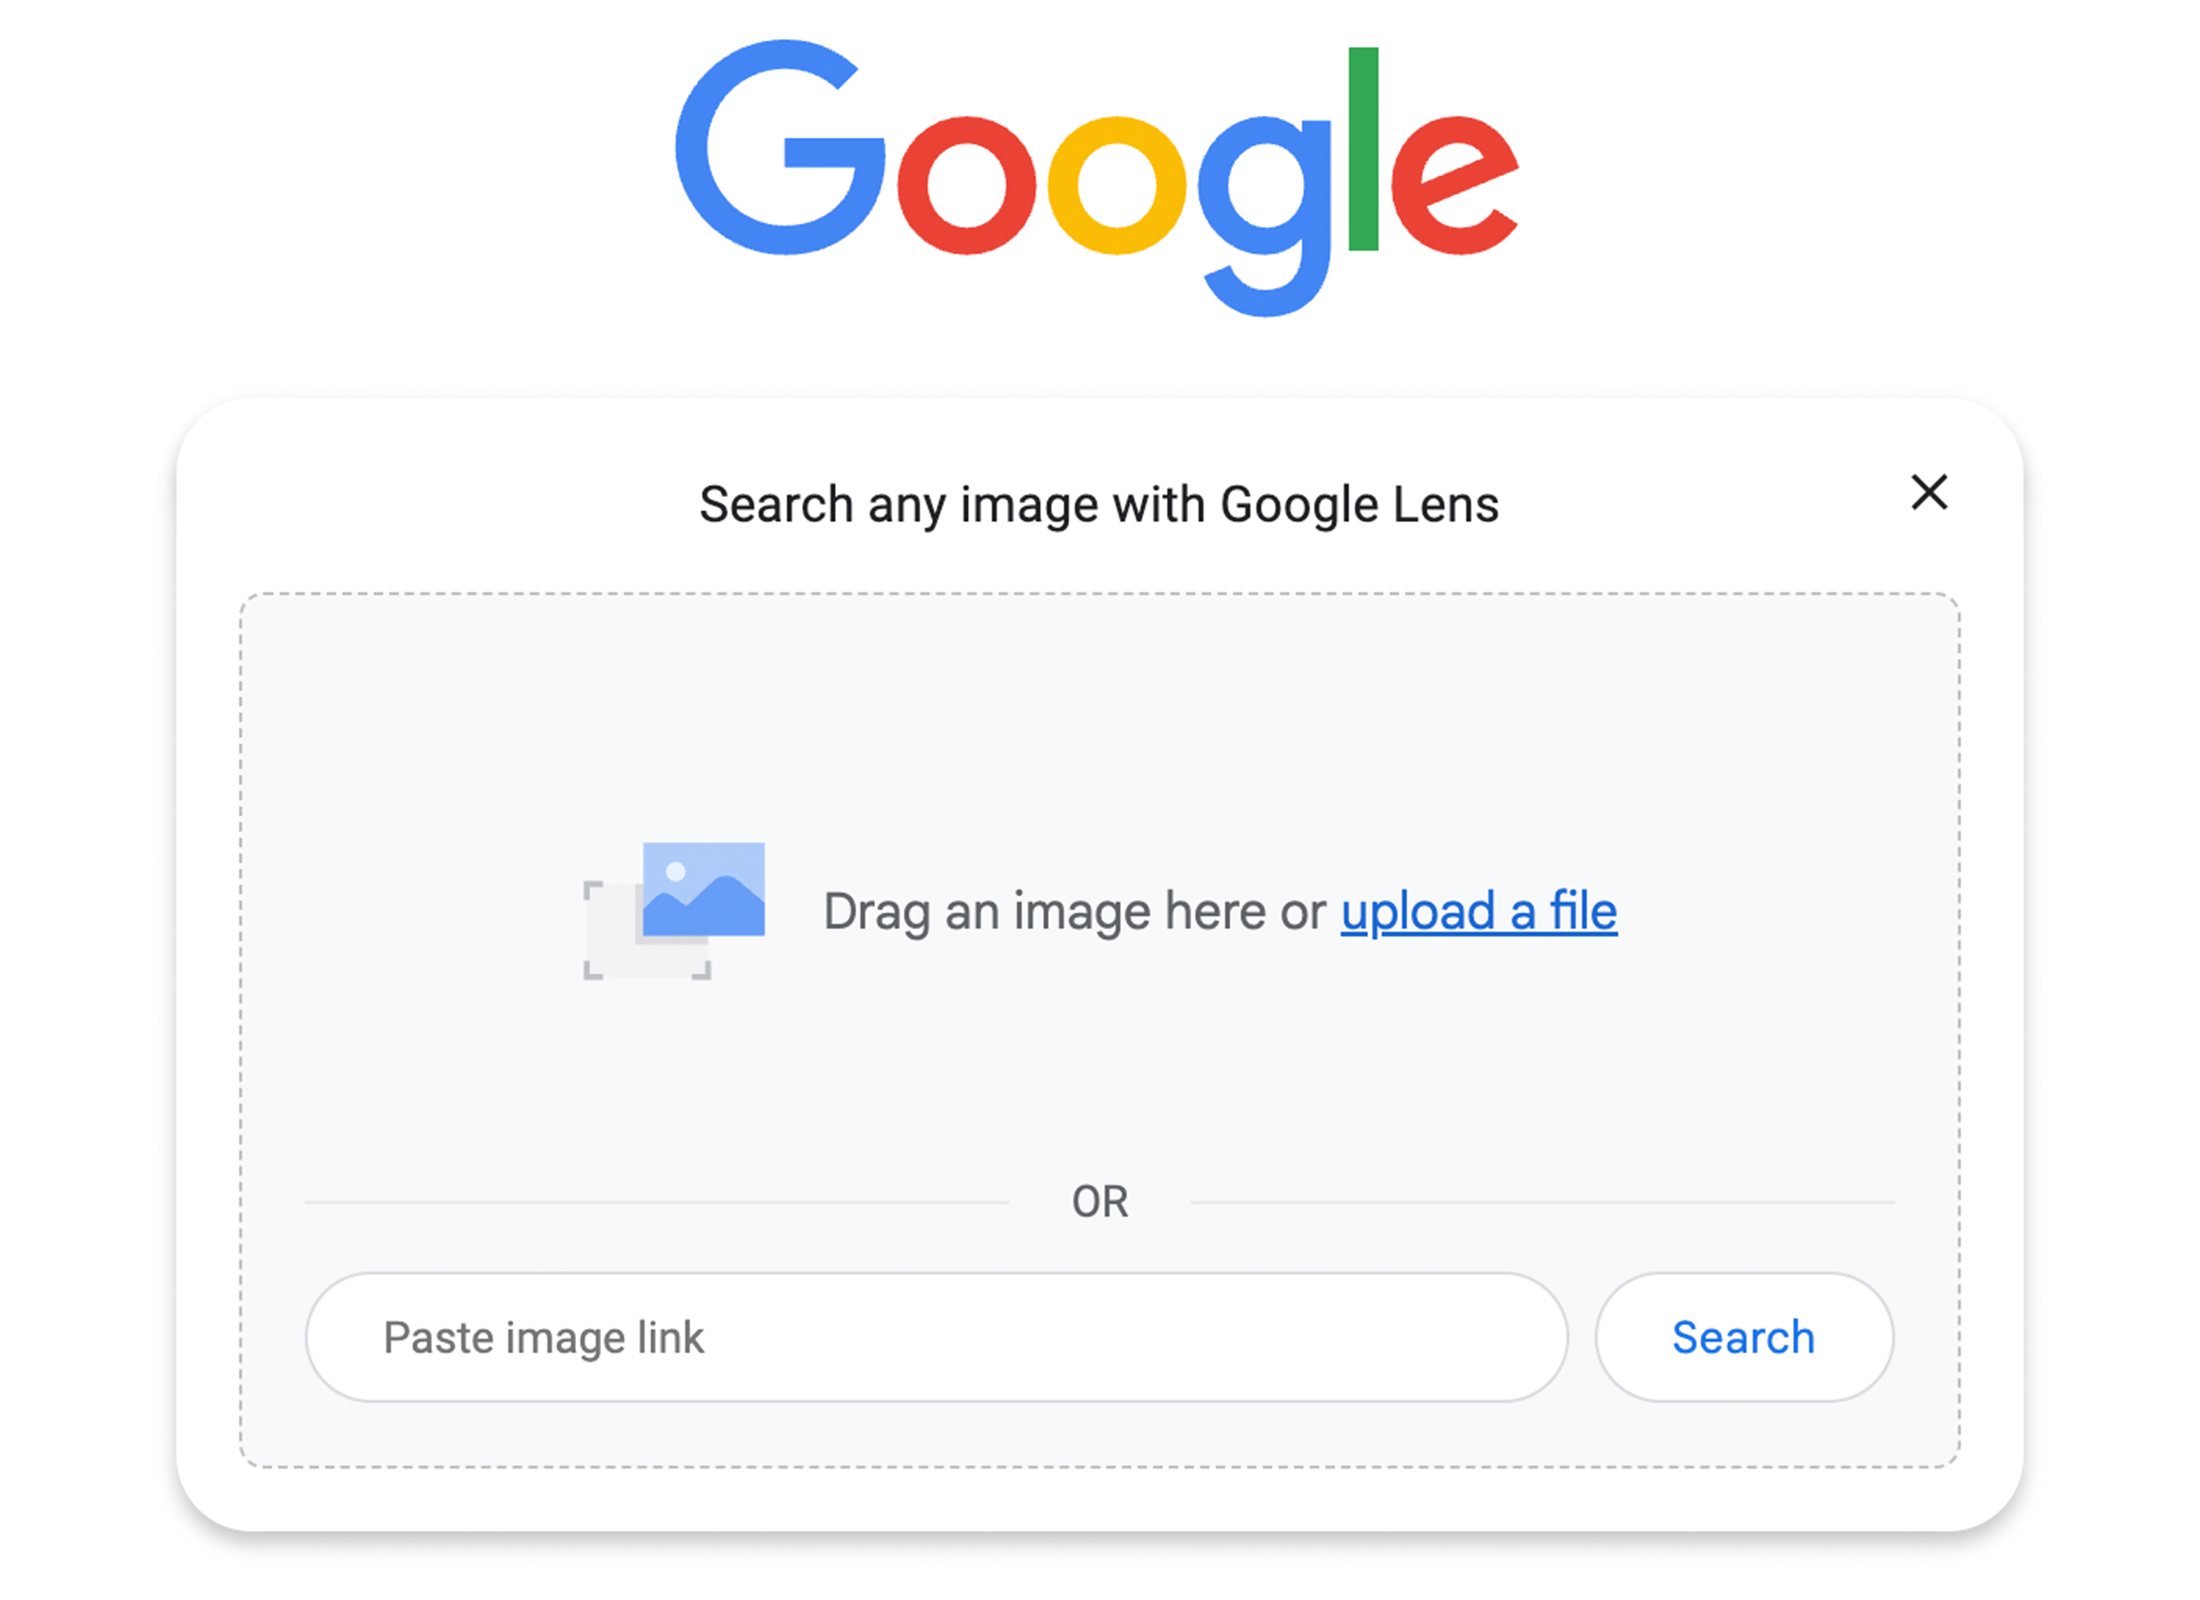
- Click the icon and the Search bar will change to a panel titled Search any image with Google Lens.
- On your computer, locate the image you want to use for your search.
- Click and hold the image file, then drag and drop it into the panel.
- Google will upload the image and begin the search automatically.
- Your uploaded image will appear at the top of the results page.
- The part of the image that Google used to perform the search may be highlighted.
- Look at the panel on the right for information about your image.
- Scroll through the search results to find out more about the subject of the image and click on any links that are of interest.
Search for text in an image
- From the Google Search bar, click the camera icon to upload an image containing text, such as a plaque or sign.
- Google will automatically highlight any searchable text in a pale box.
- Click the text to select it.
- Options will pop up and you can click:
- Select all to highlight all text
- Copy to paste the text into a document
- Listen to hear the text spoken aloud.
- To learn more, click Search to find information based on the highlighted text.
Google’s reverse image search text feature works best with good-quality images that have clear, readable text.