Understanding image properties
Learn how photos are saved on your computer as files, how size and quality work in photo files, and how photos can be saved as different file types depending on what you want to use the photo for.
Different file types are for different uses
Your computer stores photos using what are called file types and file formats by your computer’s operating software and photo editing app. There are many file types that you can use for photos, but we’ll focus on the most common. Each one is best suited for a particular use.
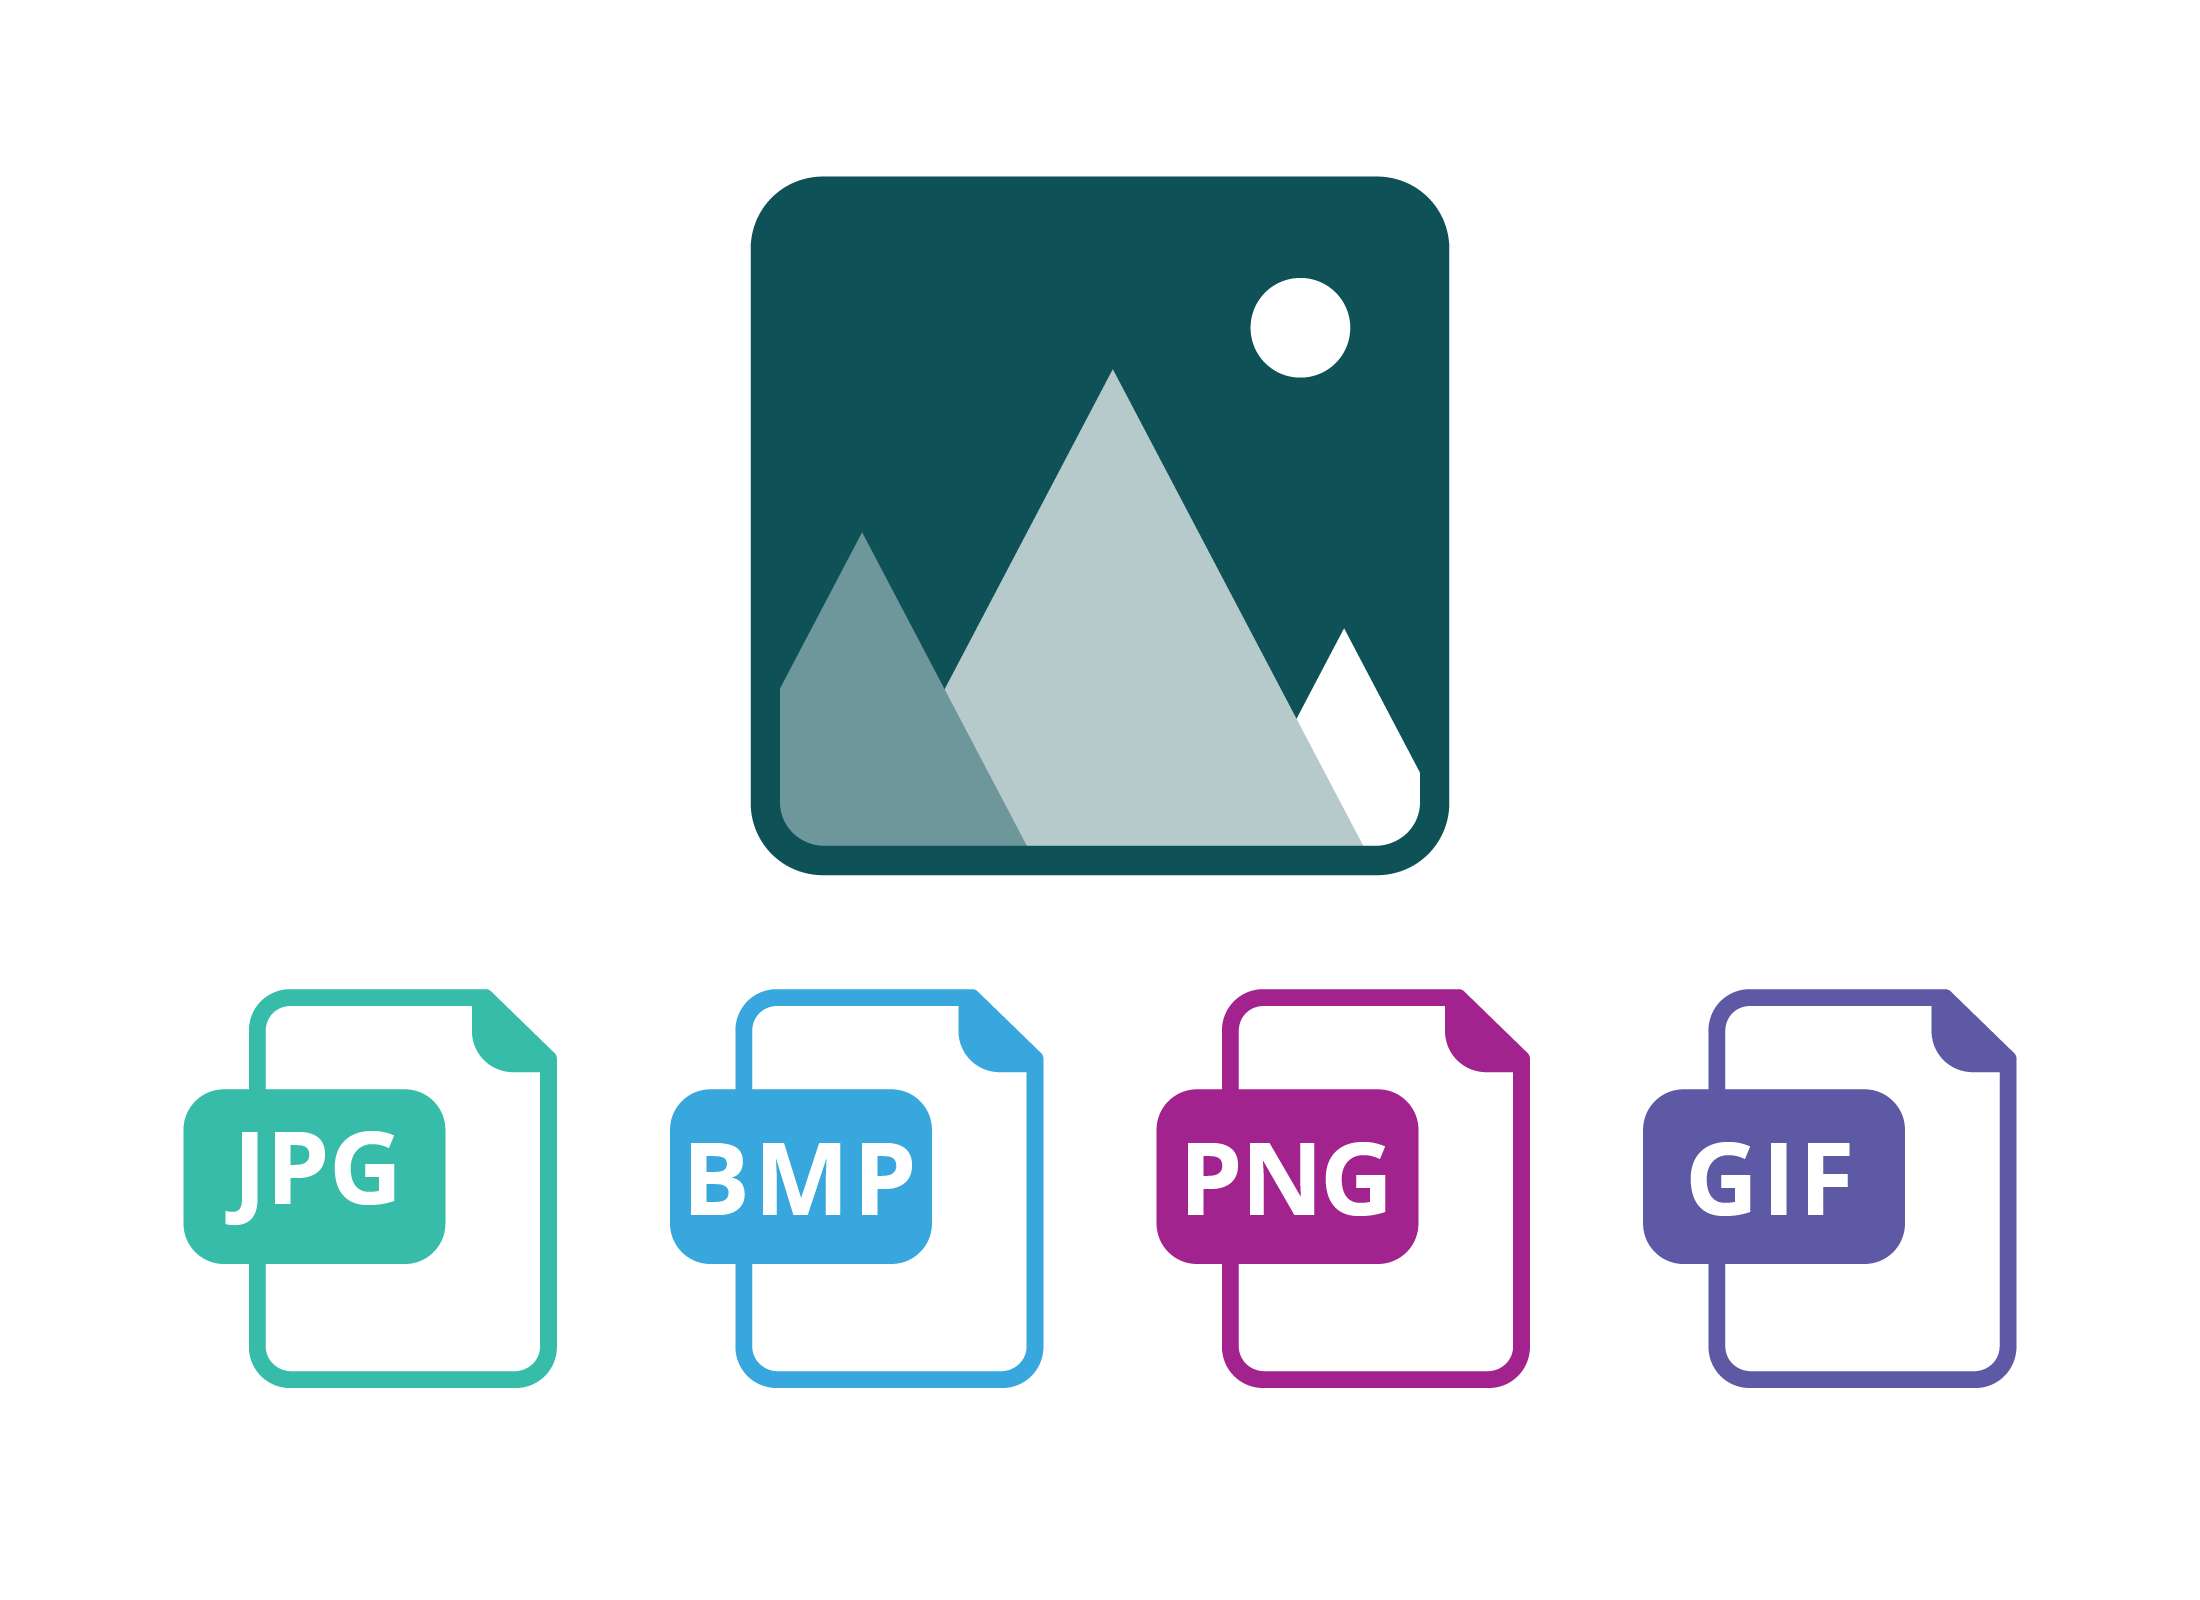
- BMP: Has very good quality but also takes up a lot of space in your computer’s storage.
- JPG/JPEG: Takes up less space and is usually the best for photos.
- PNG: Doesn’t take up too much space and is good quality, but is better suited for art.
- GIF: This can be the smallest file, but quality varies. It’s not a good choice for photos.
When your mobile device or digital camera takes a photo, it usually saves it as a JPG file. You may also come across image file types called RAW and TIF (or TIFF) files. These are special file types used by professional photographers and are very large.
How a photo’s size works on the screen
The size of a photo is important because it determines what you can do with it once it is on your computer. A very small photo will only look good on the screen, and won’t look good if you decide to print it out. A photo’s size is measured in:
- MB (megabytes), or how much space on your computer’s storage it takes up
- Pixels, or picture elements, which is how many tiny square dots make up the image, which shows how detailed it is.
A photo’s size in pixels is measured as the number of pixels across the screen, times the number of pixels up and down the screen. A typical smartphone photo will have a size of about 4,000 x 3,000 pixels. This is big enough to fill a computer screen, and print out on paper up to about A4.
How to tell the size of an image
You can look at a photo’s metadata to see how many pixels it has. Metadata may be called Properties on your computer. In the Photos app on a Windows computer, click the Information icon. You will see some information appear. For example:
- 4,928 x 3,264 is the photo’s size in pixels
- 1.8 MB is the photo's size as a file, and how much storage it will use on your device
- 300 dpi is how big the photo can print out. A 4,928 x 3,264 JPG file with 300dpi would make a good quality print up to A3-size.
What happens when you resize a photo?
File size is different from pixel size. For example, in two photos, each with 2,000 x 2,000 pixels, one saved as a BMP file type will be higher quality and a bigger file, than one saved as a JPG.
You can resize a photo using your computer’s Photos app. When you make the photo smaller, some fine details might get a bit lost and when you make it larger, it can look stretched and blurry. The larger you make an image, the worse it will look.
How a photo’s size works when printed
Printers have a different system of determining how big a photo will be when it prints out. Your photo has a property called DPI, which stands for dots per inch. This simply means how many ink dots occur in a line that is one inch long. Most smartphone photos have 120 DPI, and a photo from a high-end digital camera will have 300 DPI.
When a high DPI is combined with a high number of pixels, that means a photo can print out very large, and at high quality too. Low DPI won’t make an image smaller when it prints out, just lower quality.
The printer controls the size of the image
You can use the printer controls to choose which DPI the printer will use. Common settings are 120 DPI for regular prints, and 300 DPI for high-quality prints.
The way DPI works is technical and can be confusing, and there’s a way you can avoid worrying about DPI and pixels. Most home printers, for example, show a preview of how big the photo will appear on the page. You can also choose the Draft, Standard or High quality (or similar) setting of the printer to get photos looking the way you want.
How quality works for photos on your computer
Depending on the file type you choose, and where you got the photo from, a photo can lose quality when it is saved. To keep file sizes as small as possible, a computer uses a technique called compression. When a computer compresses a photo, it can do it just a little bit (for a slightly smaller file) or it can compress the photo to the extreme! This produces a very small file, but at the cost of image quality.
How edited photos can lose quality
If you resize a photo, then save it in the JPG format, then edit the new photo again, the next time you save, it might end up looking even worse. If you have edited a photo and don’t like the results, it’s always best to go back to the original photo to try again, to prevent more quality being lost.
Using the BMP file format will help prevent loss of quality. This takes up the most space on your computer, but when you are finished editing, you can save the final result as a JPG to share via email or social media.
Why older devices take poorer photos
The original quality of a digital photograph depends on the machinery, or hardware, in the camera or device that took it. The camera’s sensor has a number of pixels, representing the largest possible photo that camera can take. The camera lens determines the quality of the photo. Older cameras have smaller sensors with fewer pixels, and some have poorer lenses too.
A newer smartphone will take much better photos than a very old phone, and a new compact camera may even take better photos than an old DSLR. The easiest way to get better-quality pictures is to buy a newer, better digital camera or smartphone. Easy, yes… but not exactly cheap!
How to change a photo’s file type
You can change a photo’s file type by creating a new version of the photo using the Photos app on your Windows or Apple computer.
- JPG is a good file type for photos if saved with high quality settings.
- BMP is a large file type that keeps a photo’s full quality.
- PNG and GIF are used on the internet or for line art.
When you take a photo, your camera or mobile device will turn it into a file using a file type it chooses, usually JPG. Some cameras let you set the file type to RAW. To change a photo’s file type, first open it in the Photos app.
- When you see a grid of photos, click on the one you want to change.
- At the bottom of the screen, look for a Save as or Save a copy button, and click it.
- A box or panel will open and ask you to put in a new file name.
- Under the file name field, look for an arrow or control labelled something like Save as type.
- Click this and choose one of the file types from the list by clicking it.
- The list will close, and you can then click Save or Done.
The Photos app does all the converting automatically and places the new file in the same folder as the original (by default).
For example, if your original photo was called happydog.jpg and you use Save as and chose the BMP file type, the Photos app creates a file called happydog(copy).bmp.
Photos of different file types can have the same file name. Your computer knows that happydog.jpg and happydog.bmp are two different files.
Viewing the new file
Use the Photos app controls to go back to where all your photos are stored. In the grid, click the new copy of the photo you just converted, to make it fill the whole screen. If you don’t like the new photo file, don’t worry! The original photo is still there and you can edit it again and choose a different file type.
As long as you remember to Save as or Save a copy, the original photo will never be changed or lost.