Setting up your new iPad
Get ready to set up a brand-new iPad, or a pre-owned iPad that has been reset.
Learn how to connect your new iPad to your home Wi-Fi network, set up a passcode to safeguard your information, create an Apple ID account, use apps, and browse web pages.
Before you begin
The demonstrations in this course use an iPad without a physical Home button. If your tablet is different, some of the steps might vary a little, but you can still follow along.
Before you start, make sure the iPad is fully charged and switched on, you have access to your home Wi-Fi name and password, and that you have a mobile phone to hand. Apple will send a text to this phone to verify your identity.

Choose the language and location
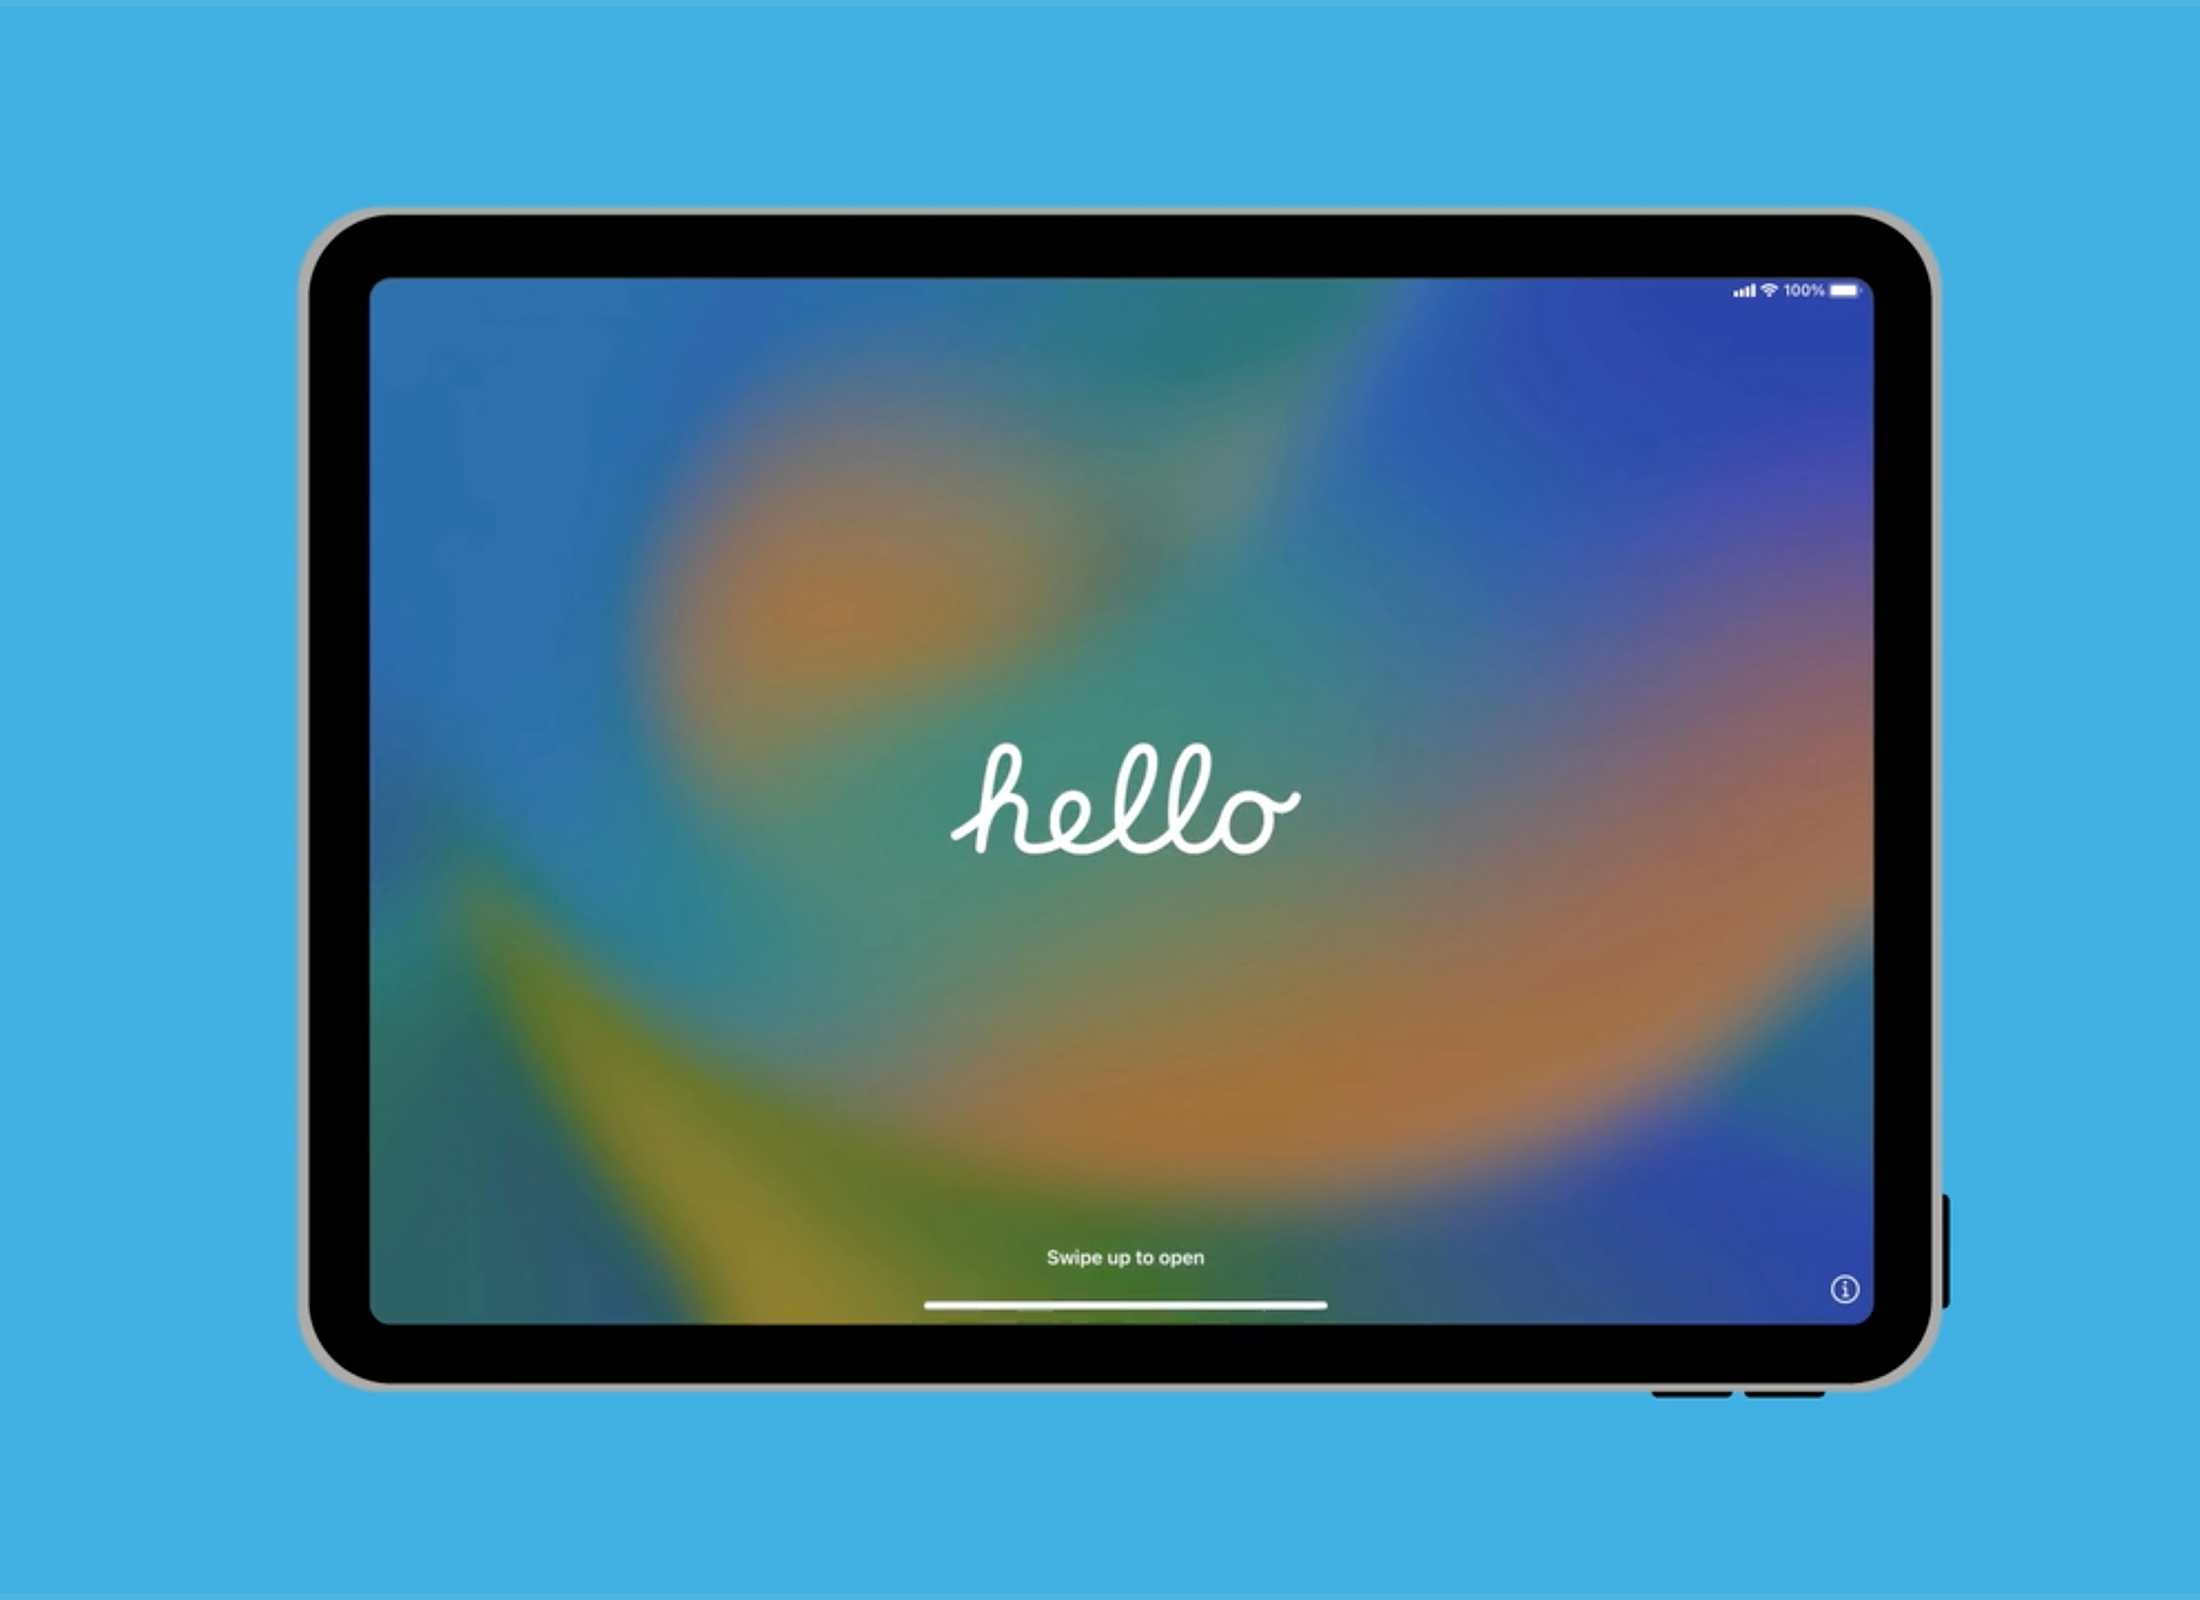
The Hello screen shows that your iPad is ready to set up. Choose your preferred language (in our demonstration, we select English) and choose your region as Australia.
Set up Wi-Fi
The list of available Wi-Fi networks includes your home Wi-Fi network name.
- The password may be written on the bottom of your home router.
- Match uppercase and lowercase letters in the password exactly.
- The iPad will connect when you tap Join.
Setting up Data and Privacy
This part of setup helps secure your iPad, so make sure to read the information on screen carefully.
- You can skip TouchID and set it up later. See our iPad: Security and privacy course for TouchID set up.
- Choose a six-digit passcode. If your choice is too easy to guess, your tablet will ask you to choose again.
- Your passcode is confirmed when you enter it a second time.
The Restore from iCloud Backup step can be skipped. Choose Don’t Transfer Apps & Data.
Enter or create an Apple ID
If you already have an Apple ID, you can sign in here. If you need a new Apple ID, tap Forgot password or don't have an Apple ID? and then Create a Free Apple ID.
Follow the steps to create a new Apple ID. Remember, it’s okay to provide your personal information during the Apple ID set up. As part of the process:
- Make sure to create a strong password, with a mix of letters, numbers and capitals.
- Apple will ask for your mobile phone number and send a code in a text message to your mobile phone.
- Enter the code on your iPad, to confirm your identity.
The Restore from iCloud Backup step can be skipped. Choose Don’t Transfer Apps & Data.
Final set up steps
Follow the steps on screen for the remainder of set up. If you are unsure about a feature, you can skip it and set it up later. Important settings we recommend you activate include:
- Make sure to choose accept updates when available to keep your iPad up to date.
- Enable Location Services so you can find your iPad if it is lost and use maps and similar apps.
- Saving your passwords in iCloud Keychain is safe and convenient.
- Choose Light mode to keep menus white, or Dark mode which turns menus black.
Check network connection
The status bar at the top of the display shows a symbol for Wi-Fi. If the symbol is white, your tablet is connected to Wi-Fi and is ready to use!