Apple desktop: System Settings
There are lots of different settings to help get your computer working just the way you like.
Learn how to select your preferred language, set the date and time, adjust volume and screen brightness, and connect to your home Wi-Fi network.
Before you begin
Make sure your computer is:
- Plugged into mains power, switched on and showing the desktop
- Properly connected to a mouse and keyboard, and your home Wi-Fi
- Running the latest version of its operating software. If your computer is not running Ventura macOS, some of the steps may look different but you can still follow along.
You should also have the name and password for your home Wi-Fi network handy.
Using System Settings
The options in this course are controlled via System Settings. To open the System Settings panel, click on the Apple icon at the top left of the screen, then click System Settings from the drop-down list.
How to change the date and time
To adjust this setting:
- Use the General options in the System Settings panel.
- Find Date & Time on the right to see options.
- Set date and time automatically is turned on by default, and the switch is blue.
- Turn this off and enter your computer password when asked, to set date and time manually.
- Use the Set button to change the date and time.
- Turn on the switch next to 24-hour time to display the time in 24-hour mode.
- Click Back when you’re finished setting the date and time.
How to set your preferred language
From the General panel in System Settings, look for Language & Region in the list of options on the right:
- The current language is at the top of the panel.
- Click the plus symbol below English to see other languages.
- Scroll the list and then click Add on the language you want to use.
- A pop-up box will ask if you want to set this as the computer’s new primary language.
- You can also keep it as a preferred language to use as the primary language later.
- The Region option lets you set your region to Australia, to ensure you get the right information and updates.
- Choosing Australia will also use Australian date, time, and calendar formats.
How to control volume
Control your computer’s volume using the volume keys on the Apple keyboard:
- These keys are in the top row and look like a speaker icon with sound waves.
- Volume down is also the F11 key, volume up is the F12 key, and mute is the F10 key.
- Pressing a key will make a volume icon appear on screen, showing the volume increasing or decreasing.
- If you press the mute key, the volume icon shows a line through it. Press mute again to unmute the sound.
- If your keyboard doesn’t have these keys, click on the Control Centre in the top right of the screen. The icon looks like a pair of toggle switches.
- Find Sound and use your mouse to move the slider to adjust the volume.
How to adjust to screen brightness
Use the Control Centre to adjust the brightness of the computer’s display:
- Find the Display slider and move it with your mouse to change brightness.
- If you have an Apple keyboard, use the F1 key to decrease brightness, and the F2 key to increase it.
- An icon appears on the screen to show brightness increasing or decreasing.
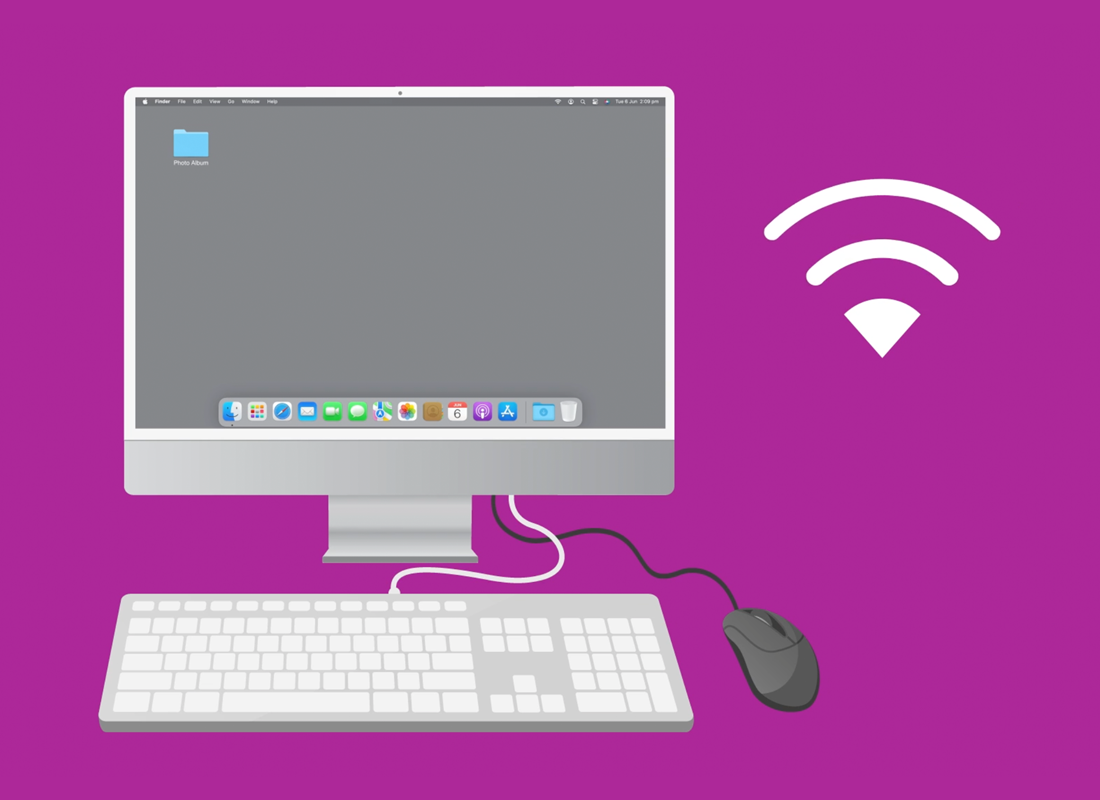
How to connect to a Wi-Fi network
When you set up your computer, you most likely connected it to your home Wi-Fi network. Each time you turn on your computer, it should automatically reconnect to that Wi-Fi.
To see if your computer is connected to Wi-Fi:
- If the Wi-Fi icon at the top right of the screen shows solid white lines, you’re connected to the internet.
- If the icon is pale grey, either Wi-Fi is turned off or you are not connected.
If you need to reconnect to home Wi-Fi, or connect to a new Wi-Fi network:
- Click the Wi-Fi icon to open the Wi-Fi drop-down menu.
- A blue switch shows Wi-Fi is on. If the switch is grey, Wi-Fi is off.
- When Wi-Fi is on, a list of available networks appears.
- A padlock icon indicates when a network is protected by a password.
- A blue Wi-Fi icon shows when you are connected to a network.
- If you aren’t connected, click on the name of your home Wi-Fi network.
- Enter the Wi-Fi password in the pop-up box. If you don’t know the password, it’s usually printed on the bottom of your home router.
- Tick Show password to check you are entering the password properly.
- Click Join and the computer will connect. It will also remember this Wi-Fi network and try to connect each time you switch the computer on.