Setting up your new Windows laptop computer
This short guide is a reference tool to help refresh your knowledge or practise what you have learned in the Setting up your new Windows laptop computer online video course, including how to:
- connect to Wi-Fi and choose setup preferences
- create a Microsoft Account
- finish setting up your computer so it’s ready to use.
Before you begin
Make sure your computer is:
- switched on and showing the desktop
- connected to your home Wi-Fi
- running the latest version of its operating software. If your computer is not running Windows 11, some of the steps may look different but you can still follow along.
The examples this course use a laptop and a connected mouse, but you can use your computer’s built-in trackpad instead.

Getting started
If you are using a pre-owned computer and see the previous owner’s Sign In screen, you’ll need to delete their account and all the files and data on the computer. You can learn how to do this in the Resetting your pre-owned Windows laptop computer course.
If you see a screen that asks you to select a language, then the computer is ready to set up.
The set-up process
Your computer will guide you through the following screens:
- Language. Select English (United Kingdom) so that Australian spelling is used, then click Continue in English.
- Region. Scroll the box and choose Australia as your region, then click Yes.
- Keyboard layout. Choose United States International, then click Yes. If asked to add a second keyboard, click Skip.
- Connnect to Wi-Fi. Connect to your home Wi-Fi by choosing it from a list of networks and entering the password. Once connected, you’ll see Connected, secured under your home network name.
- Windows Licence Agreement. Review the terms of use and click Accept.
- Name your device. You can name your computer, to make it easier to find when connecting to other networks and devices, or click Skip.
- Create a Microsoft account. This account lets you access Microsoft services on your Windows computer, including apps, email and cloud storage. There are several steps, including adding personal information and choosing a strong password. It’s OK to provide your personal information during the Microsoft Account set up, as this ensures that only you can use your Microsoft Account.
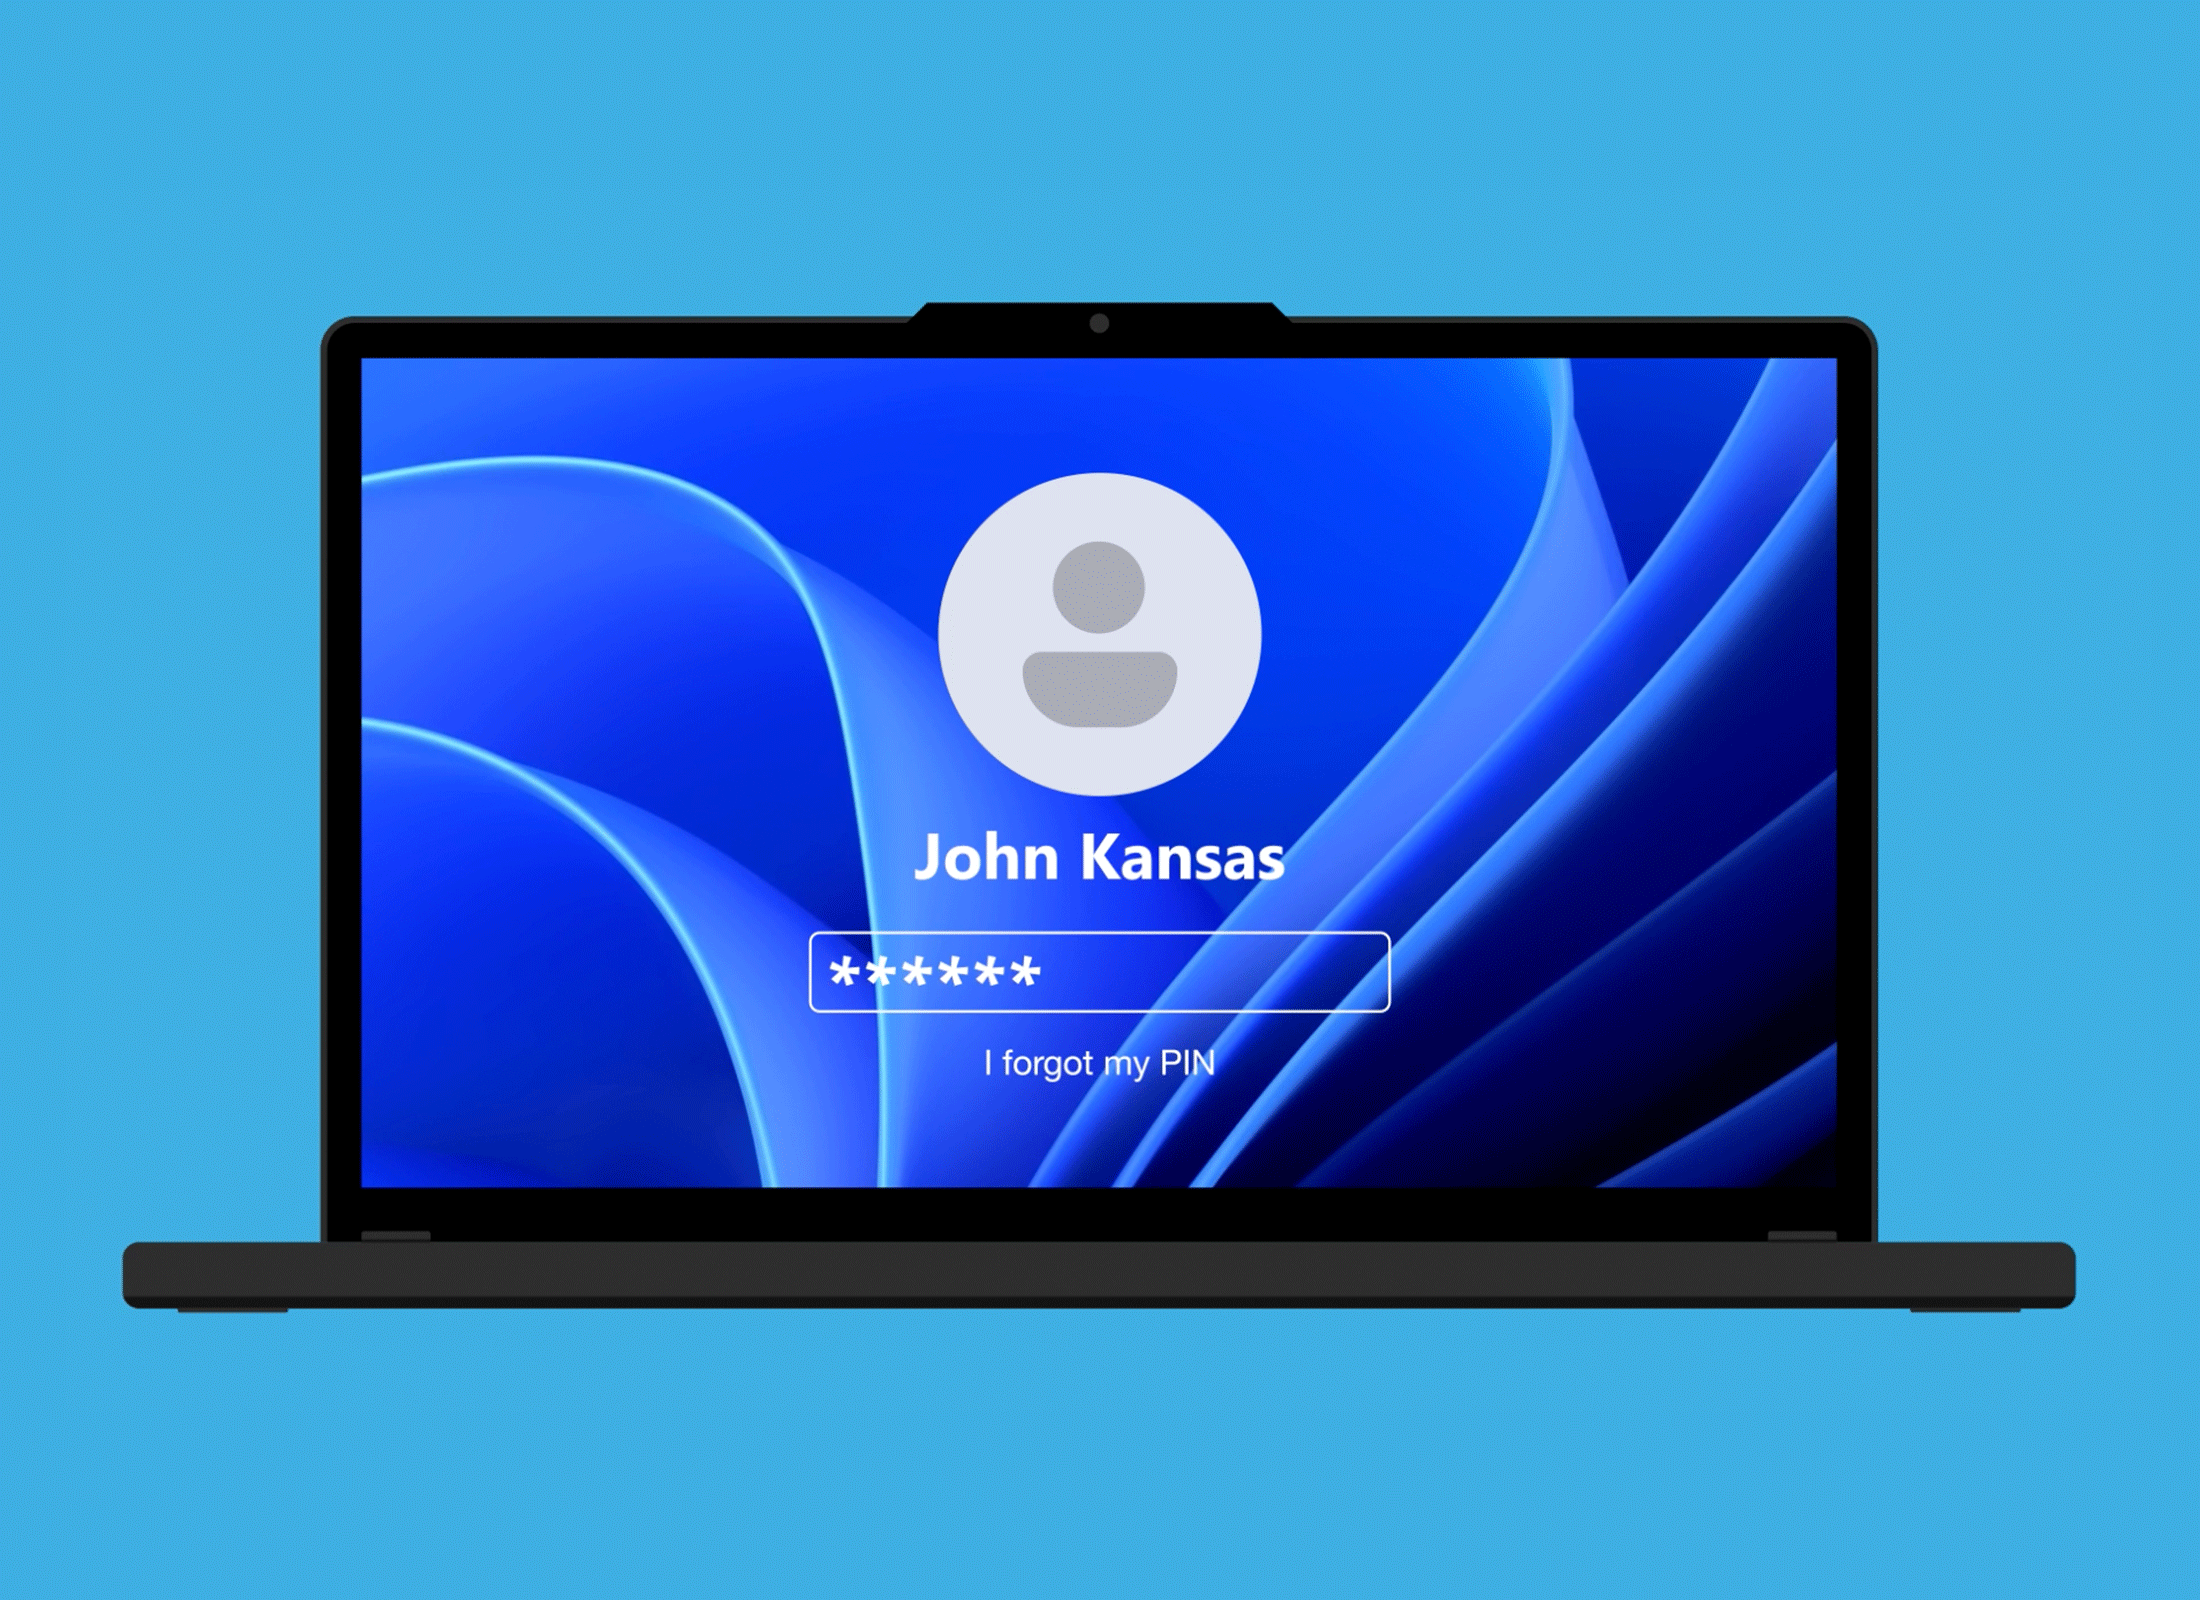
- Create a computer PIN. A PIN lets you sign in quickly and securely to your computer whenever you want to use it. Create a six-digit number that’s easy for you to remember but hard for others to guess.
- Privacy settings. The privacy options can be set up later, so click all the switches to turn them off, then click Accept.
- Choose setup type. If you’re not restoring backup files saved from another computer, click Set up as a new PC.
- Additional features. The next few screens present optional features that you can set up or change later. As the screens come up one after the other, click:
- Skip, Skip, then Skip again
- Not now
- Decline Microsoft 365
- Decline
- Next
- Skip for now
Once the desktop appears with the Start menu open on the screen, set up is complete.