Posting for the first time on Facebook
Posting for the first time on Facebook
What's coming up?
With the knowledge gained in the previous activities of this course, it's time to start posting on Facebook!
In this activity, we look at creating our first post, including the different types of content, location and audiences for our posts.
Start activityWhat's on your mind?
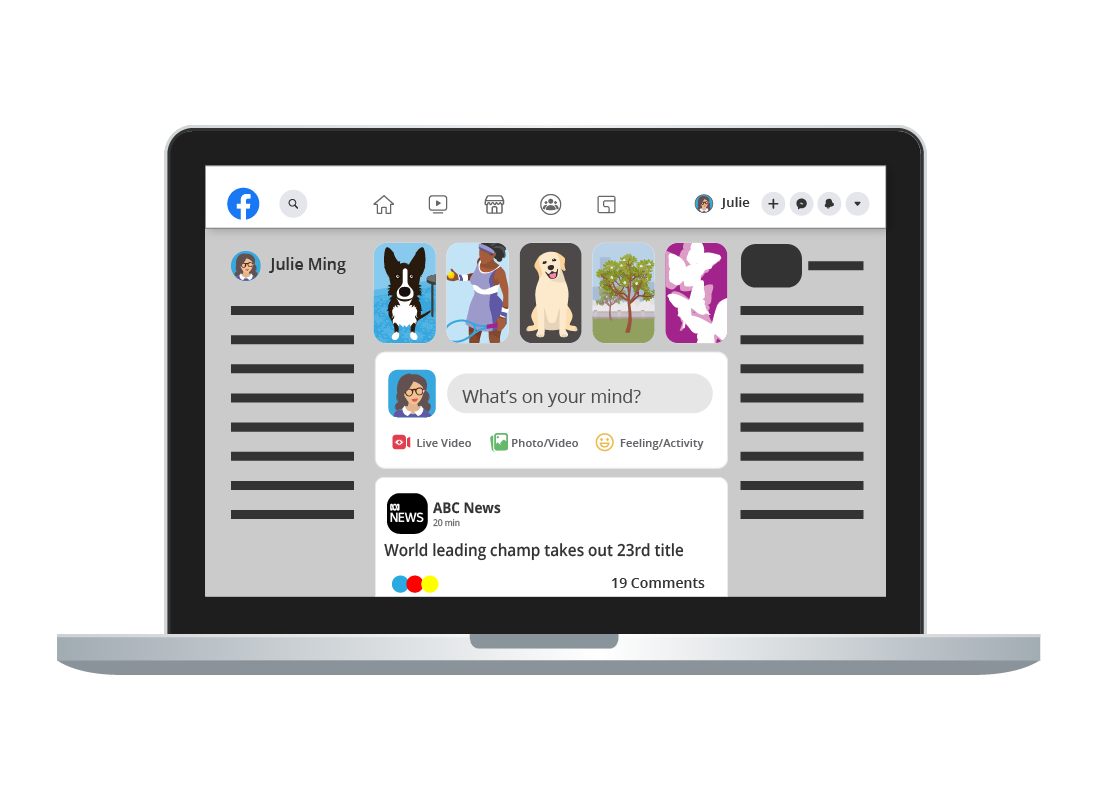
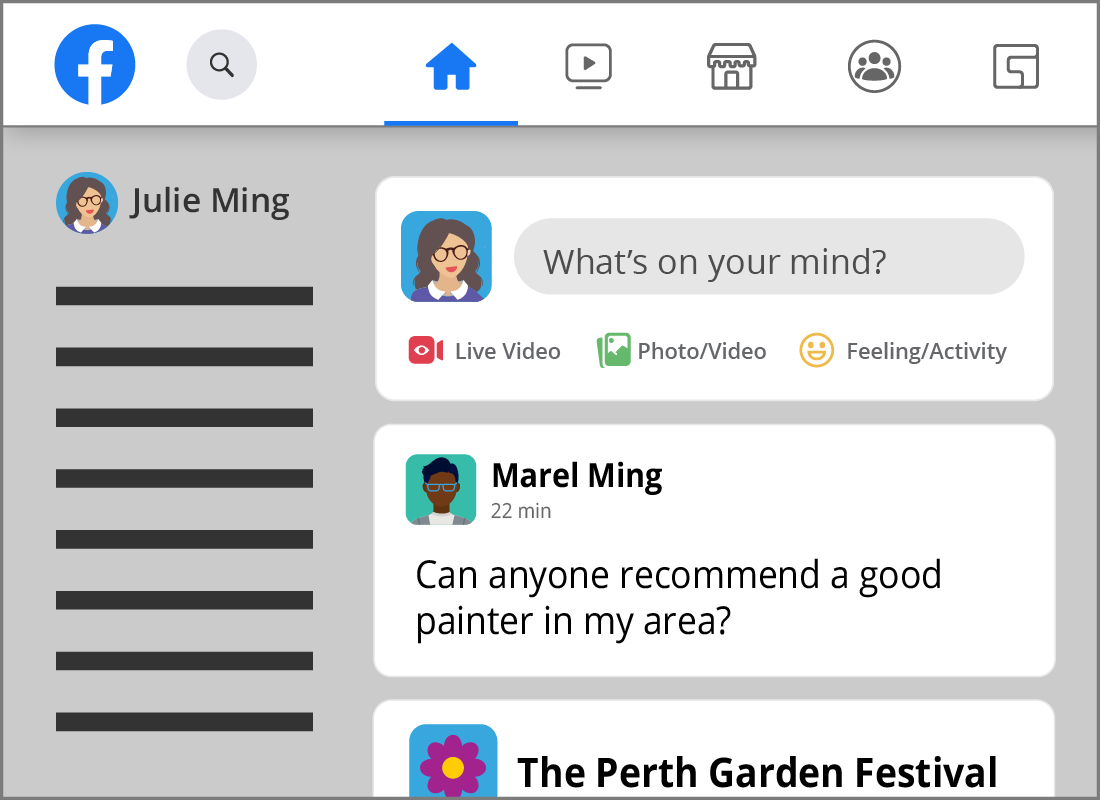
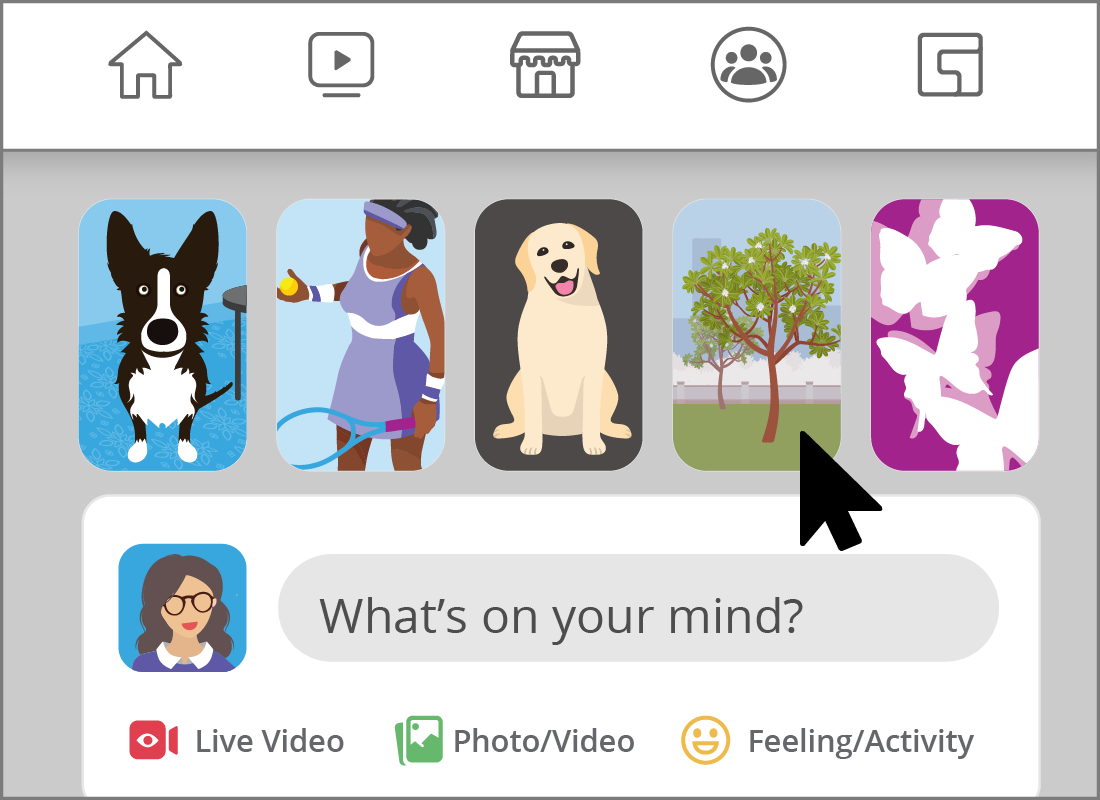
When you log in to Facebook, your Home page is the first page you see. In the middle column, above your News Feed, you will see box that says What’s on your mind? This is where you can share comments, questions, links, photos and videos with other Facebook users.
Create a text post
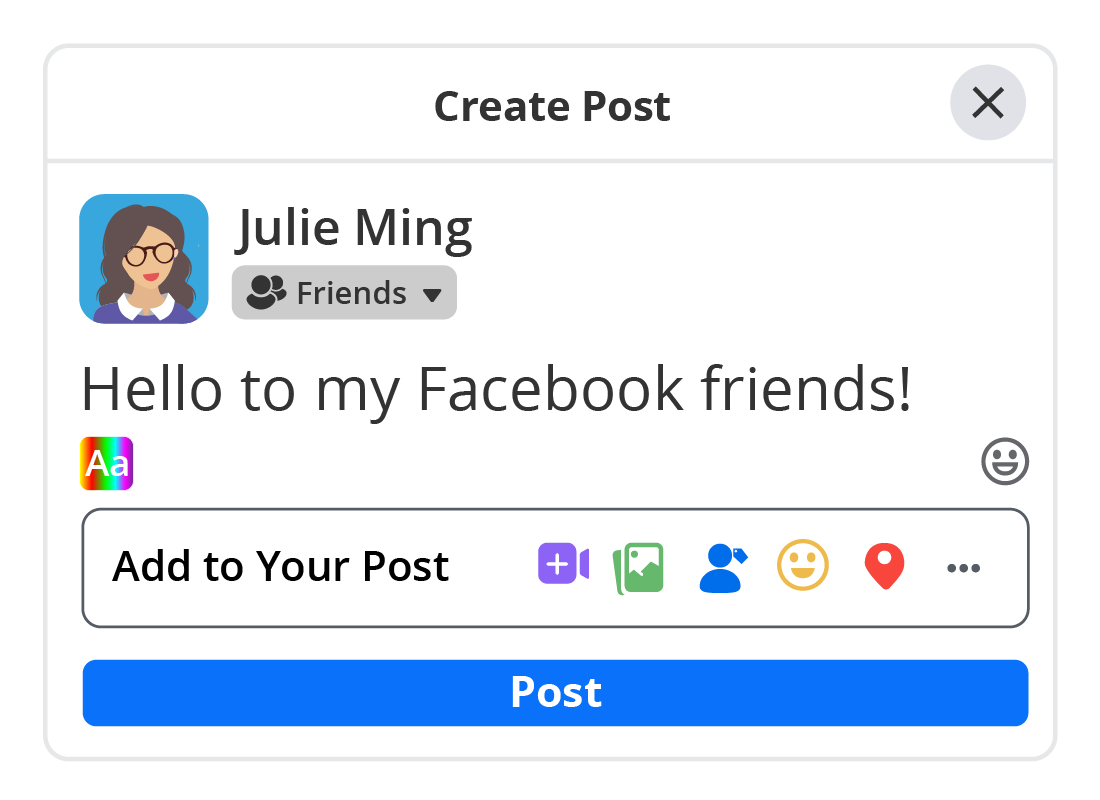
Click on the box that says What's on your mind to open the Create Post panel, then start typing your message.
When you are happy with what you have typed, click on the blue Post button at the bottom of the panel. And that's it. You've just created your first Facebook post!
eSafety Tip
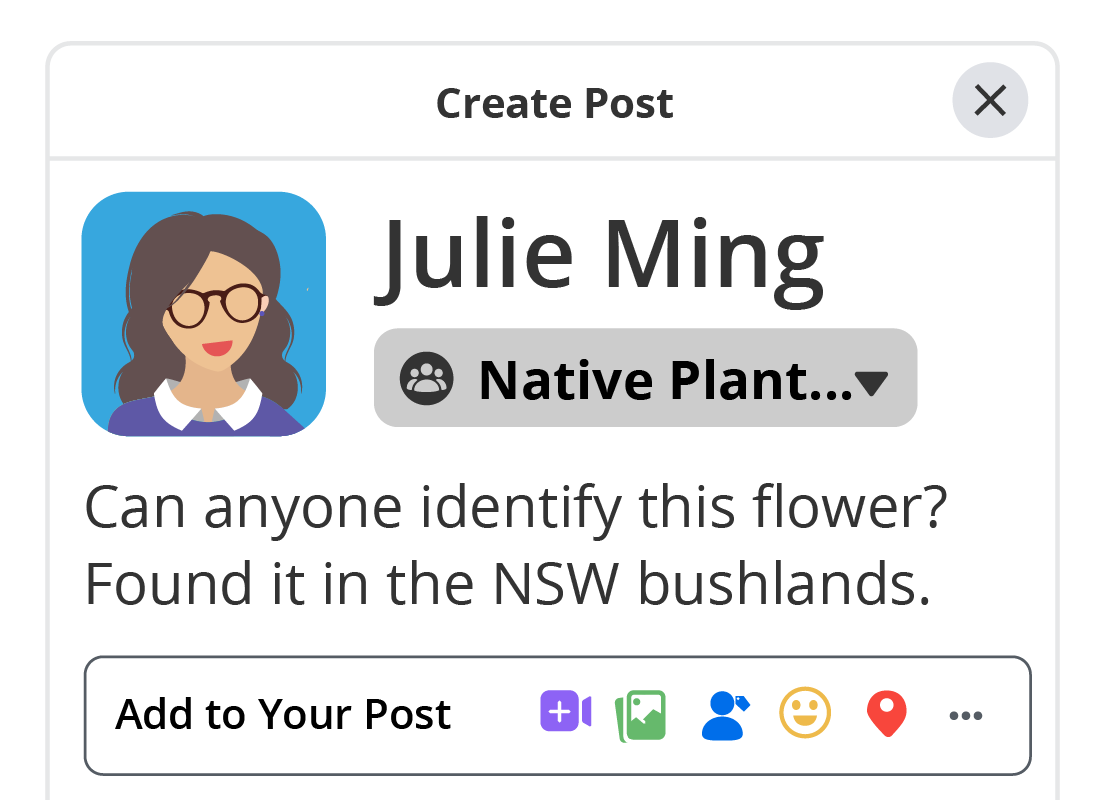
When you click on the Create Post panel, you will see your post's default audience is named on a button under the body of the post. In our example above it is Friends.
If your audience is Public, we recommend you change your default audience in your Privacy settings. You can find out how to do this in the Controlling your Facebook privacy settings activity in our Introduction to Facebook course.
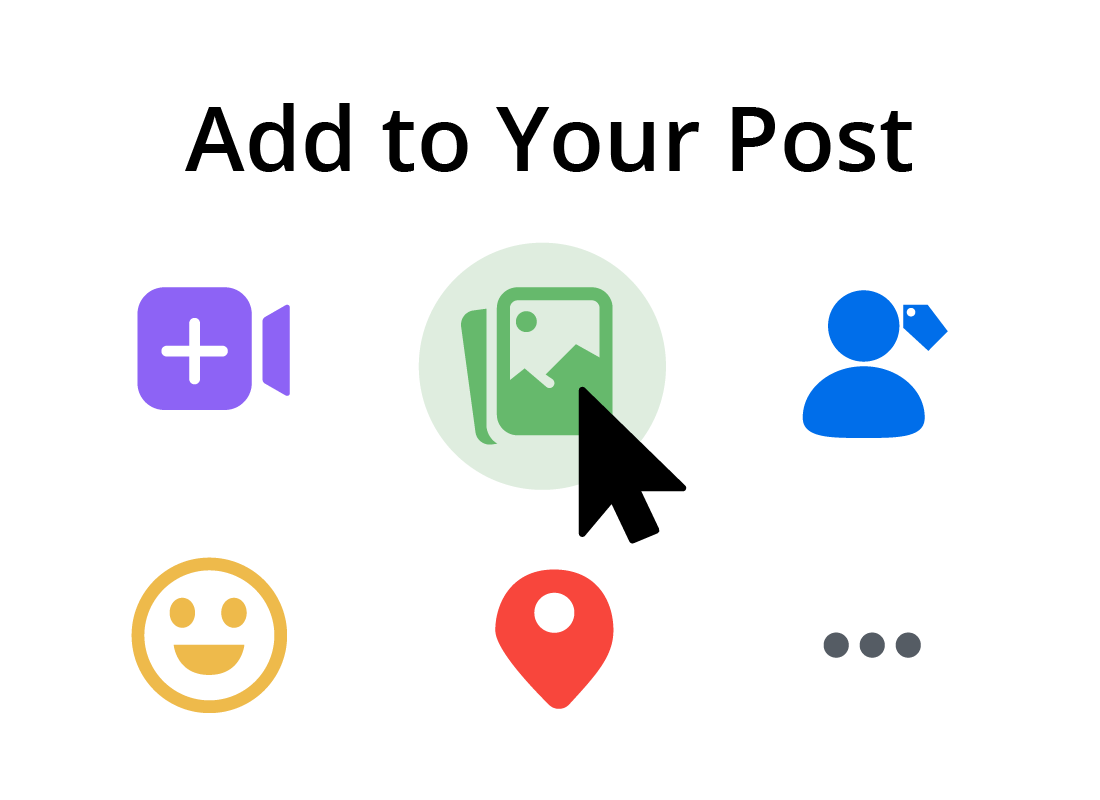
Create post options
There are many options to help you add content to your post. Click on the three dots (...) just under the text box to see the full list.
As you will see, there is quite a selection to choose from, and it's worth spending some time experimenting with them to see what they can do.
For this activity, we are going to focus on one of the most popular options: Photo/video.
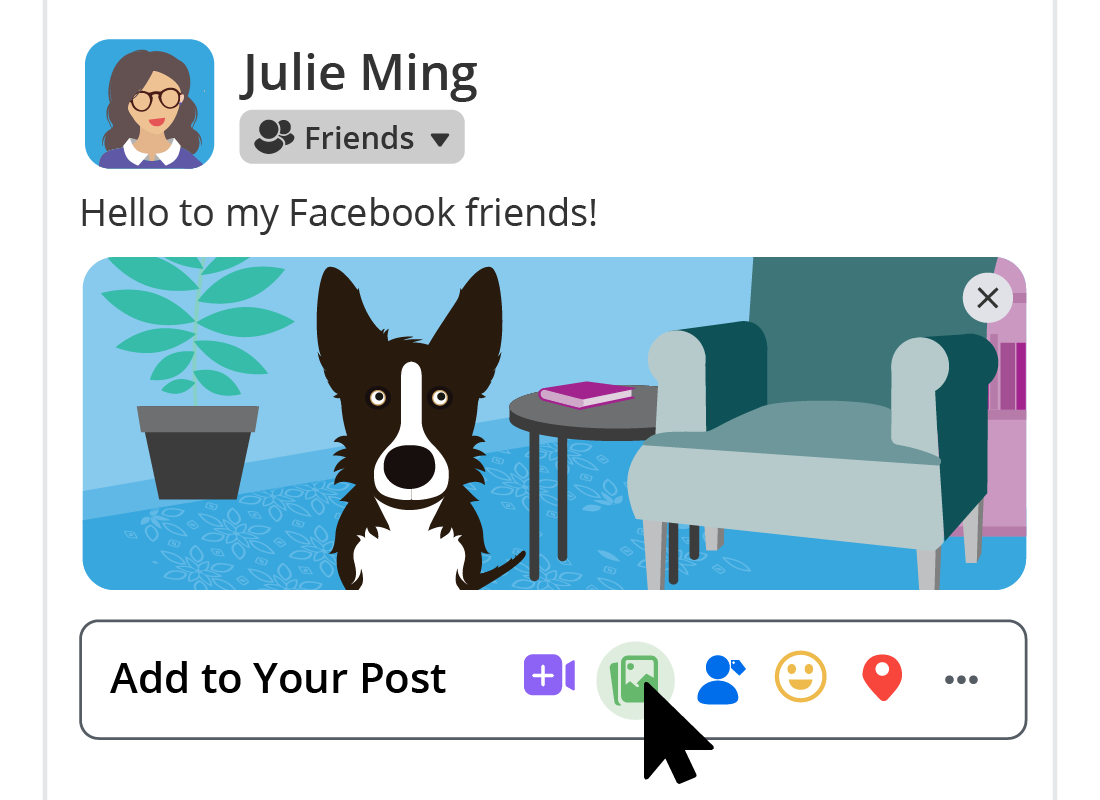
Adding an image or video to your post
Sharing photos and videos with your friends is one of the most popular activities on Facebook.
To add an image or a video to your post:
- click on the Photo/Video button
- browse your device for the image or video you want to share
- select the file and click Open.
You will see your image or video appear on your post, ready to share.
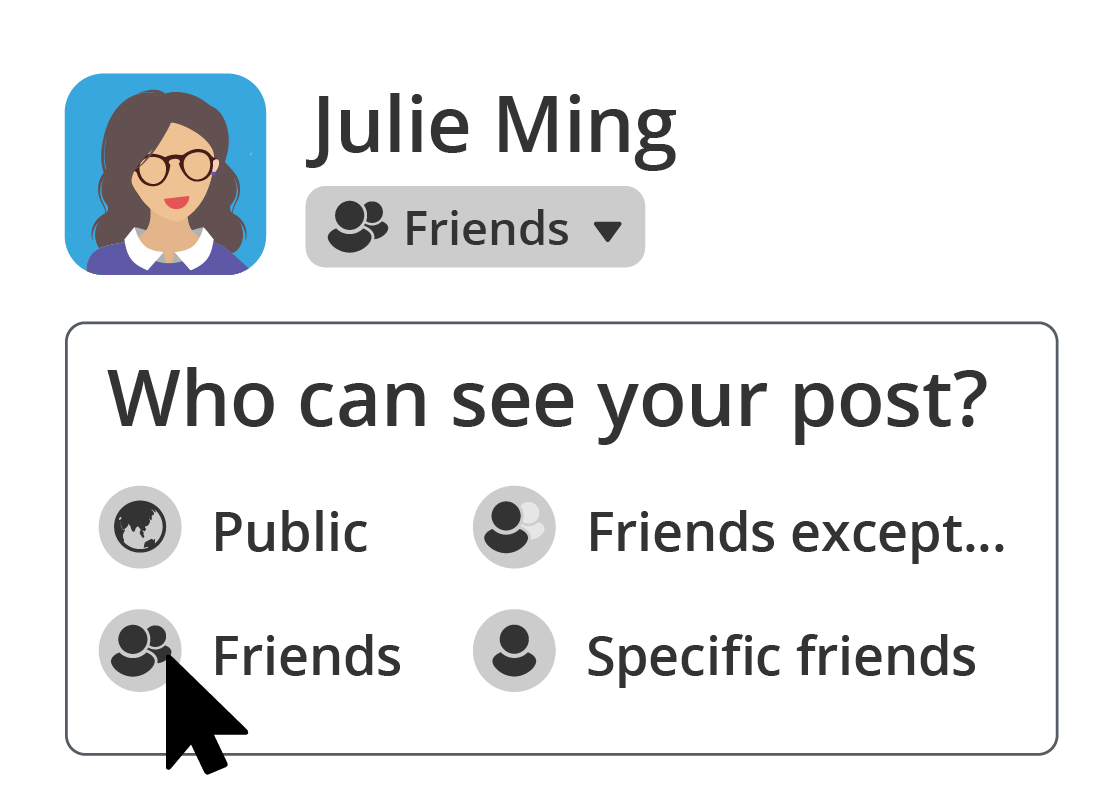
Changing who can see your post
When you click on the Create Post panel, you will see your post's default audience is named on a button under the body of the post. In our example, it is Friends.
You cna change this so that everyone on Facebook can see your post, or just one person by clicking on the little downward facing arrow next to the post's audience name, and choosing a new audience from the list of options.
How to create 'Your Story'
An alternative way to post is with Your Story.
Your Story posts are visible in a special section above News Feeds for 24 hours only. After that, they disappear from friends’ Facebook pages.
To create a Your Story post, click on the Your Story box in your News Feed. If it doesn’t appear, click the Create icon (it’s the + sign) on the right-hand side of your Facebook page, and select Story from the drop-down list
Posting only to group members
If you have joined a private group, and want to write a post that only members can read, first click on the group's name to open its Facebook page.
Once you are on the group's page, click on the What's on your mind box to open the Create Post panel, and check if you see the group's name beneath your name. If you can see the group's name mentioned, your post will only be visible to that group's members, and will not appear on anyone else's News Feed.
Removing a post you've created
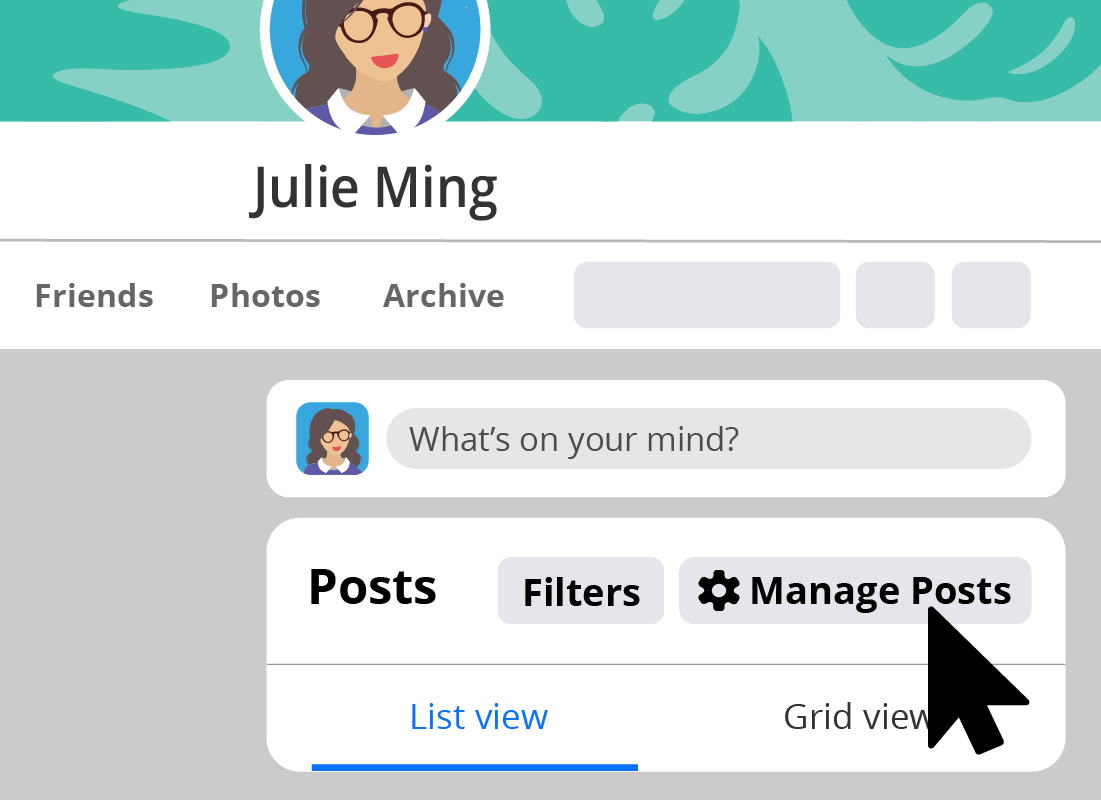
To remove or hide a post you have created, click on your Profile name in the menu bar to open your Profile page.
Scroll down the page until you see the Manage Posts button. Click on it to open a list of all of your posts. They will be displayed in reverse date order.
Select the post you wish to hide or delete, and then click on the blue Next button. A pop-up menu will appear, and you can choose what action you wish to take from the list of available options.
Congratulations!
This is the end of the Posting for the first time activity. You have learned how to create a new post, choose the location and audience, and how to delete posts you no longer want to keep.
In the next activity, Responding to posts on Facebook, we look at how you can react to other people's posts on your News Feed.