Setting up Google Nest Mini
Setting up a Google Nest Mini
What's coming up
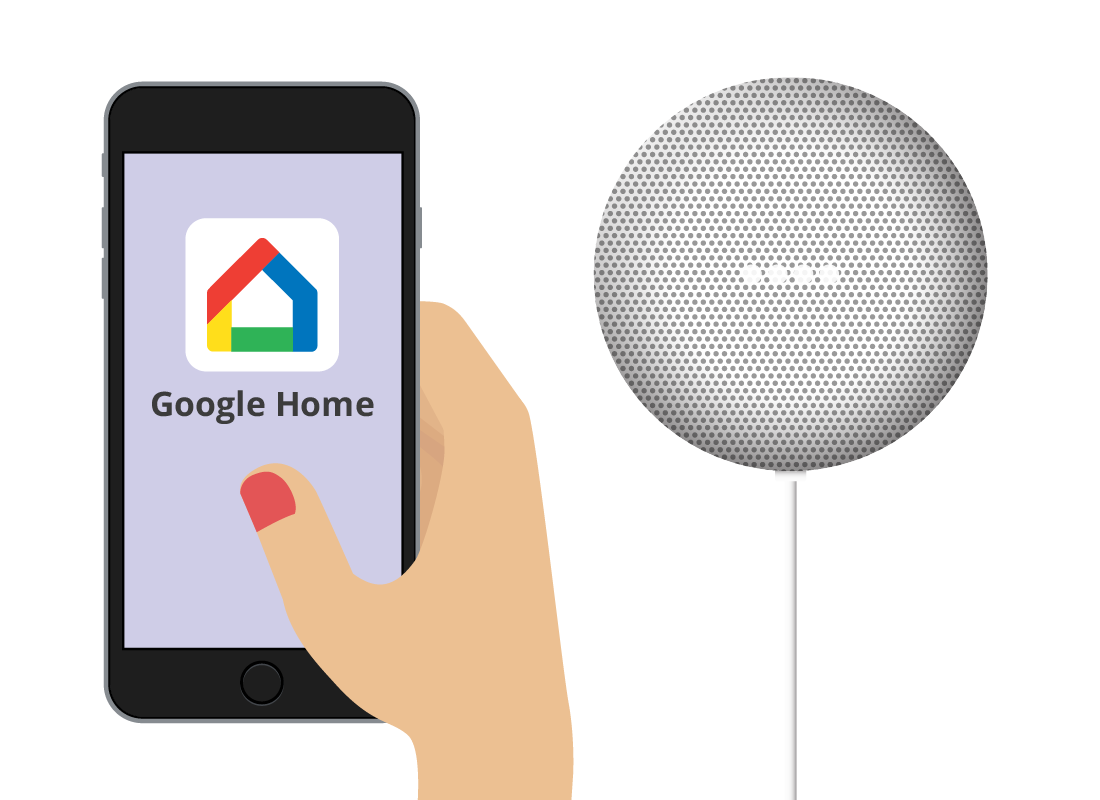
Now that Jacinta has the Google Home app set-up and running on her iPhone, she’s ready to set up her Google Nest Mini smart speaker.
Let’s follow along as she goes through the final steps to set up her smart speaker.
Start activityJacinta is ready to go
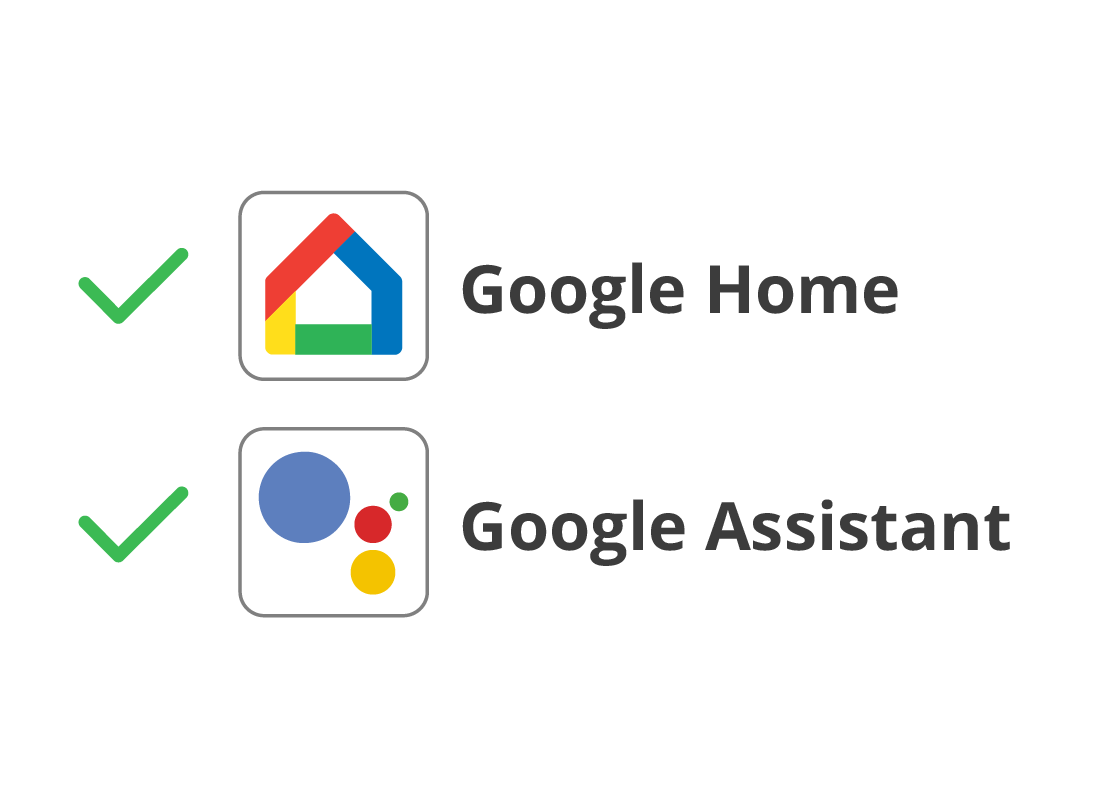
Jacinta has downloaded the Google Home and Google Assistant apps onto her iPhone, using the Apple App Store.
She has signed in to her Google Account and is ready to add the smart speaker to her Google Home app.
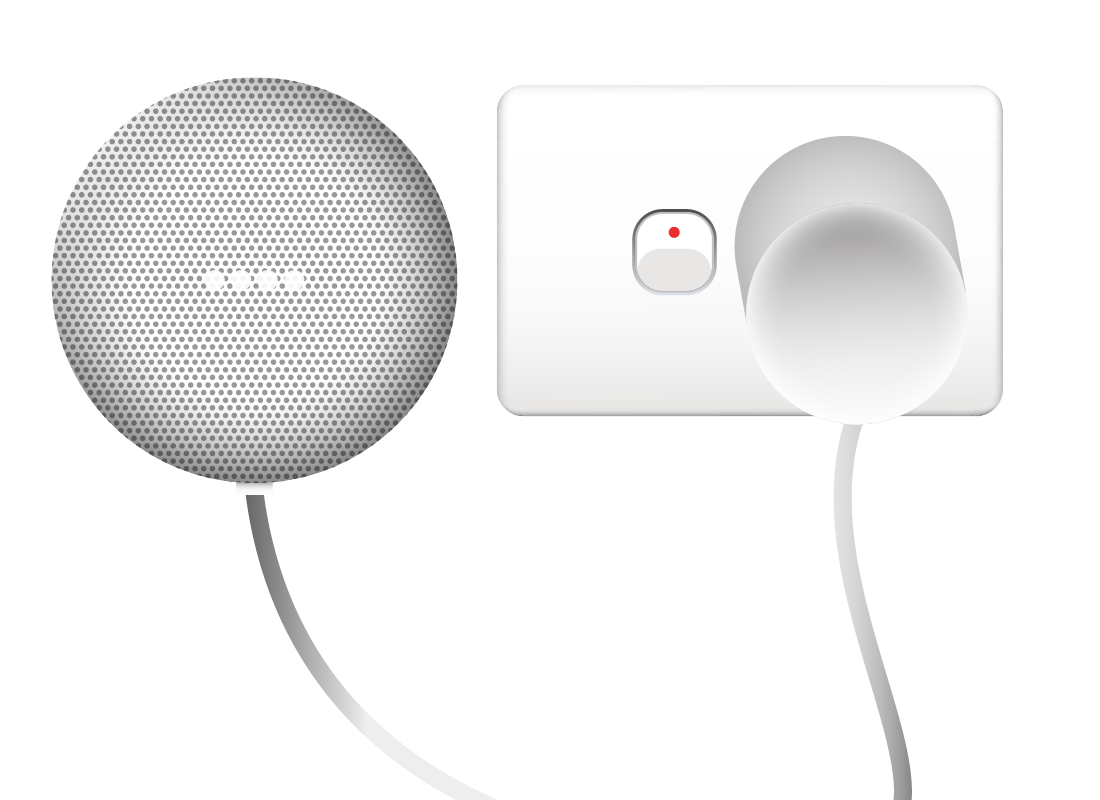
Jacinta check the Google Nest Mini is plugged in
Jacinta makes sure the Google Nest Mini is connected to power. It doesn’t have an on/off switch, it just turns on at the wall.
She also double-checks that her iPhone is connected to her home Wi-Fi, otherwise it won’t be able to talk to her smart speaker.
Google Home finds the Google Nest Mini
The Google Home app will search for any new smart speakers that are switched on but not yet set up on Jacinta’s home Wi-Fi.
The Google Home app automatically detects Jacinta’s Google Nest mini, and she taps on it to set it up.
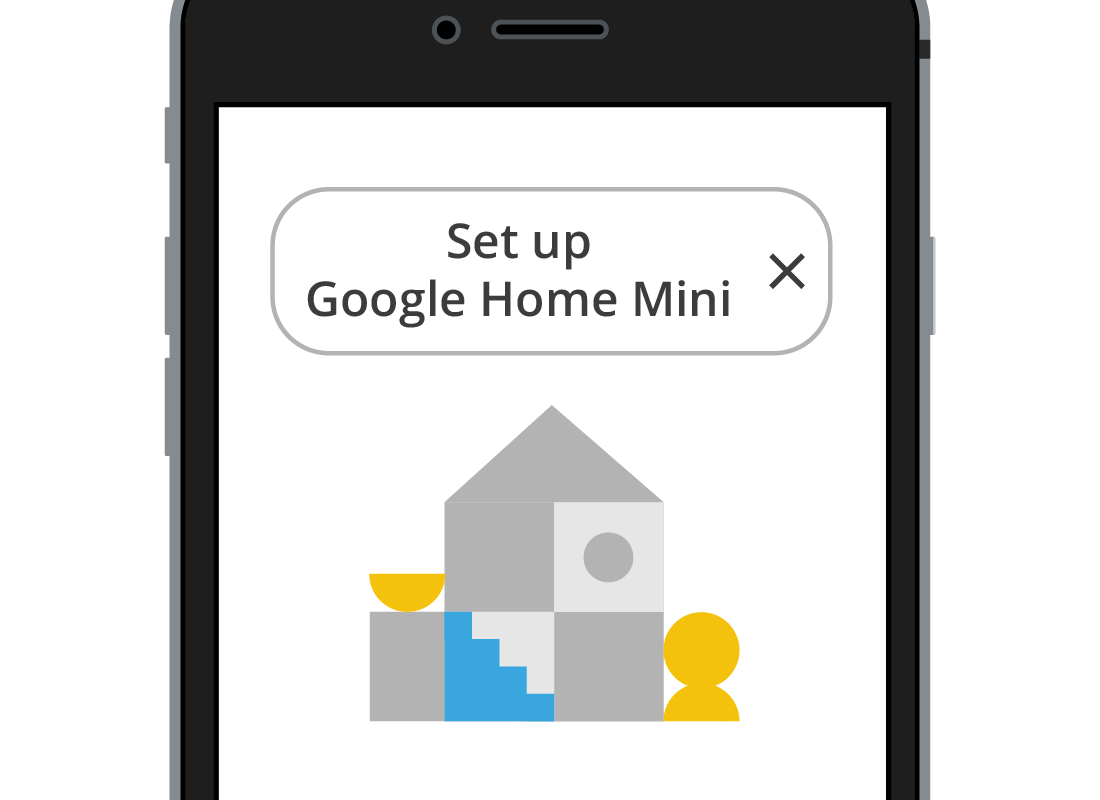
Setting up the Google Home Mini
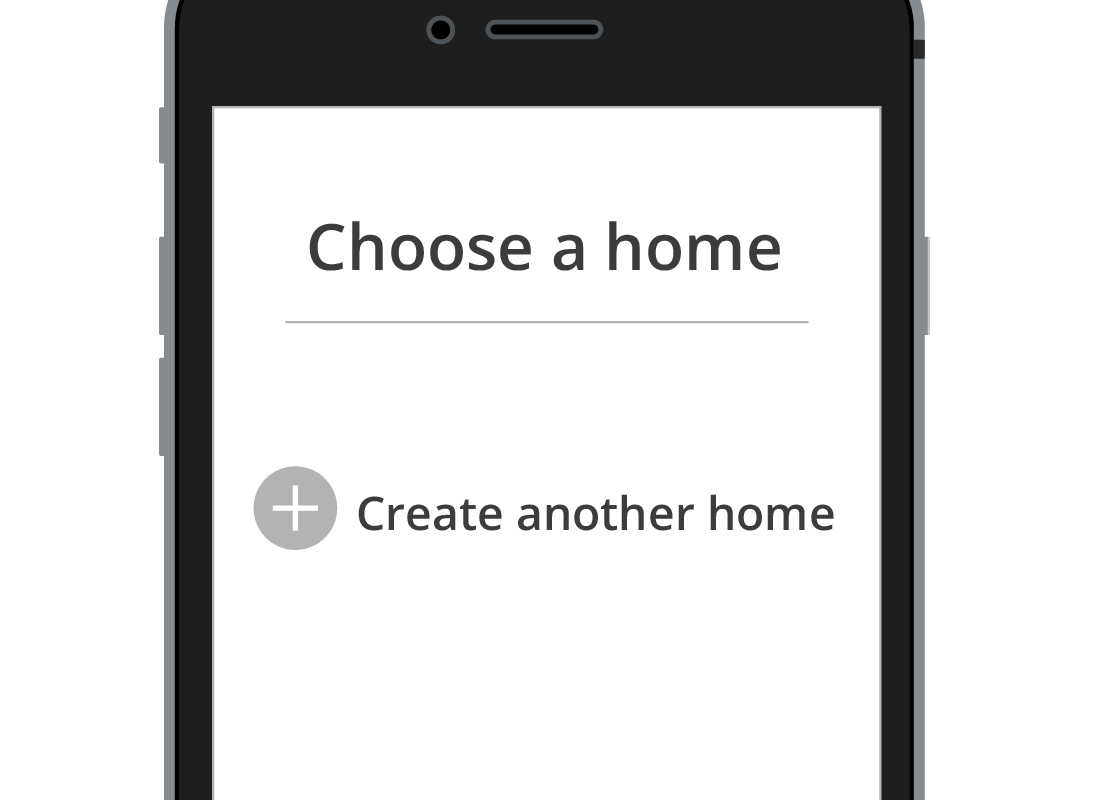
To get started, Jacinta names her home and provides the Google Home app with its address. The app needs this to provide you with weather reports, traffic conditions, and commute times for your location.
Next, she follows the steps to set up the Google Home Mini.
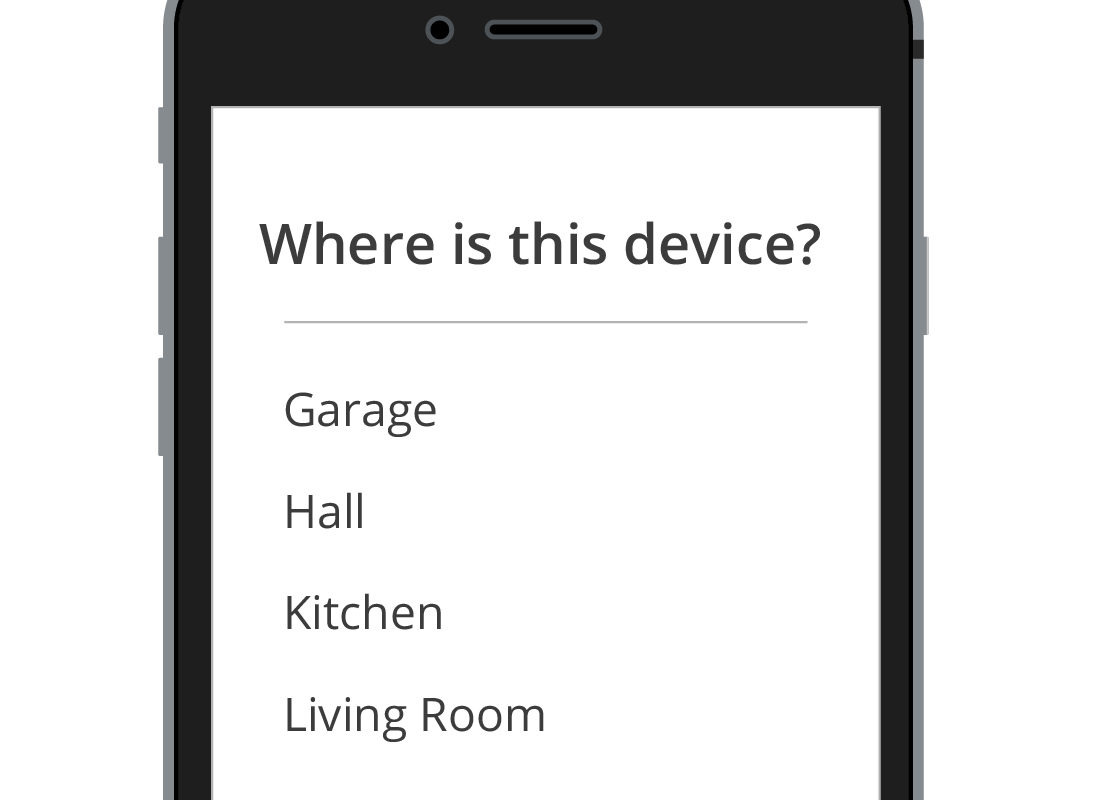
Jacinta creates a room for her speaker
The Google Home app asks Jacinta which room the smart speaker is in. This helps the app keep things organised so it can easily identify different speakers if she has more than one set up in her house. Jacinta’s Speaker is in the kitchen, so she taps Kitchen from the list provided and continues to follow the set-up steps.
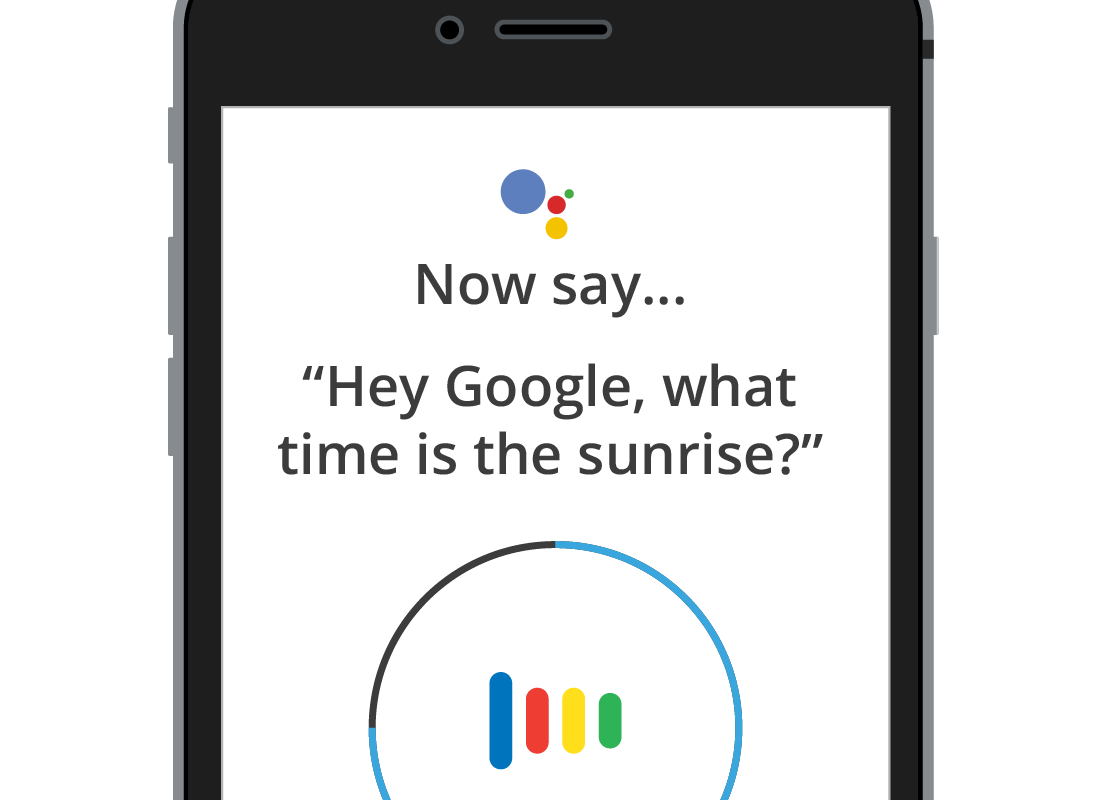
Jacinta trains her speaker to understand her voice
The last step of the set up will train Jacinta’s speaker to understand her voice, so that it can identify when she is speaking to it. To do this, Google Home will prompt Jacinta to read a series of phrases out loud. You can find out more about this in the Using a voice assistant course.
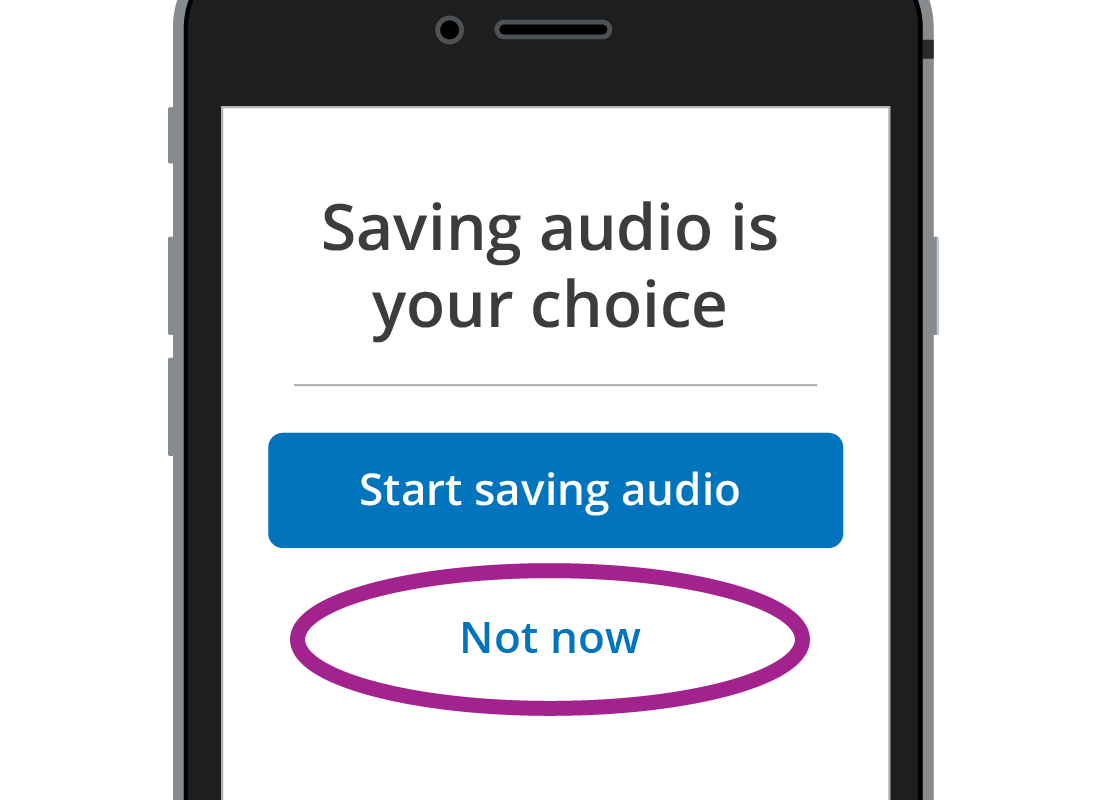
Jacinta does not want Google to save recorded audio
Now that Google recognises Jacinta’s voice, it asks her if she wants it to save the recorded audio. She taps Not now, and continues to follow the set-up steps until the app displays the Kitchen speaker is ready message.
Jacinta’s Google Nest Mini is now called the Kitchen Speaker and is officially part of her smart home. It is also set up in the Google Home app.
The speaker will introduce itself to Jacinta and give her a few handy hints of things she can do to get started.

eSafety Tip
It’s important to understand that when you use a voice assistant such as Siri or Google Assistant, your voice is being recorded, but the recording is not stored. If you use the Alexa voice assistant, your voice recordings are stored, but you are able to manually delete them.
If you aren’t comfortable with your voice being recorded, you can use a voice assistant app on your mobile device, and type in your requests instead of speaking them.
Well done!
This is the end of the Setting up a Google Nest Mini activity. You followed along as Jacinta set up her Google Nest Mini using the Google Home app on her iPhone. You’ve seen that the process is mostly automatic, and just involves following some simple instructions in the Google Home app.
Coming up, you’ll see some examples of how voice commands help Jacinta do some everyday tasks, in the Getting the most from your new smart speaker activity.
