How a photo's size works when printed
How a photo’s size works when printed
What's coming up?
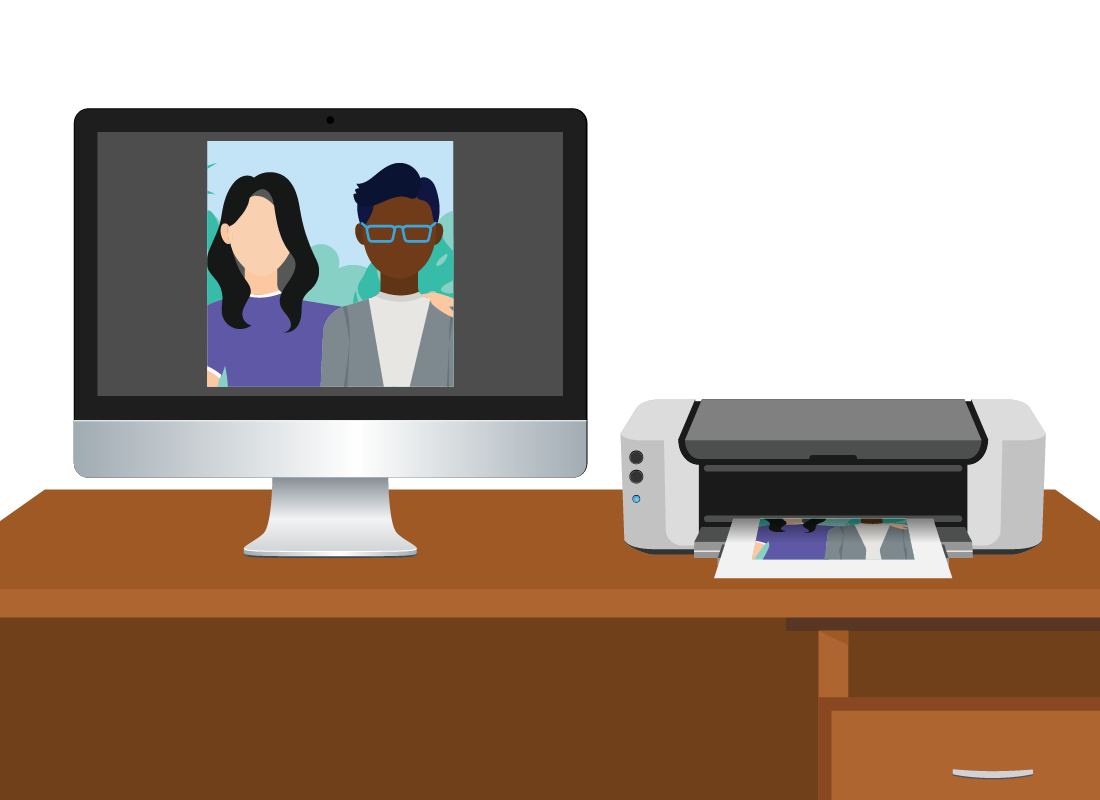
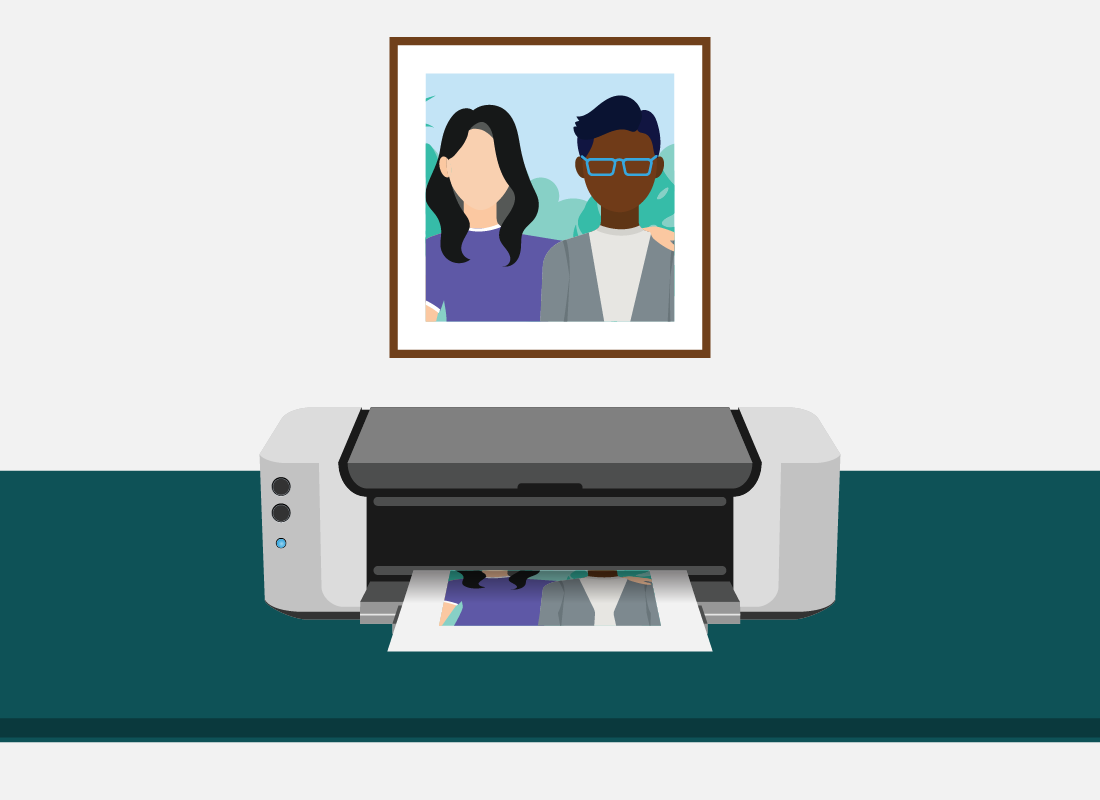
In this activity, you’ll learn how the printed size of a photo can be different from how large it appears on your computer screen.
You’ll find out how to tell if a photo will print out at good quality, and how your printer settings can affect this.
Start activityPrinters understand photo size differently
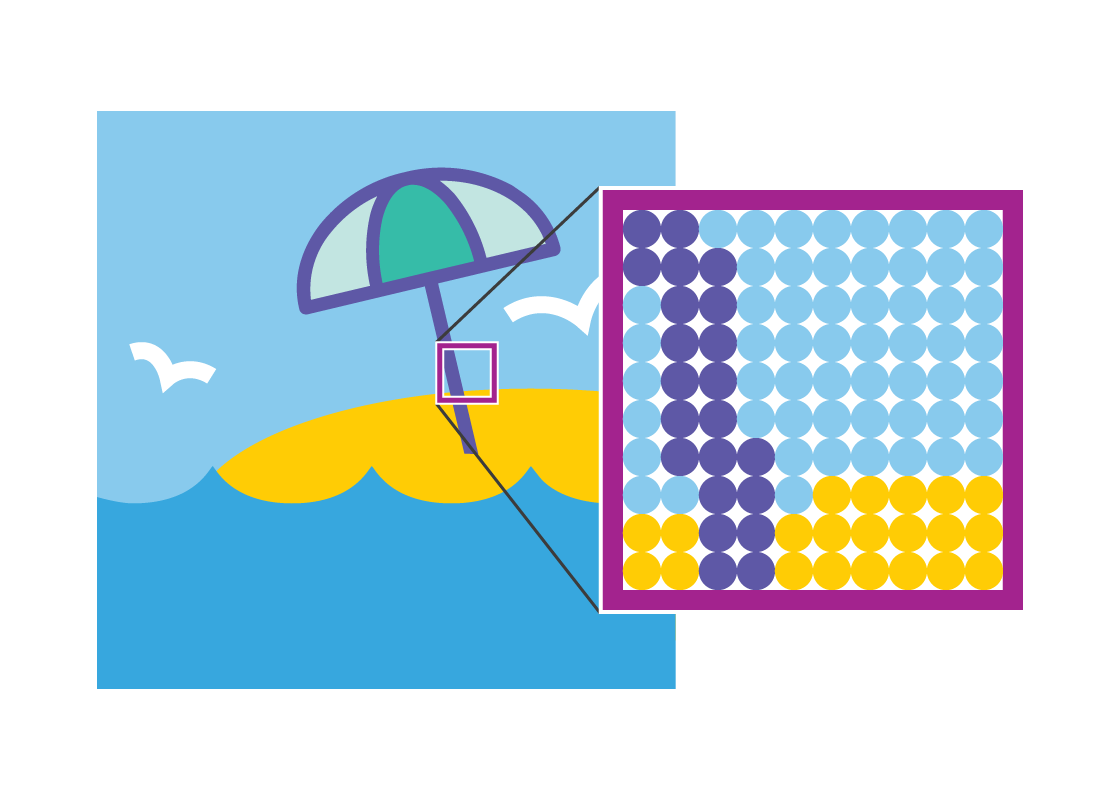
Photos on a computer screen are made up of a tiny grid of squares called pixels, which is short for picture elements.
Home inkjet printers don’t use squares, but instead put down tiny, coloured dots of liquid ink to build up an image.
As a result, printers have a different system of determining how big a photo will be when it prints out.
Understanding DPI
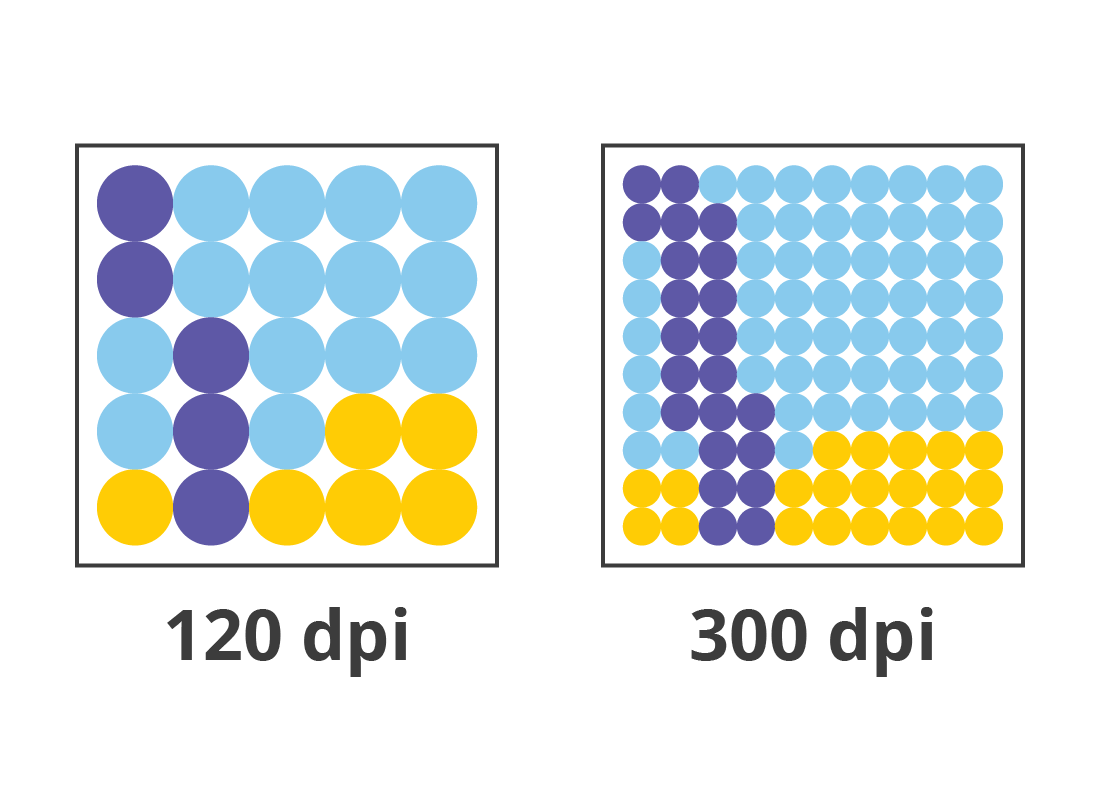
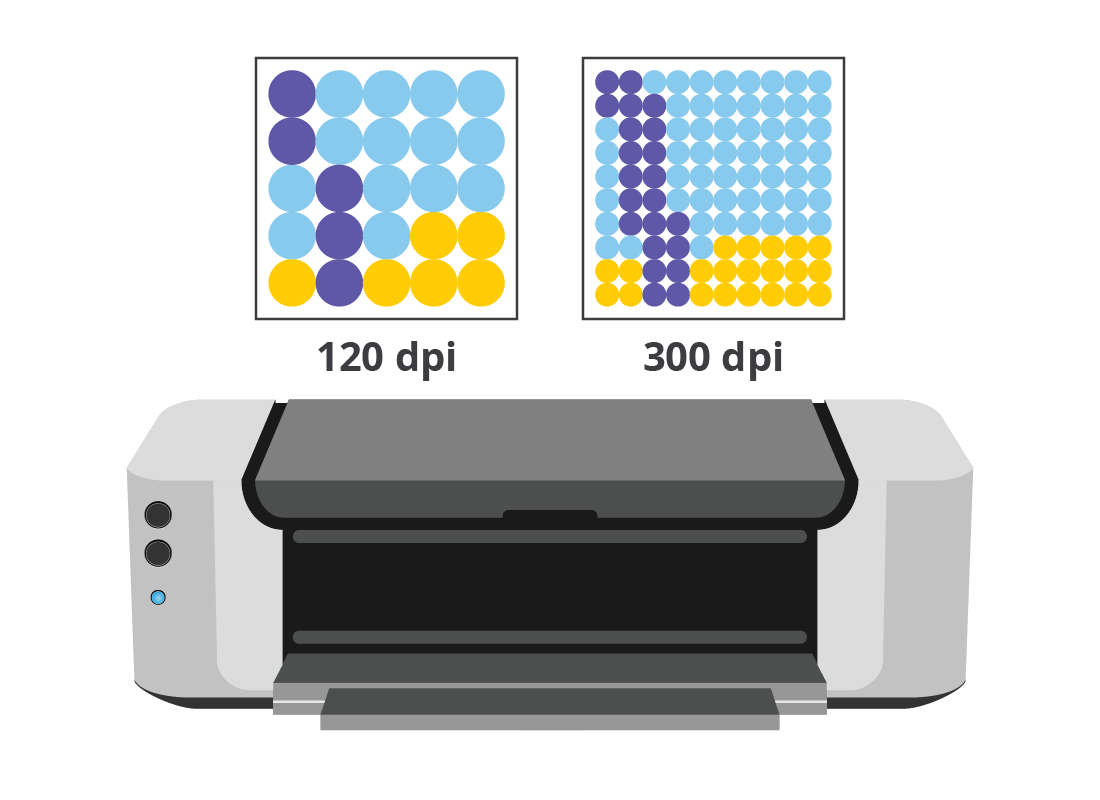
As well as number of pixels, your photo has a property called DPI, which stands for dots per inch. This simply means how many ink dots occur in a line that is one inch long.
Most smartphone photos have 120 DPI, and a photo from a high-end digital camera will have 300 dpi.
How DPI works when printing
DPI means that, for every inch on paper, the printer will put down that many dots of ink. So, a smartphone photo will have 120 dots of ink per inch, and a DSLR photo will have 300 dots of ink per inch.

What DPI means for your photos
DPI by itself will affect the quality of the photo when it prints out. But when a high DPI is combined with a high number of pixels, that means a photo can print out very large, and at high quality too.
Low DPI won’t make an image smaller when it prints out, just lower quality. In fact, an image that looks medium-sized on your computer might print out filling a whole A4 page.
The printer controls the size of the image
When you print out a photo, you can use the printer controls to choose which DPI the printer will use. Common settings are 120 DPI for regular prints, and 300 DPI for high-quality prints.
This setting, combined with the DPI of the photo file, will affect the quality of the photo print.
If you don’t mind using up some ink, try experimenting with printing the same photo using different printer DPI settings, to see the difference.

eSafety tip
The way DPI works is technical and can be confusing. The easiest way to remember is that high DPI plus high pixels means a large, high-quality photo that you can print at almost any size you want.
Most home printers include options where you can see a preview of how big the photo will appear on the page. Use this plus the printer’s Draft/Standard/High quality settings (or similar) to get photos looking the way you want. Then you don’t need to worry about DPI and pixels.
Changing DPI using a photo editor
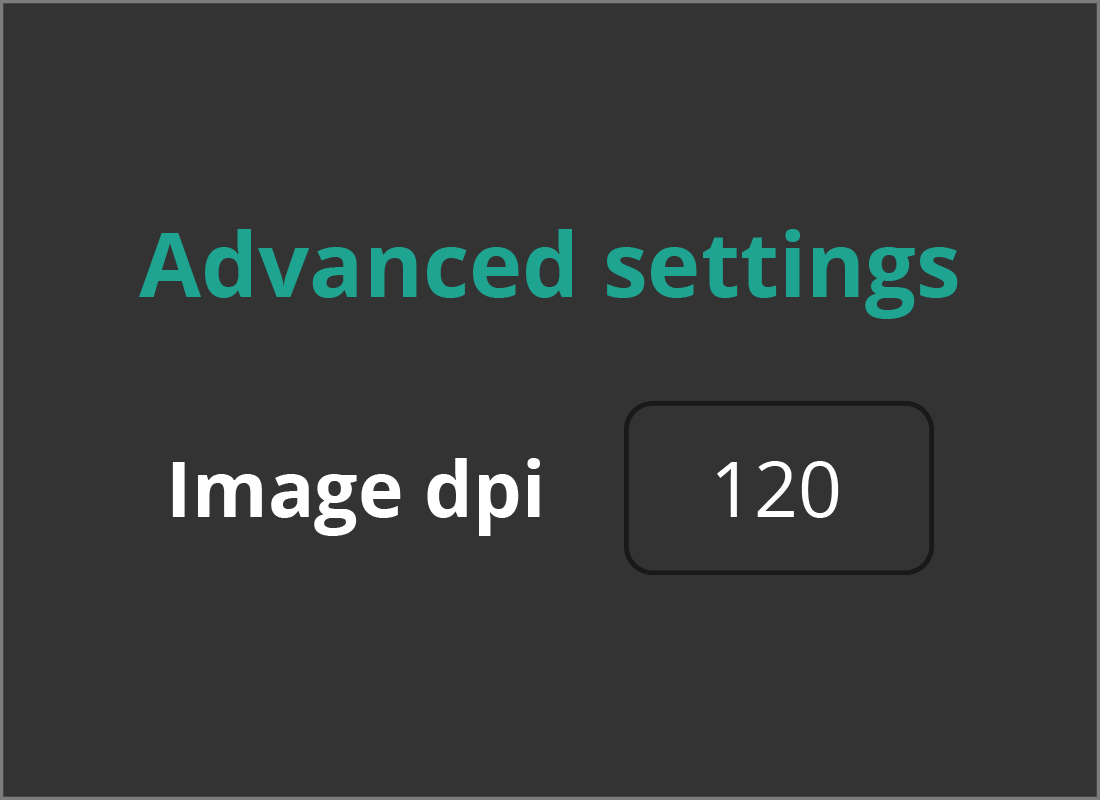
It is possible to use the advanced features of your photo editor to change a photo’s DPI, but this is usually not worth the bother.
When you change DPI in the photo, the computer makes guesses about where to put new image information. Sometimes the results can be blurry or jagged.

eSafety tip
It’s best to take photos at the highest quality your camera or mobile device can handle. This means the photo will have the highest pixels and DPI and you don’t need to worry about them!
The photos will have a large file size, but your computer has enough storage to keep thousands of photos, even very large ones.
Well done!
This is the end of the How a photo’s size works when printed activity. You’ve learned about dots per inch (DPI) and how this affects the quality and size of a printed photo.
In the next activity, you can find out How quality works for photos on your computer.