How to change a photo's file type
How to change a photo’s file type

What's coming up?
In this activity you’ll learn how to set a photo’s file type by using Save As when you edit a photo.
You’ll find out how the different file types can affect quality, and what to do if you don’t like the results.
Start activity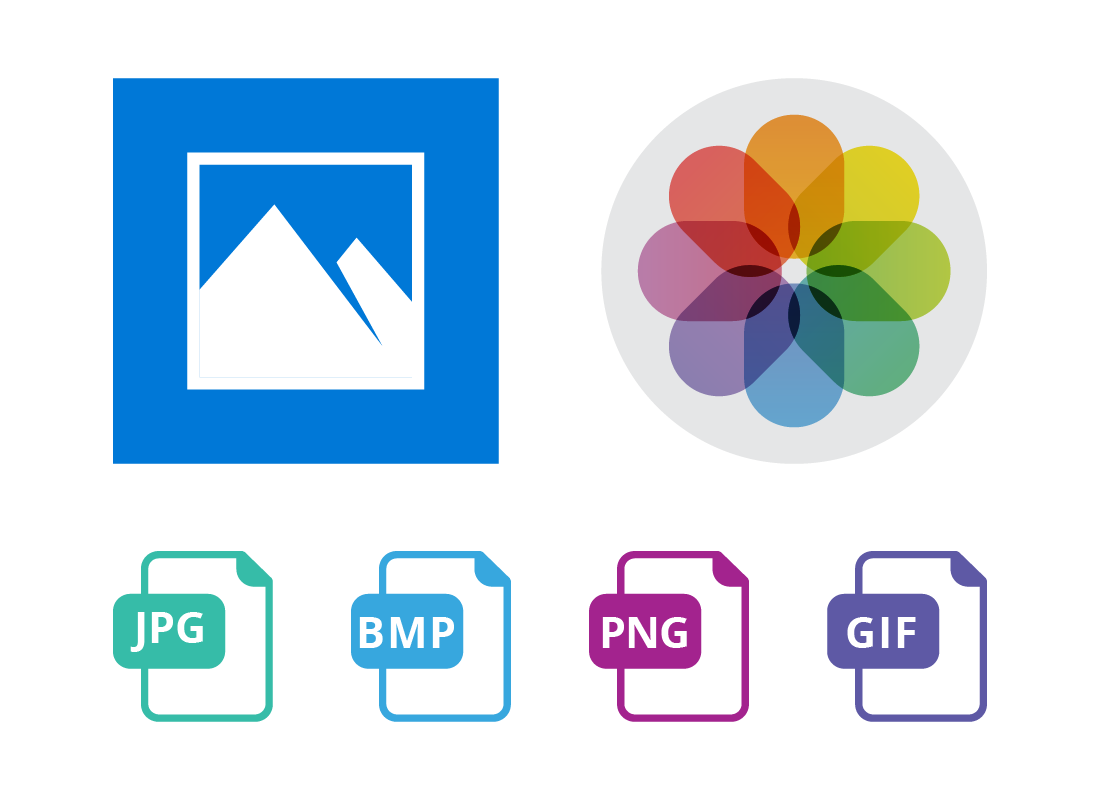
You can choose your photo's file type
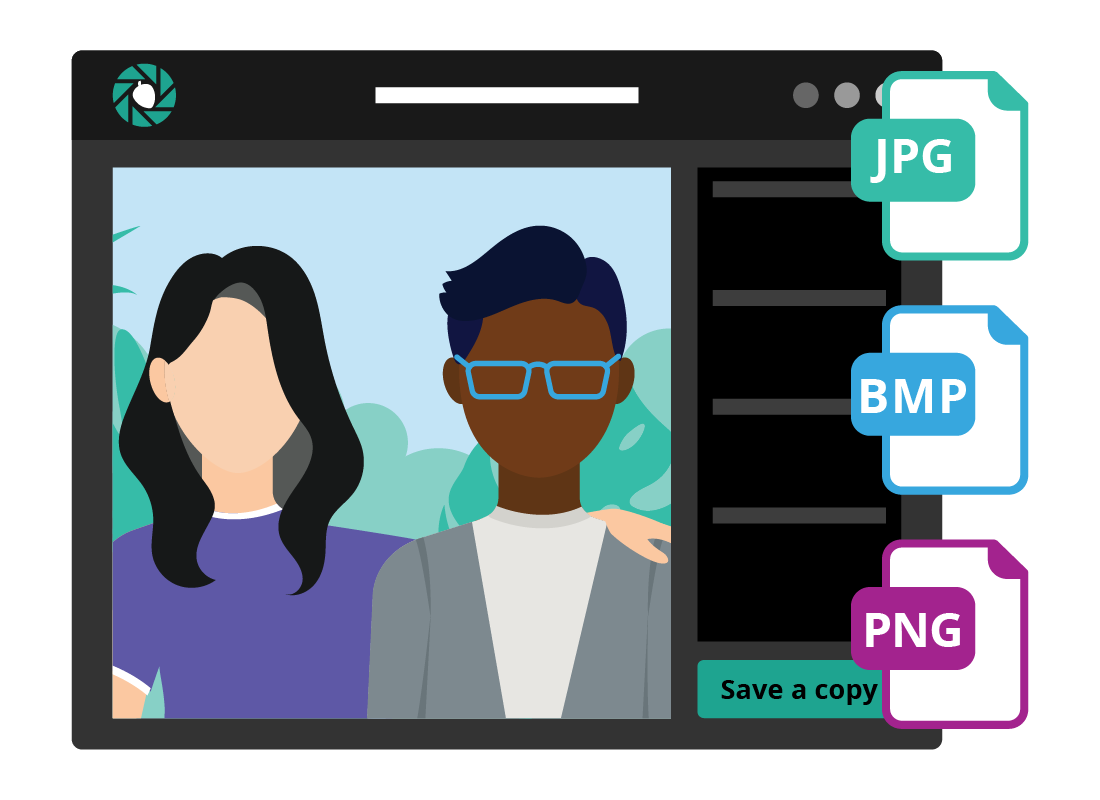
You can change a photo’s file type by creating a new version of the photo using the Photos app on your Windows or Apple computer. While the apps are different, they work in a similar way.
JPG is a good file type for photos, if saved with high quality settings. BMP is a large file type that keeps a photo’s full quality. PNG and GIF are common file types for using on the internet or for line art, such as logos, illustrations and cartoons.
Your photo has a file type already
When you take a photo, your camera or mobile device will turn it into a file using a file type it chooses, usually JPG. If your device is choosing an obscure file type instead, open your Settings app and scroll down to Camera. Then choose Formats and select your preferred file type.
Some cameras and devices let you set the file type to BMP or a similar format called RAW. These are very large files, and mostly used by professional photographers.
Your camera saves JPGs with high-quality settings, which usually look as good as a BMP.


eSafety tip
To get the best photos possible from your camera or device, check the settings. Make sure you have the highest quality selected.
Using highest quality settings will mean your camera or device’s storage or memory card will fill up faster, and you may need to back up and delete photos more often.
Your computer has plenty of storage for even large photo files, and so do most Cloud storage accounts - even free ones.
Changing your photo's file type
After you have transferred your photo to your computer, you can open it using the Photos app.
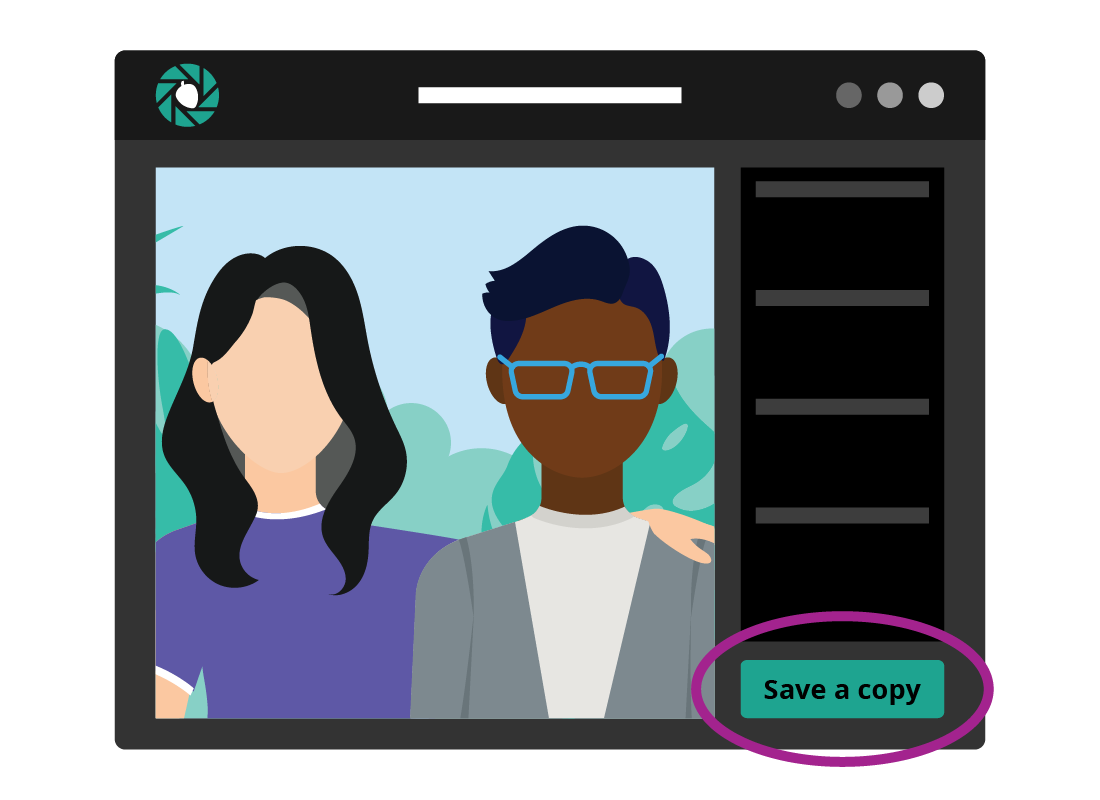
When you see a grid of photos, click on the one you want to change, and it will fill the viewing area in the app.
At the bottom of the screen, look for a Save as or Save a copy button, and click it.
Choose a new file type from a list
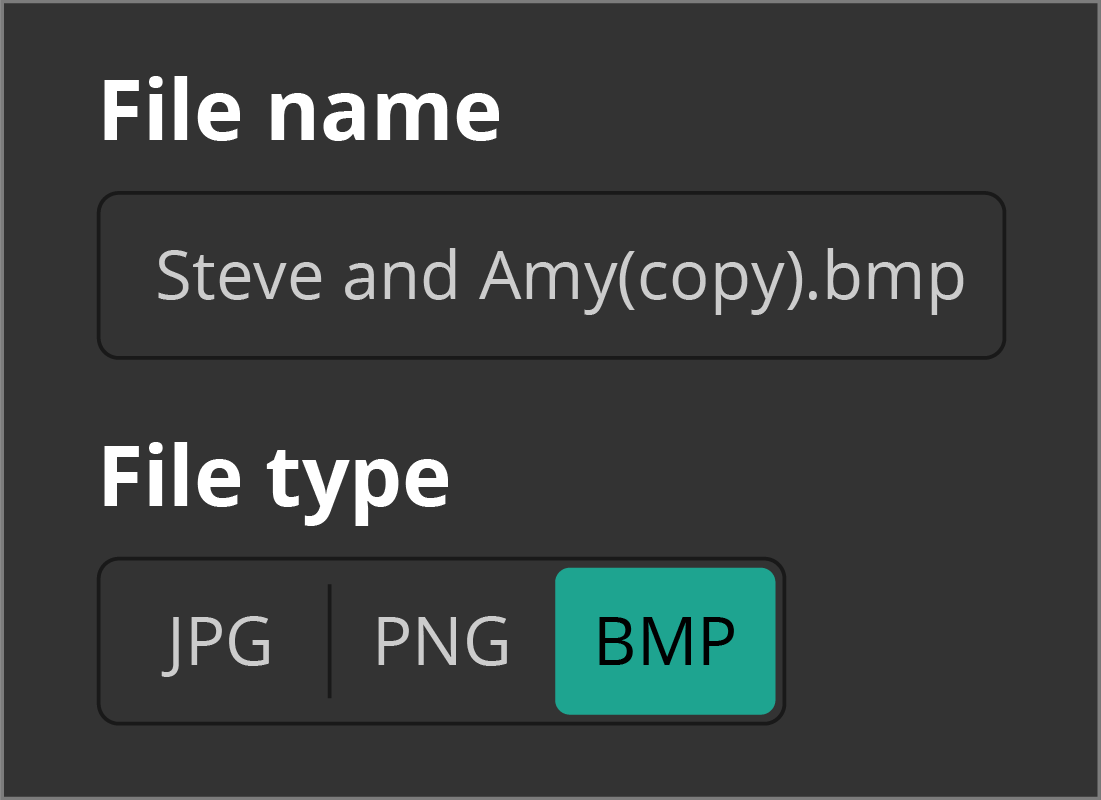
A box or panel will open and ask you to put in a new file name for the copy of the photo. Your Photos app might suggest a file name, such as the photo’s old file name with the word Copy on the end.
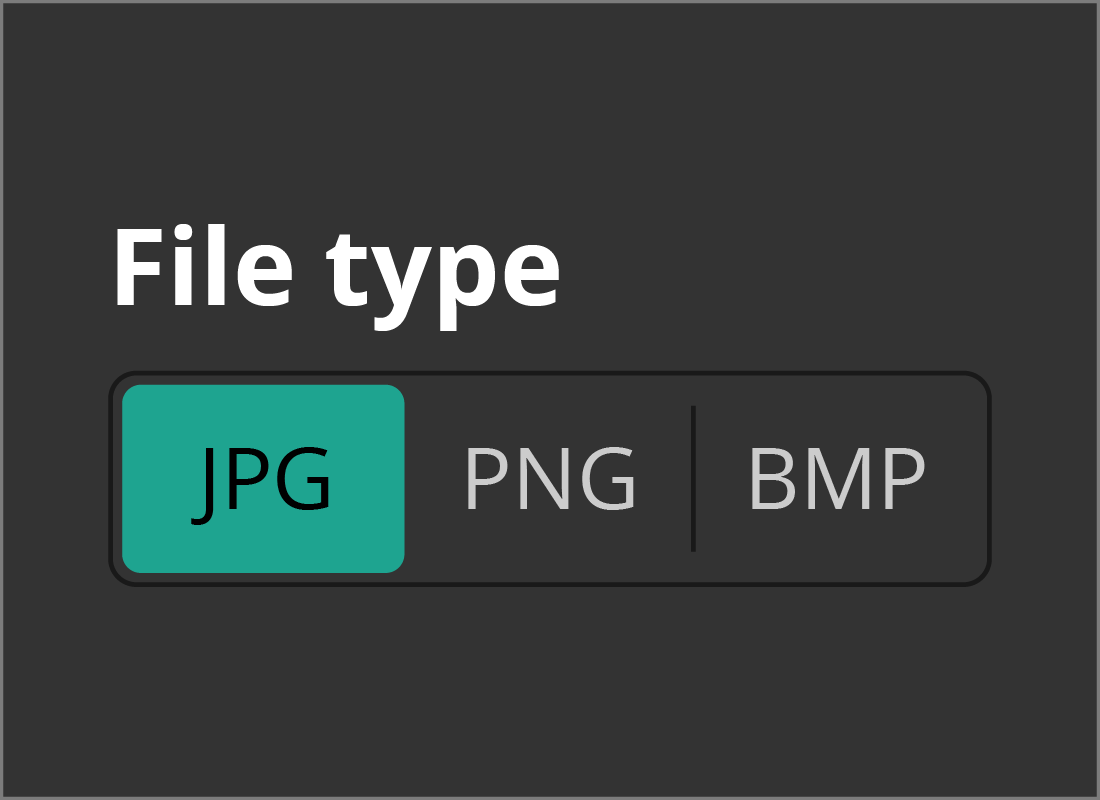
Under the file name field, look for an arrow or control labelled something like Save as type.
Click this and choose one of the file types from the list by clicking it. The list will close, and you can then click Save or Done.
The Photos app converts the photos for you
When you click Save or Done, the Photos app will create a new file using the file type you chose. It does all the converting automatically and places the new file in the same folder as the original (by default).
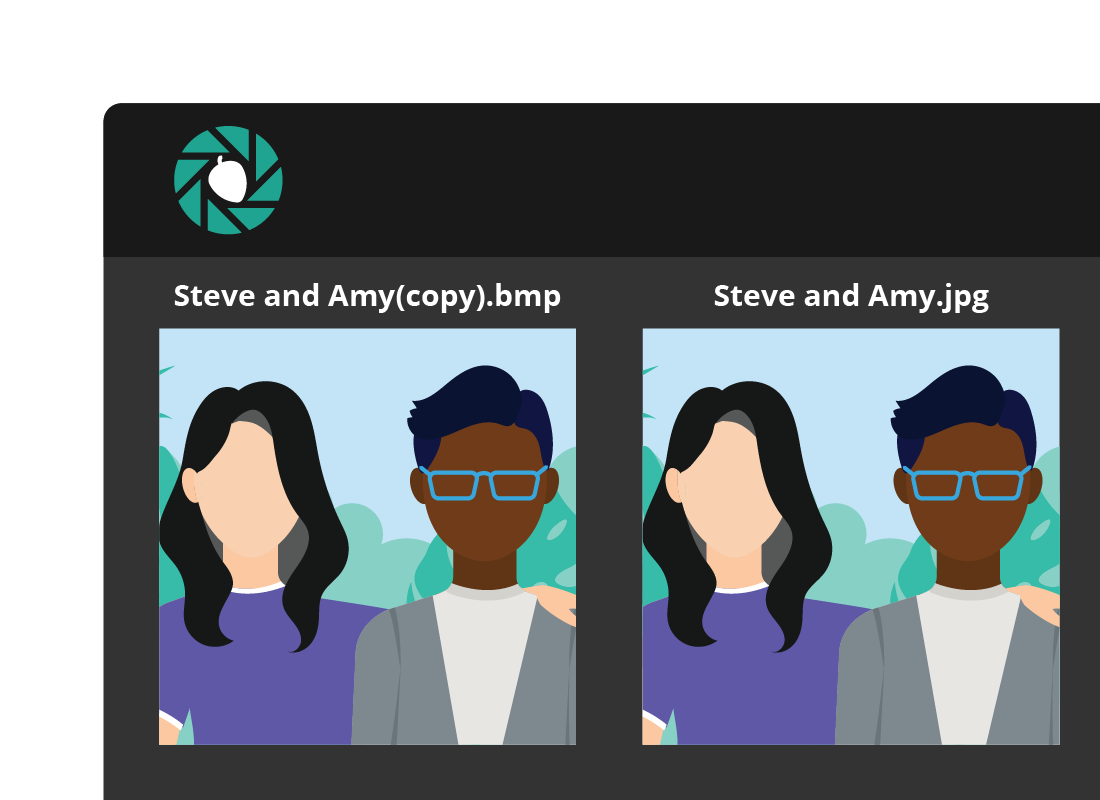
For example, if your original photo was called happydog.jpg and you use Save As and chose the BMP file type, the Photos app creates a file called happydog(copy).bmp.
eSafety tip
Photos of different file types can have the same file name. You don’t have to choose a new file name for your new file type, because your computer knows that happydog.jpg and happydog.bmp are two different files.
However, it can be confusing to remember which file is which, so it’s a good idea to give new versions of photos a new file name, for your own convenience.
Viewing the new file
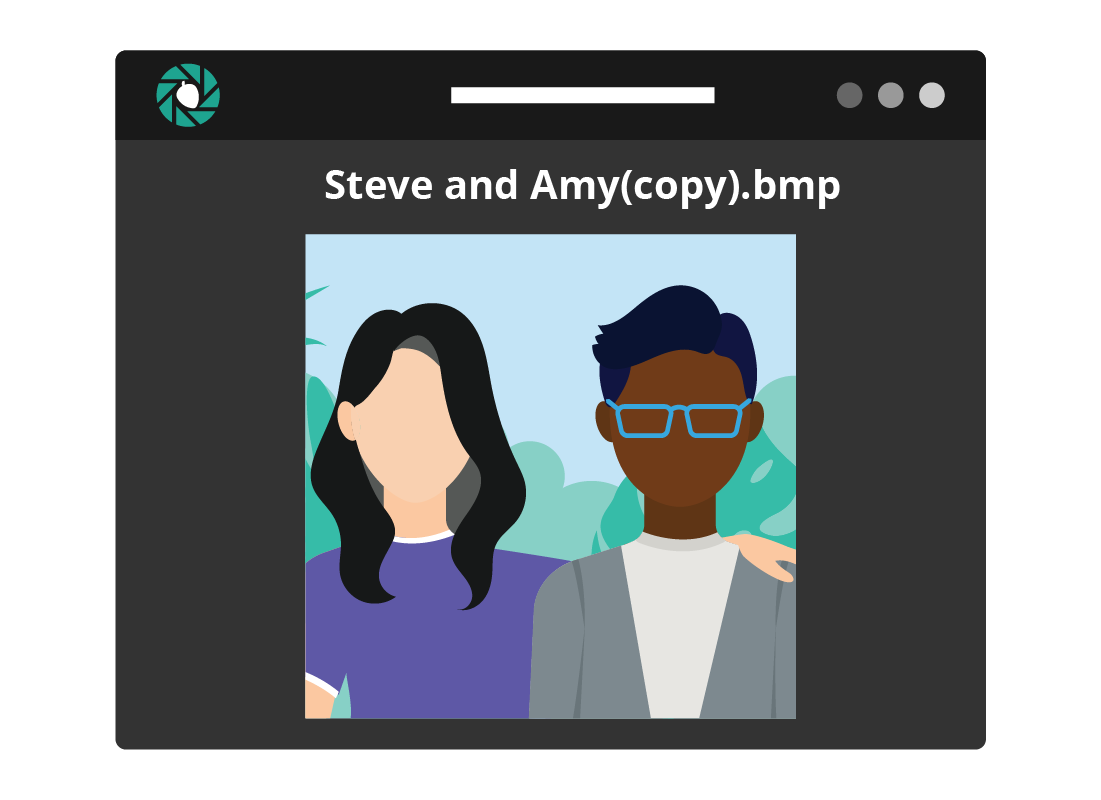
You can use the Photos app controls to go back to where all your photos are stored. In the grid, you’ll see the new copy of the photo you just converted.
Click on it to make it fill the whole screen and have a look at the results. Depending on the file type you chose, and any resizing you might have done, you may notice a loss of quality in the new image.
Go back to the original and retry
If you don’t like the new photo file, don’t worry! The original photo is still there and you can try to edit it again and choose a different file type.
As long as you remember to Save As or Save a copy, the original photo will never be changed or lost, so you always have the option to go back and try again until you are happy with the results.
Well done!
Congratulations, this is the end of the How to change a photo’s file type activity.
If you’re a registered user, you can now complete a short quiz to test your learning. If you’re not registered, this is now the end of the Understanding image properties course.