How to use a basic photo editor
Signing in to myGov
What's coming up?
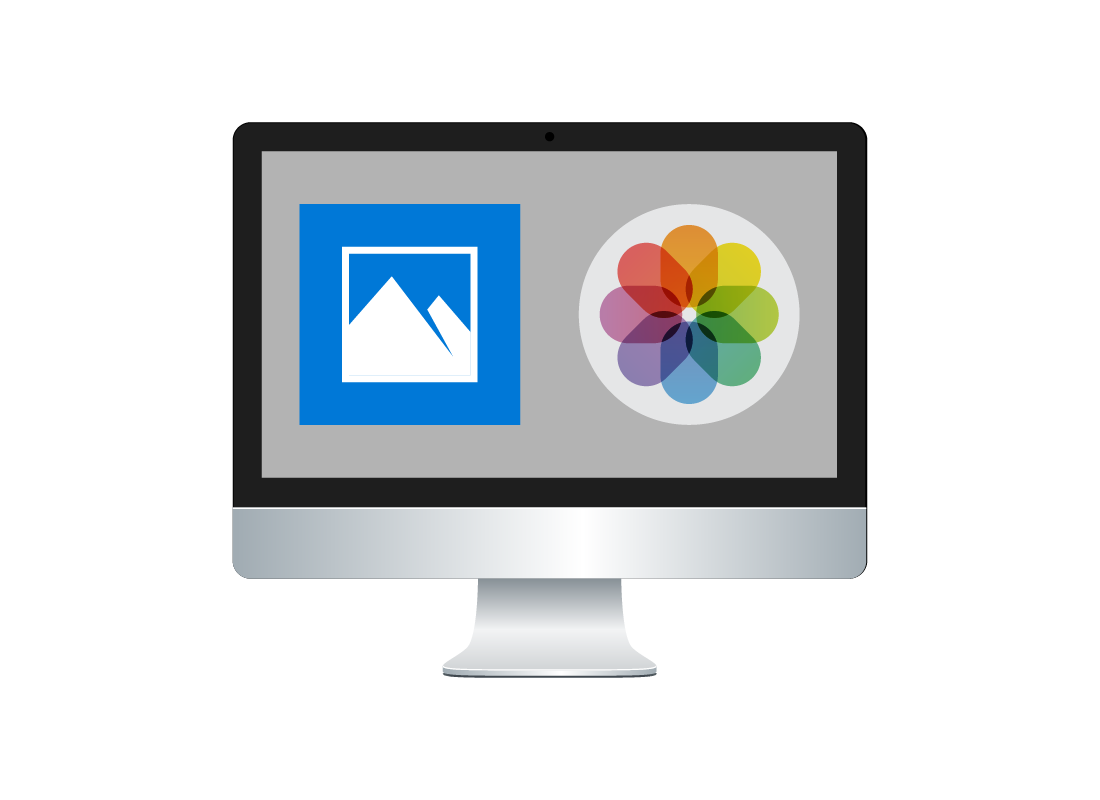
In this activity, you will learn how to use the basic photo editor that comes with your computer. On both Windows and Apple computers, this app is called Photos.
You’ll find out where to save photos on your computer so the Photos app can find them, and how to open a photo for editing.
Start activity
The Photos app recognises photo files
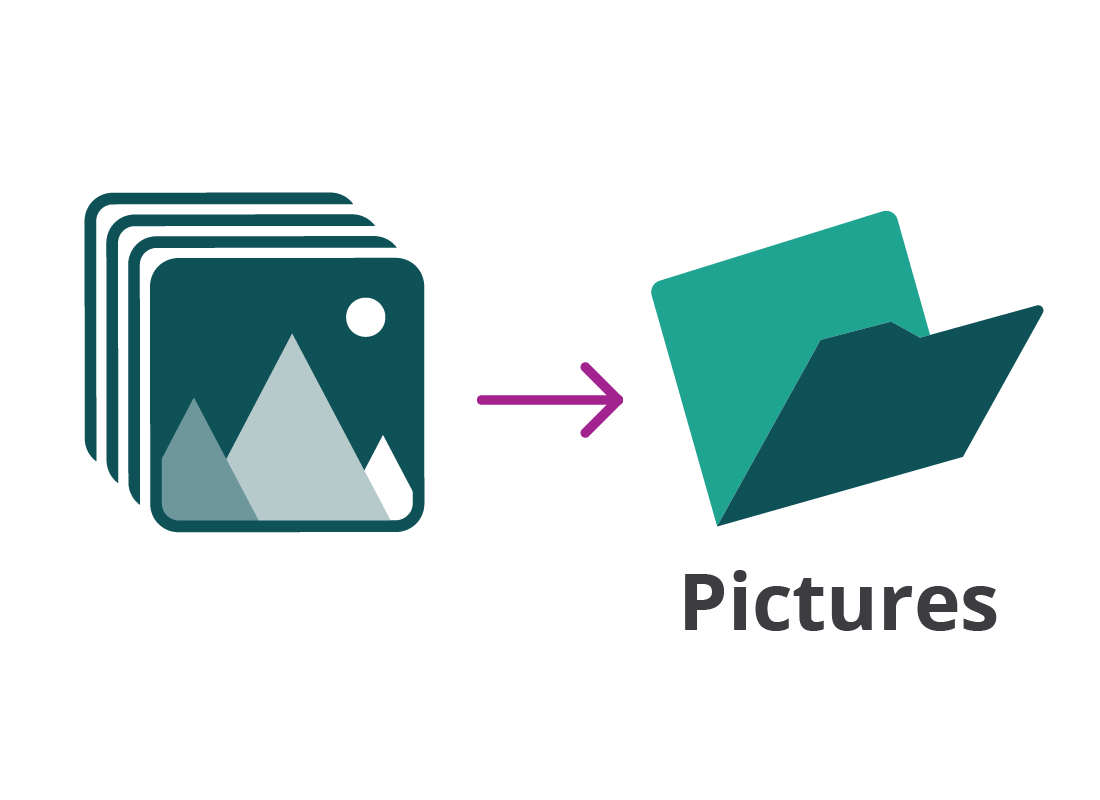
When photos are copied to your computer, they are saved as files. The Photos app on Windows and Apple computers can recognise these files, display them as a grid of photos, and show individual photos in a large panel, or viewer, when you click on them.
Although the Photos apps on Windows and Apple computers look different and may use different terms, they work in a very similar way. In this activity, we will be using a Windows computer in our examples.
How the Photos app works on Windows computers
For your photos to all appear in the Windows Photos app, save photo files in the special user folder called Pictures on your computer.
If you put other kinds of image files in here, such as drawings or cartoons you might download from the internet, they will also appear in the Photos app.
To keep the Photos app just for showing your photos, you can remove any picture, image, or photo files from the Pictures folder that you don’t want.

eSafety tip
Apple computers let you put photos in a user folder called Pictures, but they also use the Photos app to save and import photos directly.
If you use iCloud and are signed in, the photos on your computer will appear alongside those taken on your iPhone or iPad. Any edits you make to photos will be synced across all your devices that are signed in to your iCloud account.
The home screen of the Photos app
When you first open the Photos app on a Windows computer, you’ll see a grid of your photos. By default, they are arranged by date.
Click on any photo to make it fill the main panel, or viewer, of the Photos app.

The rotate control
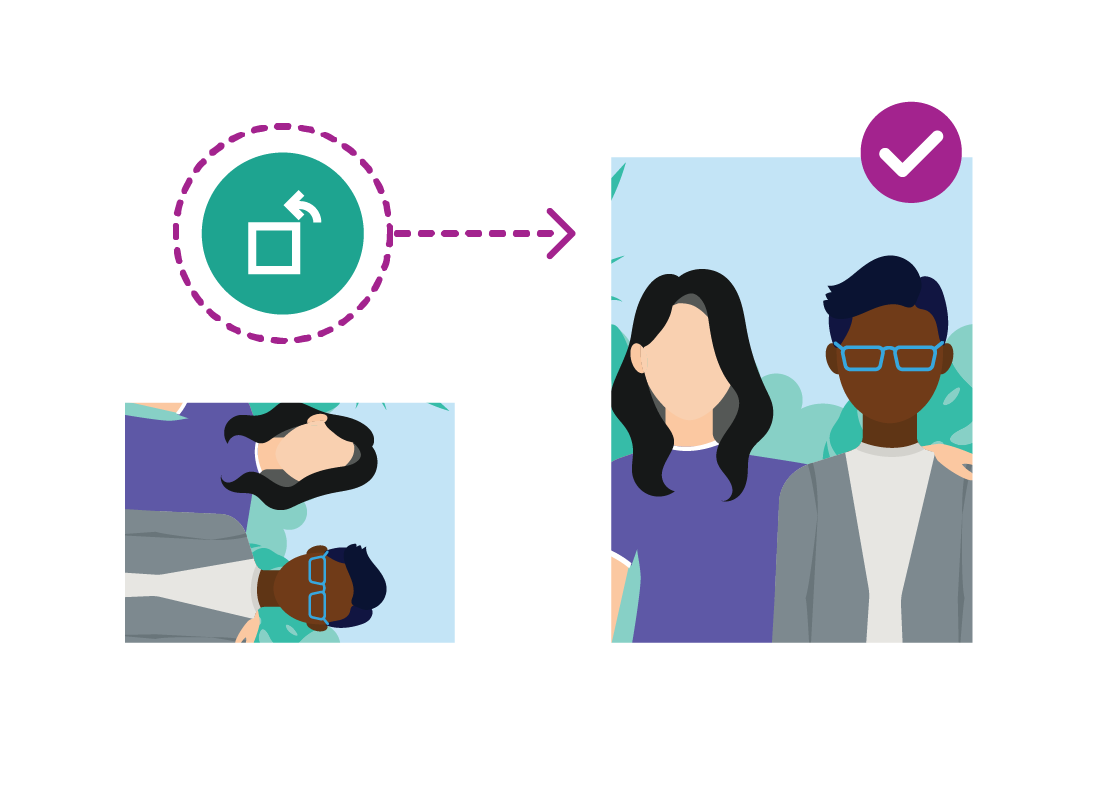
When you save a photo on to your computer, such as from a camera or phone, your computer may not realise the photo is meant to be viewed in portrait orientation.
If a photo appears in the Photos app on its side or upside down, you can use the rotate control to fix this.
The rotate control flips the photo 90 degrees at a time. Click it until the photo is the correct way up.

eSafety tip
When you rotate a photo by 90 degrees using the rotate control, you don’t need to save the photo. The computer will remember the new orientation. The next time you open the Photos app and see the grid of photos, the photo will show as rotated.
If you get the rotation wrong or want to change it, you can simply rotate it again.
The Edit button
To make changes to your photo that need to be saved, you first need to put the Photos app into editing mode.
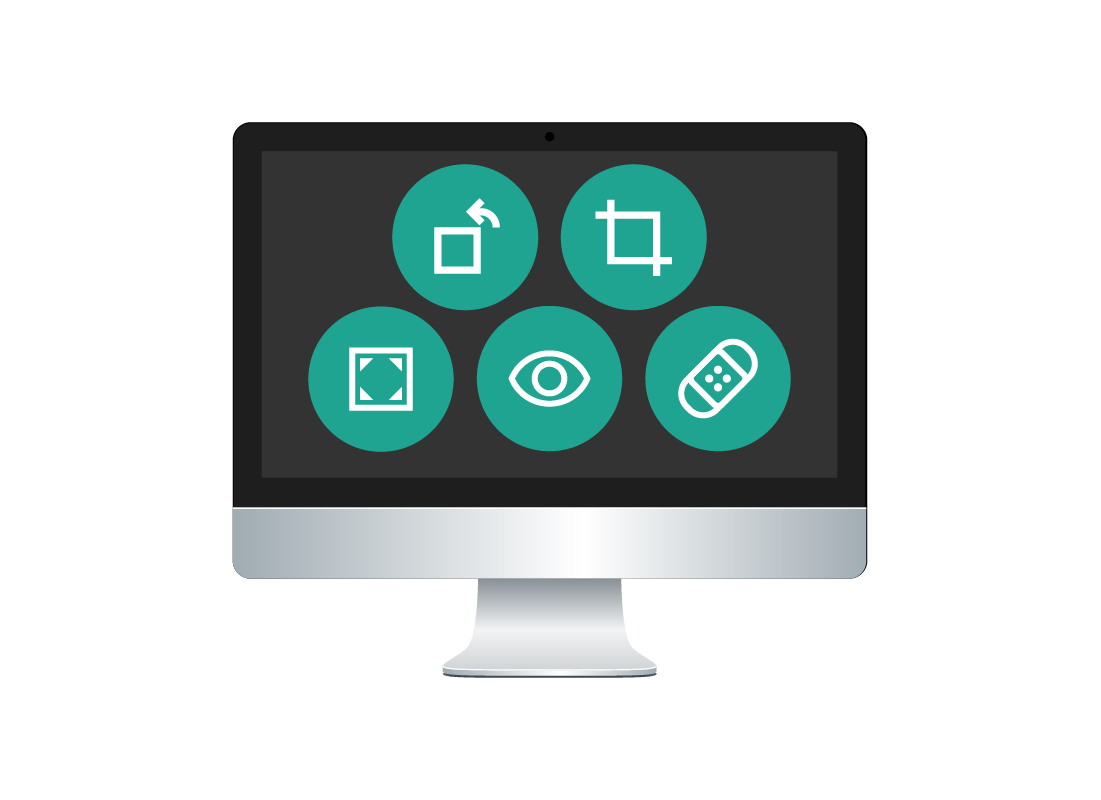
Click the Edit button, and the panel will change. You’ll still see your photo, but there will now be a list of options to the right, and some new icons at the top.

The Crop & rotate tool
In Edit mode, click Crop & rotate to see more options.
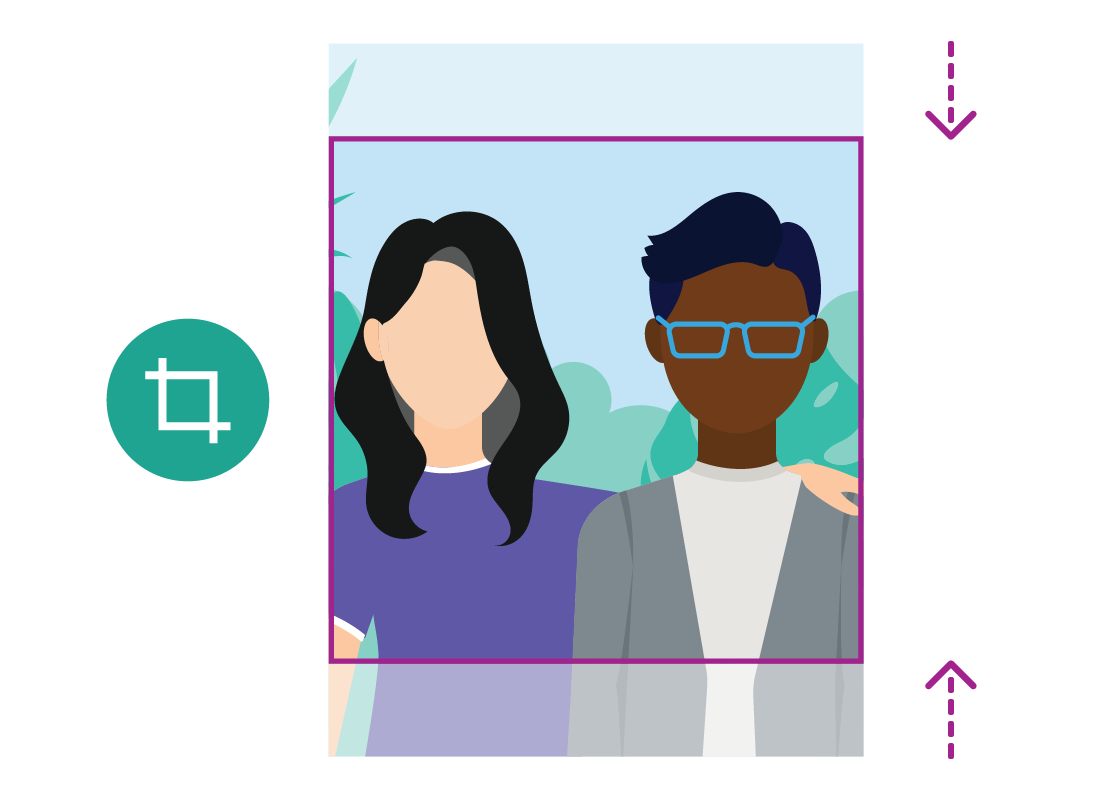
Use the slider to straighten the image. As the image tilts, it will zoom in slightly so the edges stay straight. You can rotate and flip the image here too.
To crop the image, click and hold your mouse on the white border and drag it in or out. When you crop an image, it will zoom in on the screen.
If you don’t like the changes you’ve made, click the Reset button to get rid of them.
The Adjustments tool
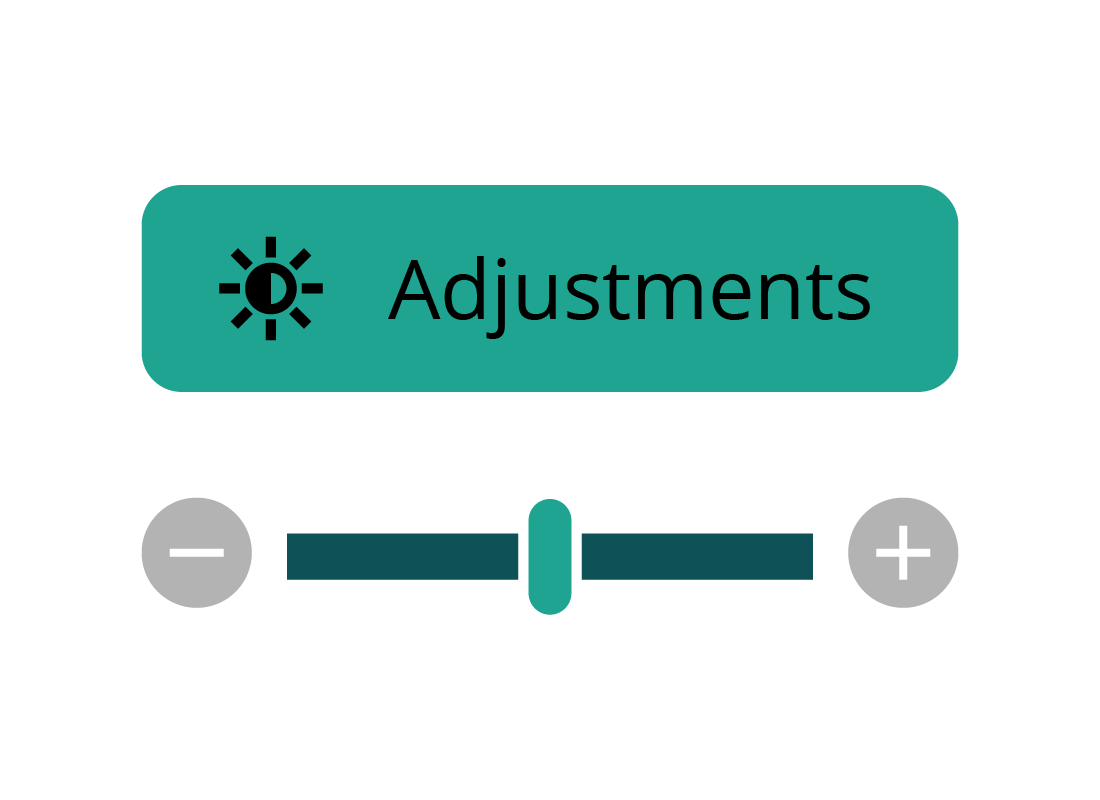
At the top of the panel, click the Adjustments icon. A new menu with some sliders will appear to the right of your photo.
You can experiment with the Light and Colour sliders to adjust the photo. These are useful if your photo is a bit over or underexposed.
The Clarity slider lets you make the photo look sharper. Experiment with this to see how it works. Move the slider exactly to the middle to return to your original photo.
The Adjustments tool (continued)
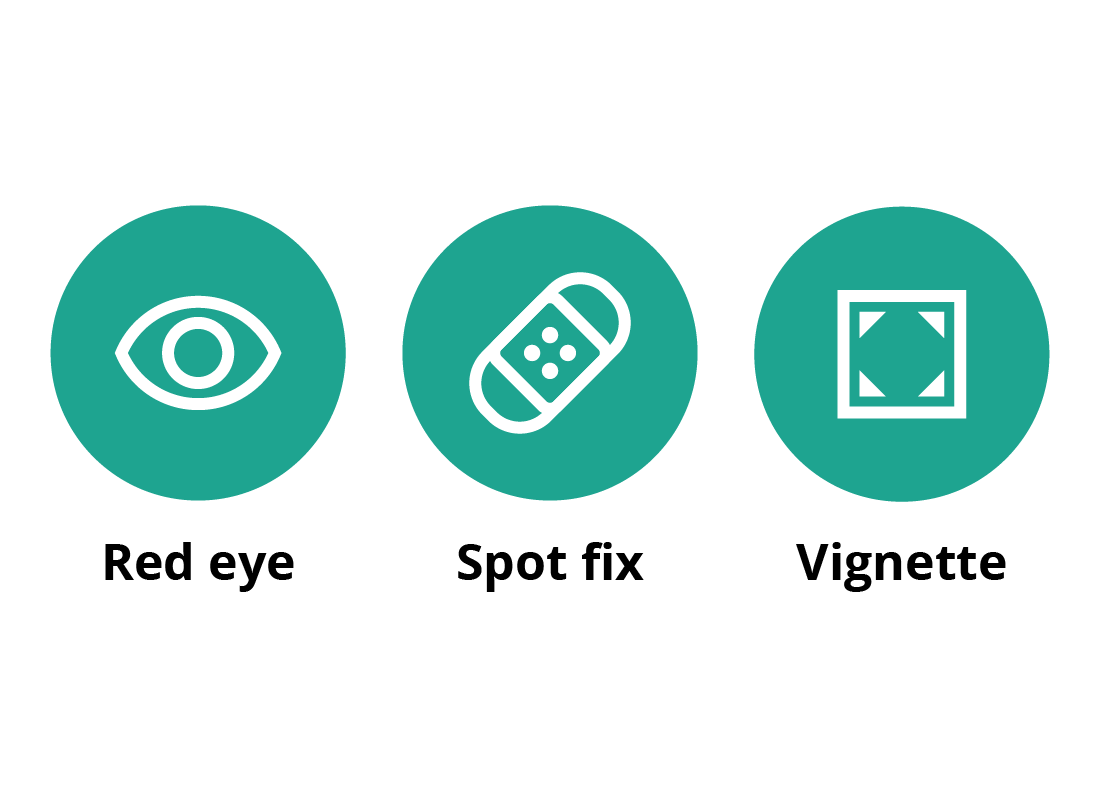
Other options in the Adjustment menu of the Photos app include:
- The Vignette slider makes the corners of the photo darker, which can be a nice artistic effect especially for portraits.
- The Red eye button lets you fix red-eye in photos of people taken with a flash.
- The Spot fix button lets you click on blemishes in the photo, such as a crease in an old photo, and erase them.
Experiment and then save a copy
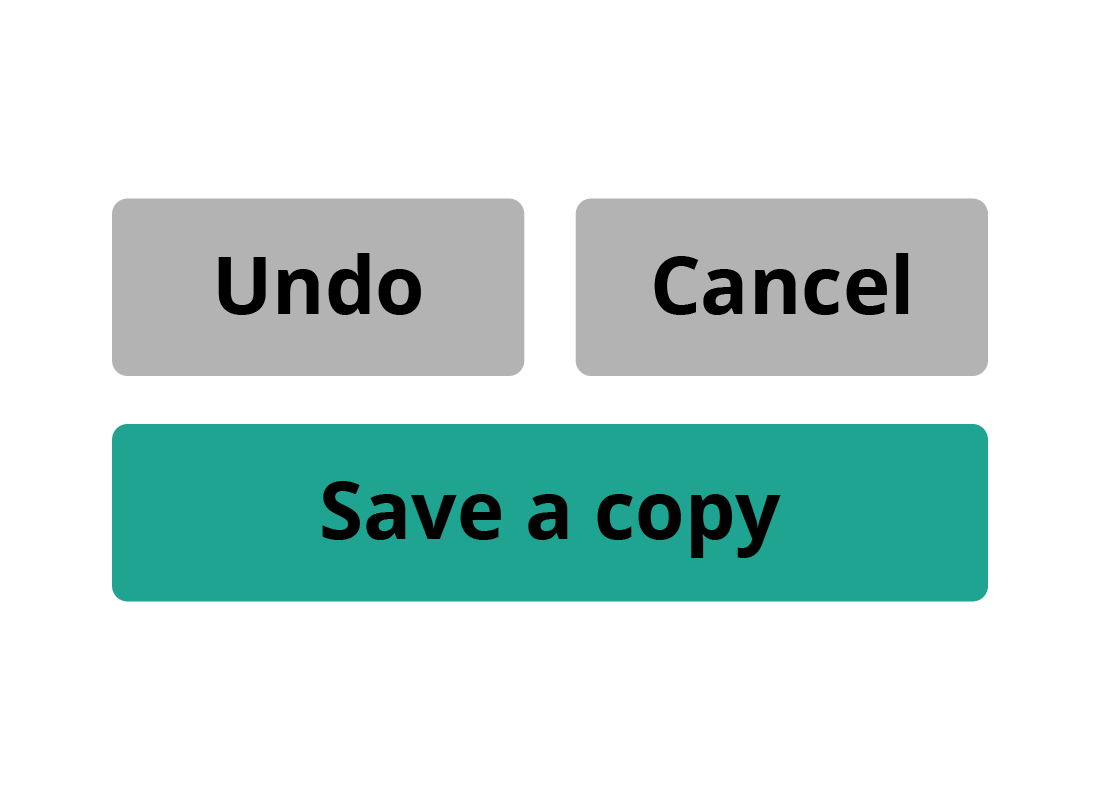
You can experiment with these sliders and buttons as much as you like without permanently changing the original photo. Click:
- Undo to remove the last change you made. Click multiple times to remove multiple changes.
- Cancel to stop editing the photo and return to the original image.
- Save a copy to make a new photo file from the edited original. This means your original photo is not lost.
Well done!
You have completed the How to use a basic photo editor activity. You now know how to undertake basic editing tasks using the free Photos app.
Up next, you can learn how to do more complex edits and fix damage to old photos, in the Tips for advanced photo editors activity.