Photo editor basics
Photo editor basics
What's coming up?
In this activity, you'll learn some of the basics of photo editing by following Steve as he prepares a treasured family photo using Squirrel Editor software to:
- Select and brighten an image
- Spot fix a blemish
- Save an edited version of the image.
Steve has the perfect photo
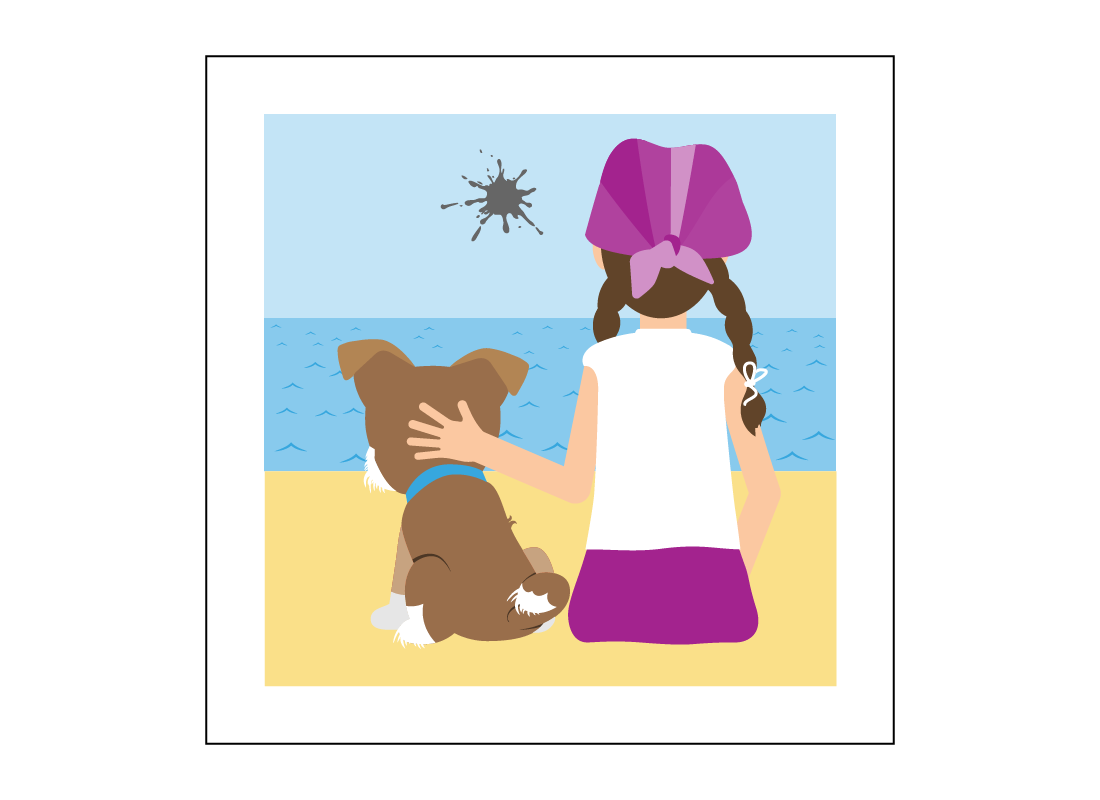
Steve has lots of old photos in boxes, and one of his favourites is from a collection of old family snaps taken in the 1970s. It’s a photo of his sister Amy and their beloved family dog, Scruffy. Steve would love to create a special gift for his sister using this photo, but it is a bit small and has a large blemish that needs fixing.
Let's follow Steve as he uses his smartphone and photo editing software to create a digital copy he can use for his gift.
Steve photographs the original
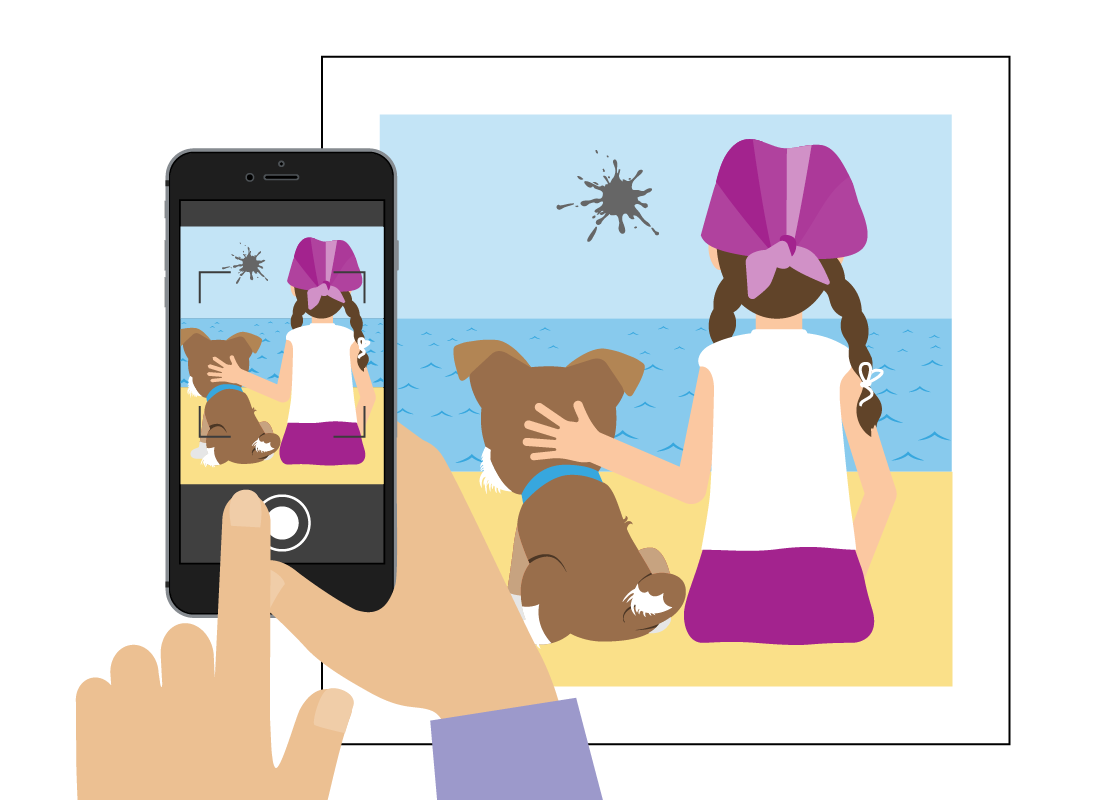
In preparation for fixing the photo, Steve has digitised the old snap of Amy and Scruffy. He took a careful, well-lit photograph of the print using his smartphone, then shared it as an image file from his phone to his computer.
He then uploaded the file, along with some other photo files, to our online photo editor application, or app, called Squirrel Editor.
Selecting the photo for editing
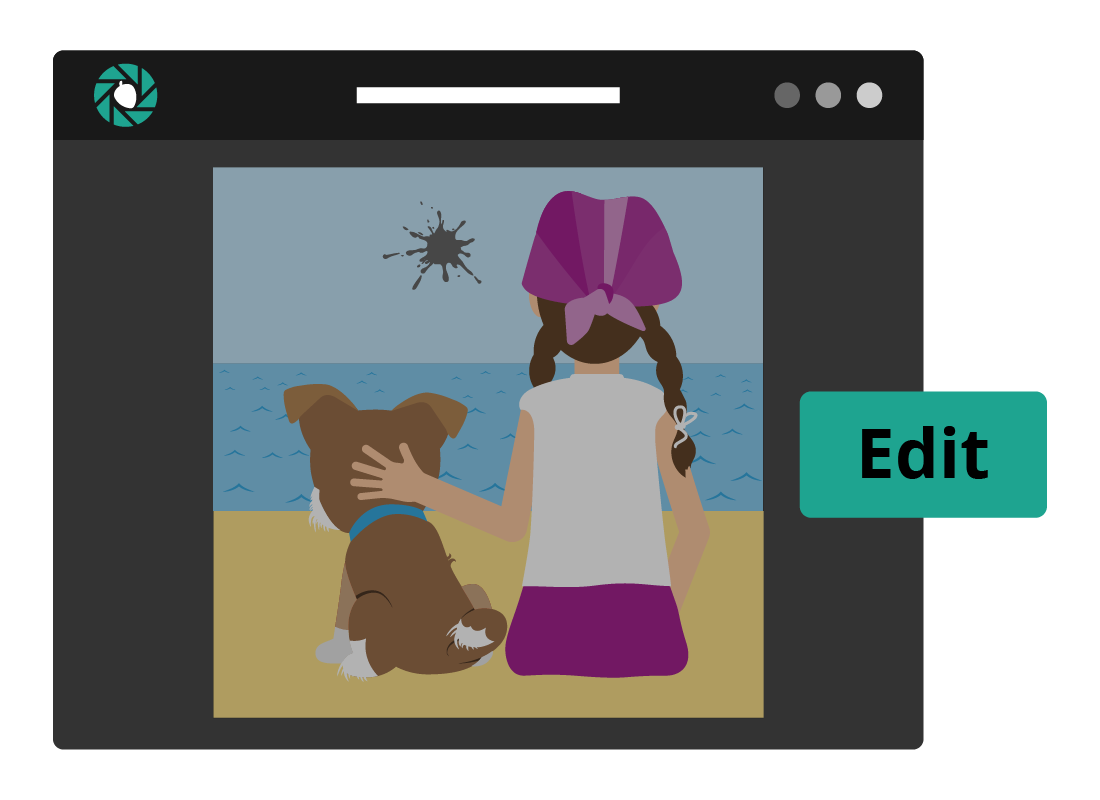
Steve’s uploaded images appear in the Squirrel Editor panel as a row of thumbnails. The highlighted thumbnail in the row displays as a larger preview in the panel.
He can click the thumbnail of Amy and Scruffy to highlight it and view it more clearly. With Amy and Scruffy showing in the preview panel, he can then click the Edit button to open Edit mode.

Selecting the Adjustments tab
In Edit mode, the selected image fills the panel and the thumbnails are no longer visible.
The image is a bit too dark for his liking, so Steve will check the options in the Edit menu to see what he can do about it. The options include:
- Crop and rotate
- Adjustments
- Filters
Steve clicks on the Adjustments tab to see more options.
Brightening a photo
Great! Steve has found the right place. The Adjustments panel includes a Brightness control, showing a row of thumbnails with different brightness levels. A highlighted thumbnail shows the current brightness of the main image in the panel.
Steve can experiment here and click on a lighter or darker thumbnail in the row to adjust the brightness of the main image and see which one looks the best.

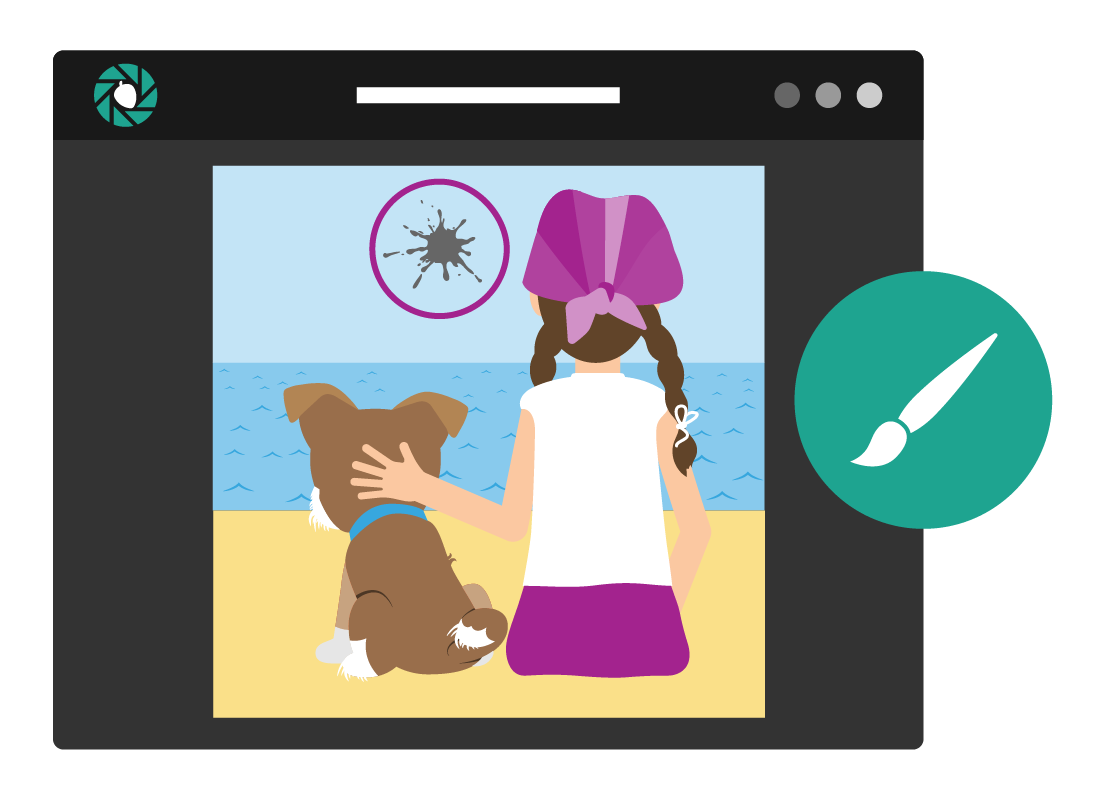
Fixing that blemish
The Adjustments panel also includes a handy Spot fix tool for removing photo blemishes.
Steve can click on the Brush icon to start using the Spot fix tool, then click the medium-sized brush icon to select it.
His cursor will change to a circle that is around the same size of the blemish he wants to remove. He can then move the circle over the blemish and click on it and - voila! – the blemish is gone. A larger blemish might need a couple of clicks to remove it, or Steve could choose a larger-sized brush to do the job in one go.
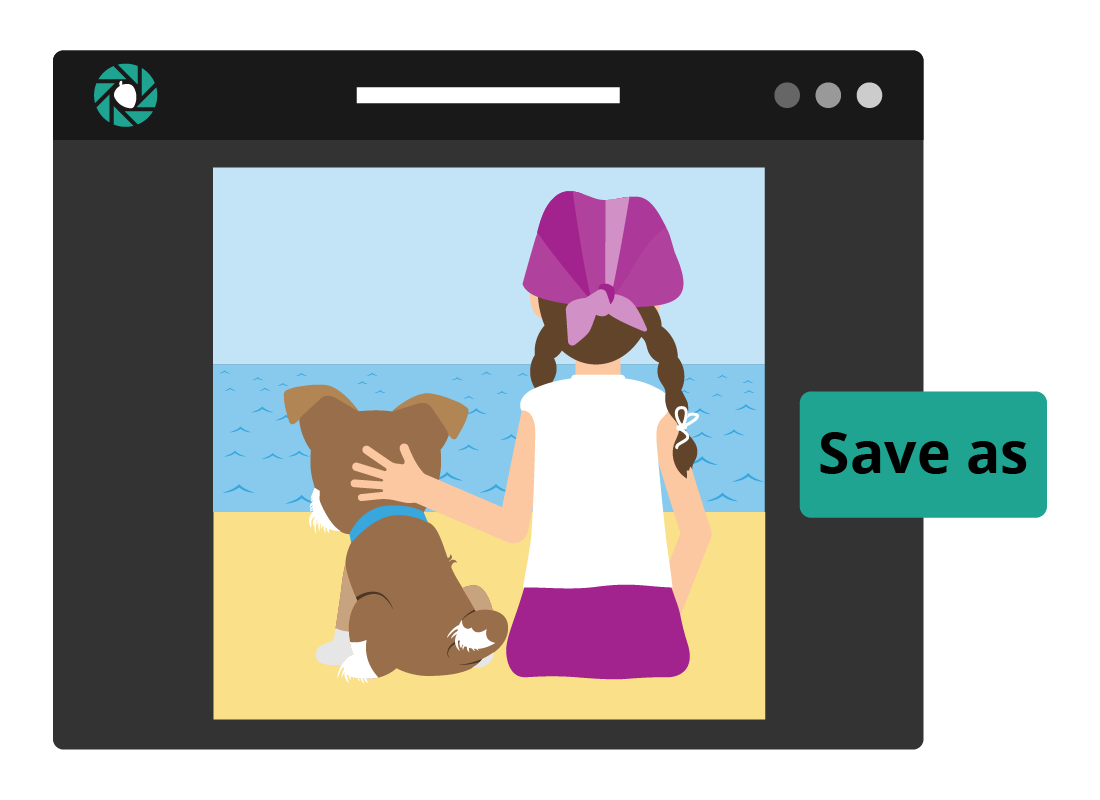
Checking image properties: file name and type
Once he is happy with the edited photo, it’s time to save it. There are a few steps involved.
From the Adjustments panel, Steve can:
- click the Save as button to open the Save image pop-up box
- then, click the File name setting and type a new name that will make the file easier to recognise in the future: amy-scruffy
- and finally, click on JPG in the File type setting.
Squirrel Editor will automatically update the file name for him to amy-scruffy.jpg.

Checking image properties: file quality and dimensions
The next step is to save the image as a large, high-quality print, so that it will be suitable for his sister's special gift. There are two settings to adjust:
- From the Quality setting, Steve can click on High. The dimensions of the photo are now too large, but he can correct them in the next step.
- Next, he can reduce the number in the Image width box to the dimension he wants. To do this, he can click on the existing number and type in the new value. The Image height will automatically change in proportion to the new width.
Saving the edited photo
Now that the image properties have been updated, ready for printing, Steve can click the Save button in the pop-up box to save the edited photo.
The box will close, and the edited image will display in the Squirrel Editor panel. It will also appear alongside the original image in the row of thumbnails at the bottom of the panel.


Well done!
This is the end of the Photo editor basics activity. The remaining activities in this course are specifically designed for tablets, laptop and desktop computers, and give you a chance to practise what we have learned so far. There are four individual tasks to try out, using our Squirrel Editor practice areas. We hope you enjoy perfecting your skills with Squirrel Editor!
Once you’ve completed the practice tasks, move onto the next course to see how Steve uses his edited image to create that special gift for his sister.