Preparing and improving photos for editing
Preparing and improving photos for editing
What's coming up?
In this activity, you will learn what to do first when getting a photo ready for editing and printing.
You’ll find out about your computer’s built-in photo tool, and how to use it to do some basic fixes.
You’ll also learn how your computer saves edited photos so a copy of the original is preserved in case you change your mind about the edits.
Start activity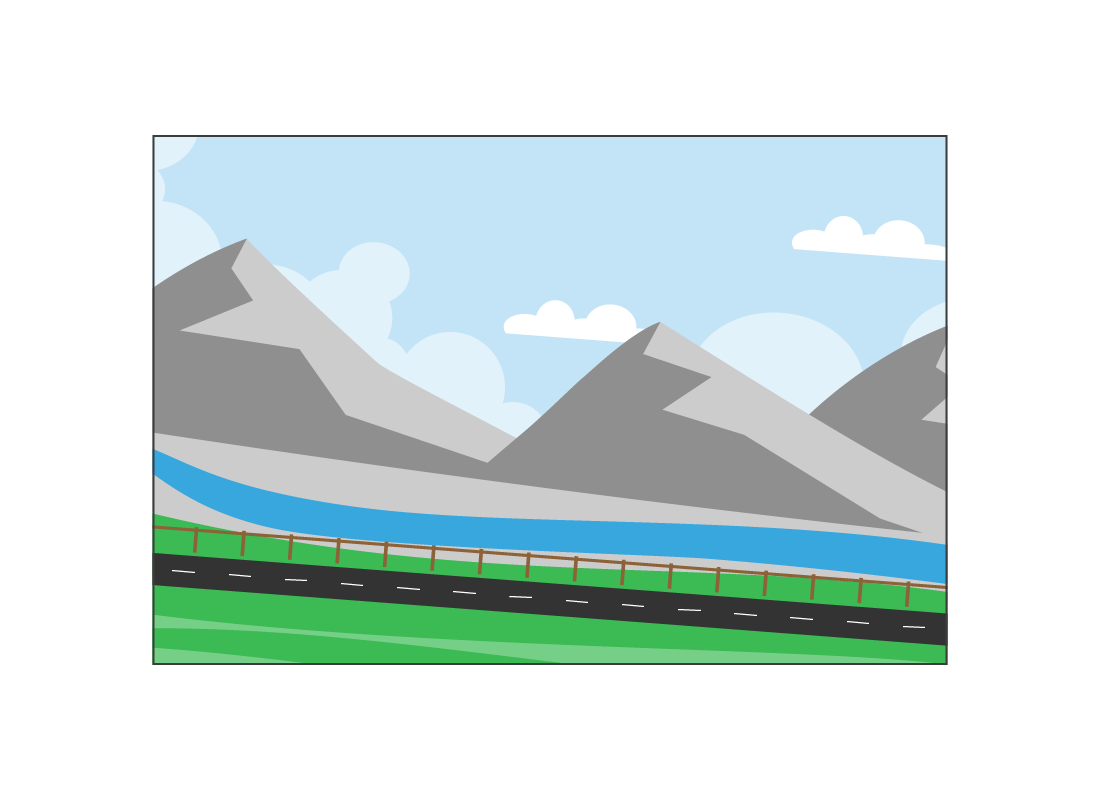
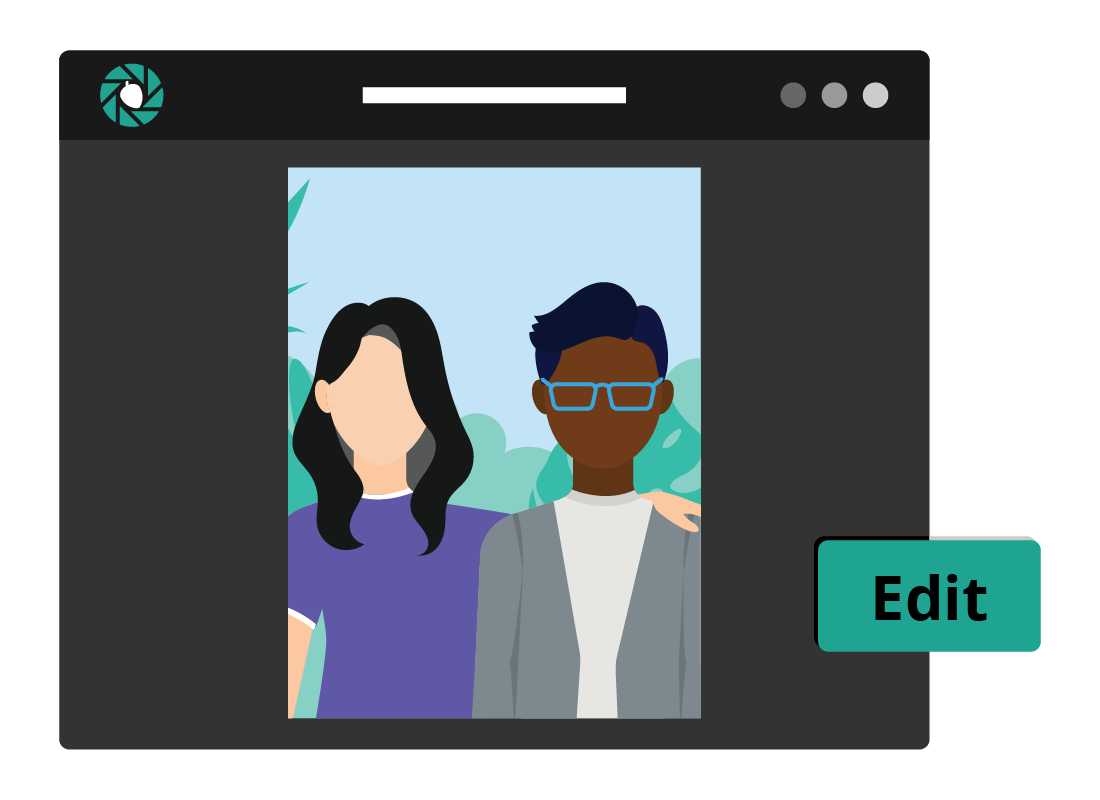
Photos sometimes need a little love and care
Most photos from a digital camera or mobile device will come out well, but you may find some need a little adjusting.
A photo might have a crooked horizon, or the flash may have made people’s eyes red. You can easily fix these things with your computer.
Your computer comes with a photos app
Windows and Apple computers come with a free built-in photo app. The app is a bit different on each, but it’s called the same thing: Photos.
These apps let you organise photos, search for particular photos, and most importantly do some edits and fixes.
The Photos app is included with your operating software, but if you can’t find it, you can download it from the App Store (Apple) or the Microsoft Store (Windows).
Getting started with the Photos app
When you open the Photos app, photos on your computer will appear in a grid. You can click on a photo to edit it.
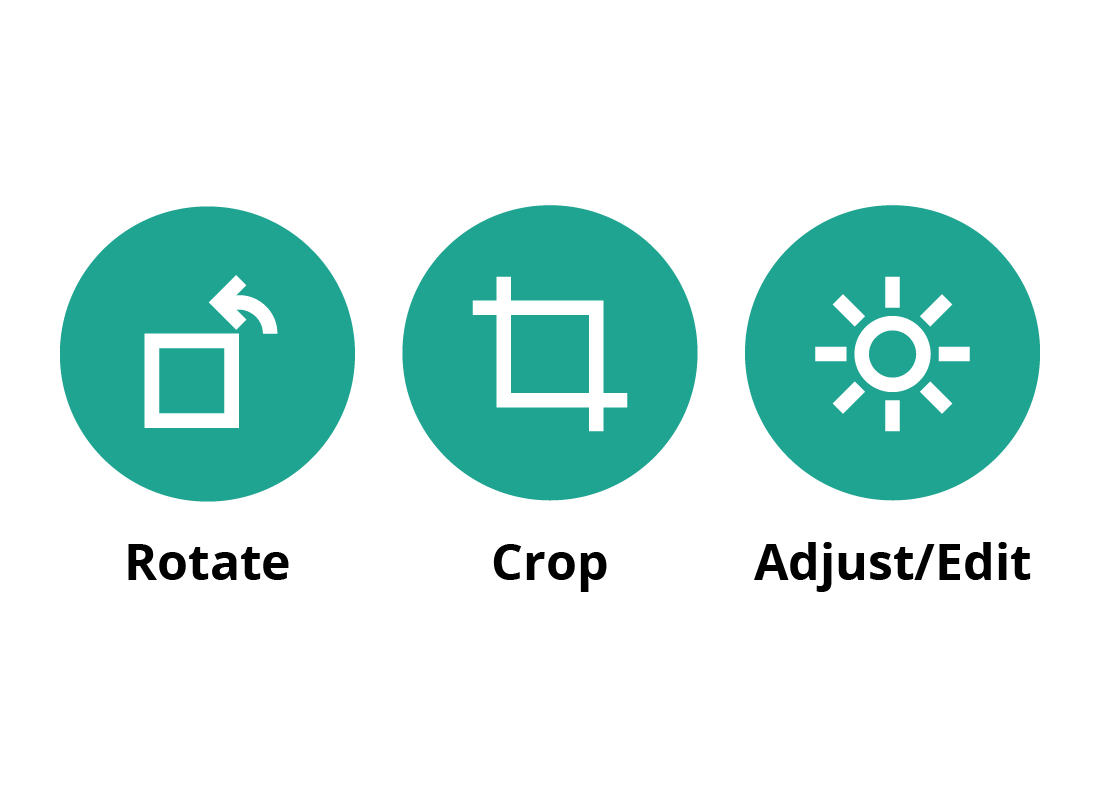
You can see some basic tool icons at the top of the screen:
- Rotate: Spin the photo through 90 degrees at a time
- Crop: Cut around the edges
- Adjust/Edit: Open more advanced tools for editing.
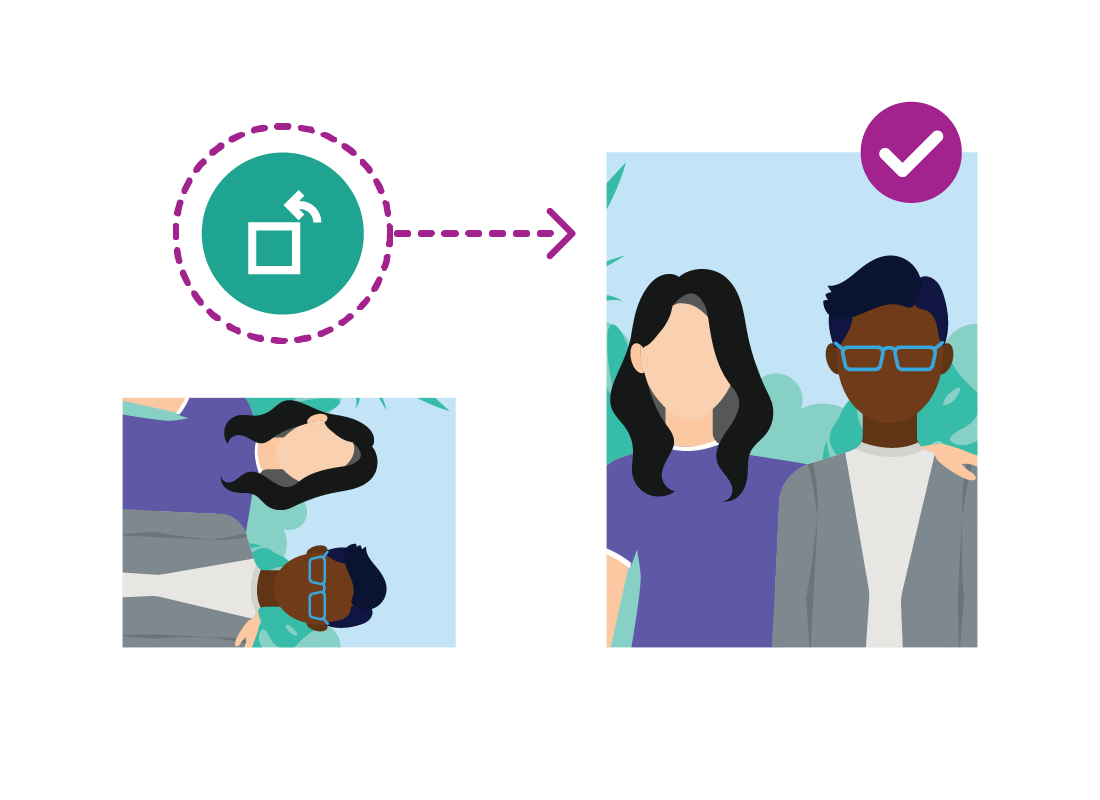
Rotating a photo
Unlike a person, your computer doesn’t always know which way up a photo goes. It’s quite common for portrait-oriented photos to display sideways on the computer.
You can use the Rotate tool to flip the photo through 90 degrees. Click the tool until the portrait is the right way up.
Once you’ve rotated the photo like this, the computer will remember that this is the right way up.
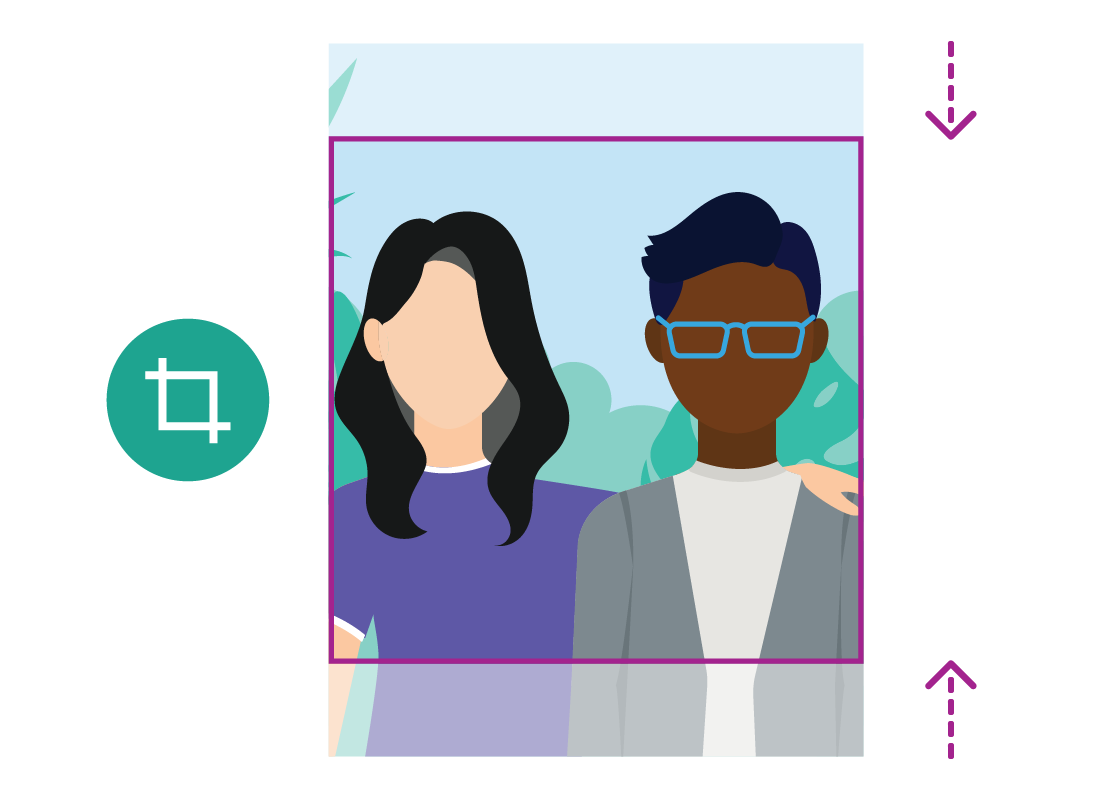
Cropping a photo
You can use the Crop tool to cut around the edges of the photo and remove extra bits you don’t want.
On your computer, when you crop a photo, the result zooms to fill the same space on the screen.
This can be useful, for example, if you have some people in a landscape who you think look too small. Crop out some of the surrounding landscape, and the people will appear zoomed in on your screen.
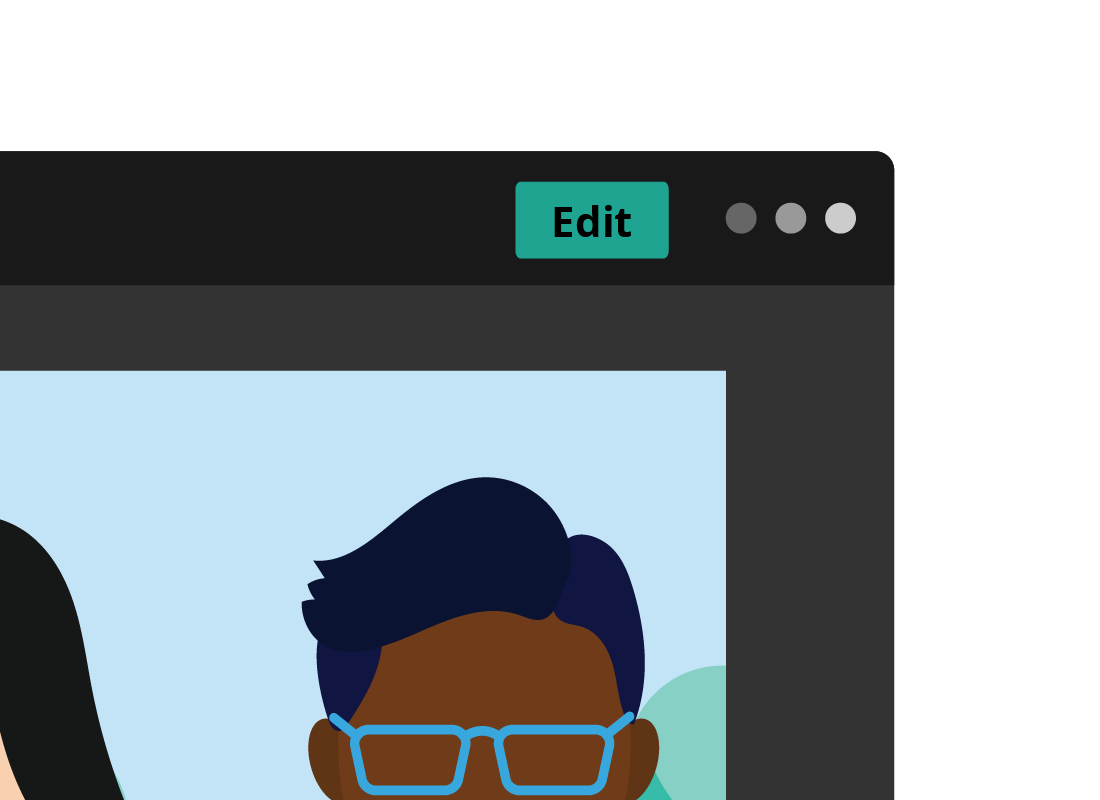
Making finer adjustments
The Photos app on Windows and Apple computers has more powerful editing tools too. You can click Edit & Create on Windows, or Edit on Apple computers to see these tools.
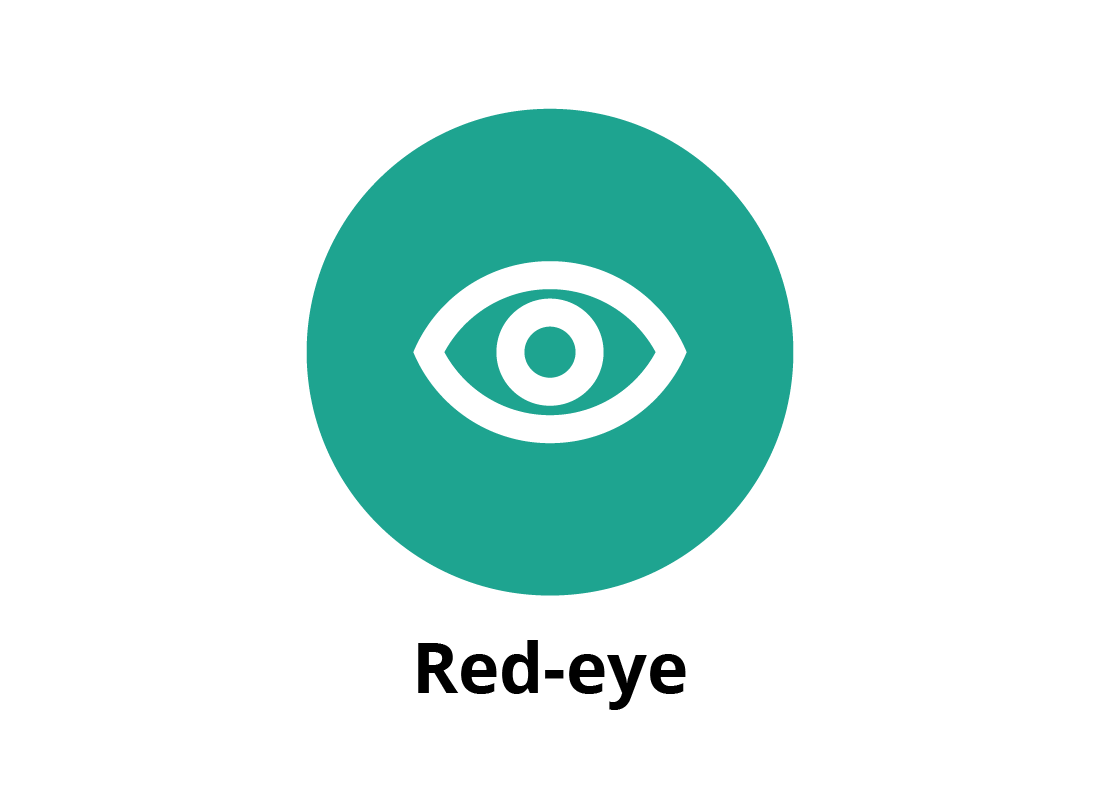
Fixing red-eye in photos
When you photograph people using a flash, sometimes their eyes will reflect the flash back and look red.
Your computer’s Photos app can fix this using the Red-eye tool. You show the computer where the red eyes are, and it removes the effect!
There are other advanced tools in this part of the Photos app that let you adjust brightness, contrast, colour, and more.
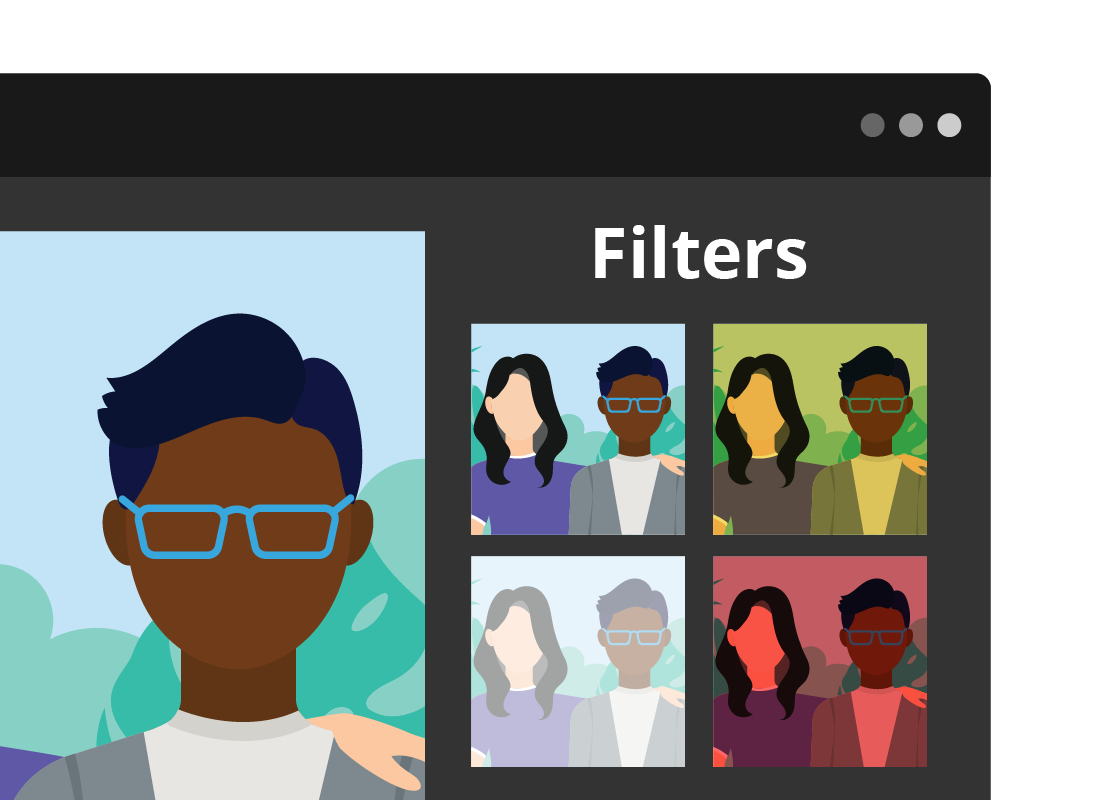
Explore filters and effects
Your computer’s Photos app let you add different effects to a photo. Click Filters to see a column of small photos on the side of the Photos app, each with a different effect on it. You can explore these by clicking each one and seeing what it does to your photo.
Don’t worry - these filters won’t save over your photo. Depending on your computer, you can click No filter or Original to go back to the original photo at any time.
Saving the edited photo
When you have finished fixing and editing your photo, you can click Save a copy or Done, depending on your computer.
This means the edited photo will be saved as a new file, and the original photo will not be lost.
That way, if you decide later you don’t like the edits, you can still go back to the original photo and try again.

Well done!
This is the end of the Preparing and improving photos for editing activity. You’ve learned how to use your computer’s Photos app to quickly fix and adjust photos, and save the edited photo as a new file.
In the next activity, you will learn more about How your computer organises your photos.